TrueDialog Portal
Contacts > Contacts
This guide will show you how to update, delete, search, and filter your contacts. To create new contacts, see the Creating a Contact article. To learn how to import multiple contacts simultaneously, check out the Importing Contacts – Overview article.
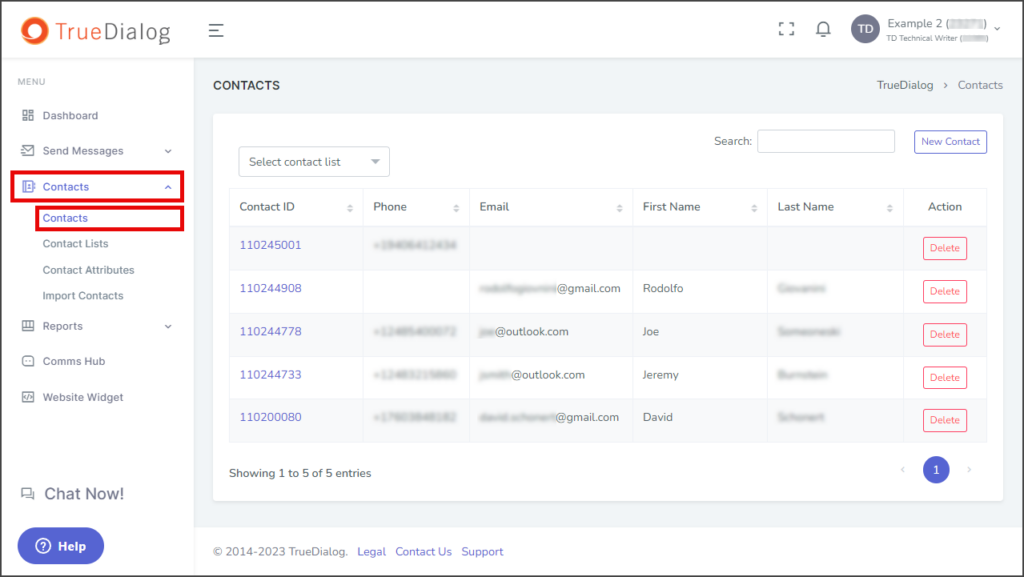
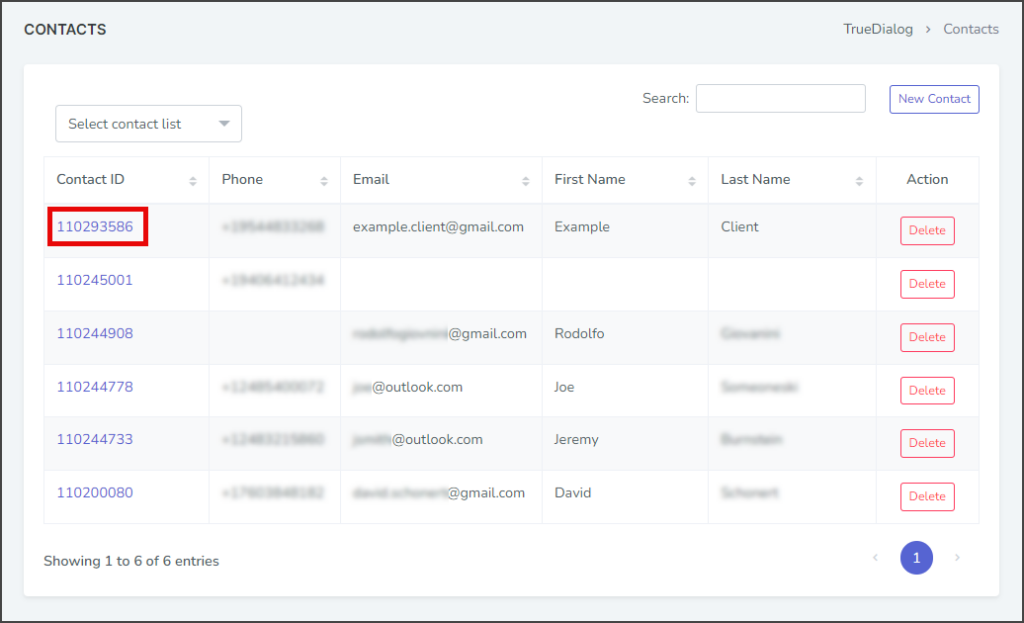
- Expand Contacts in the left sidebar and select Contacts.

New Contact
To create a new contact, see the Creating a Contact article.
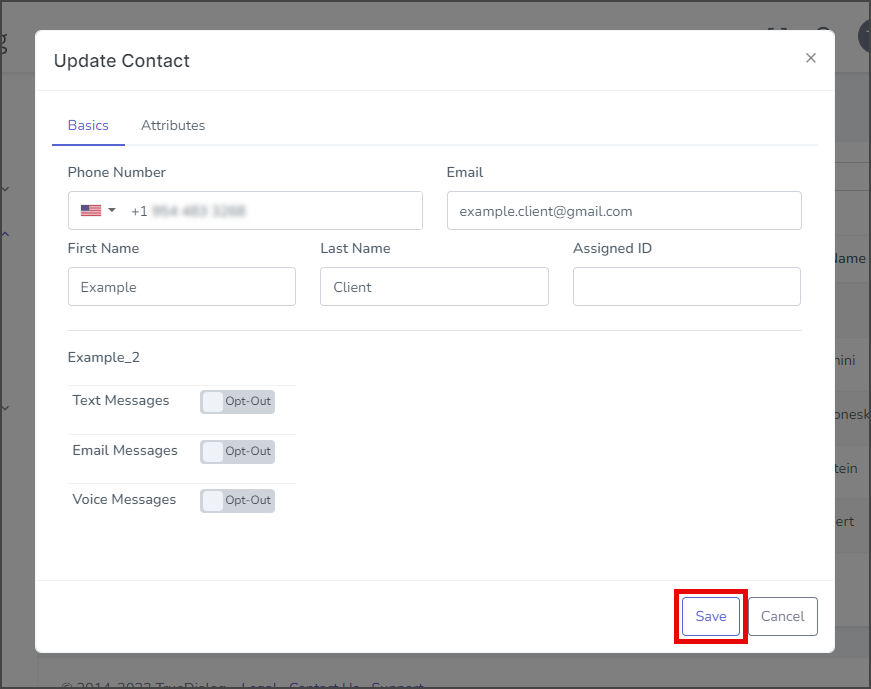
Update Contact
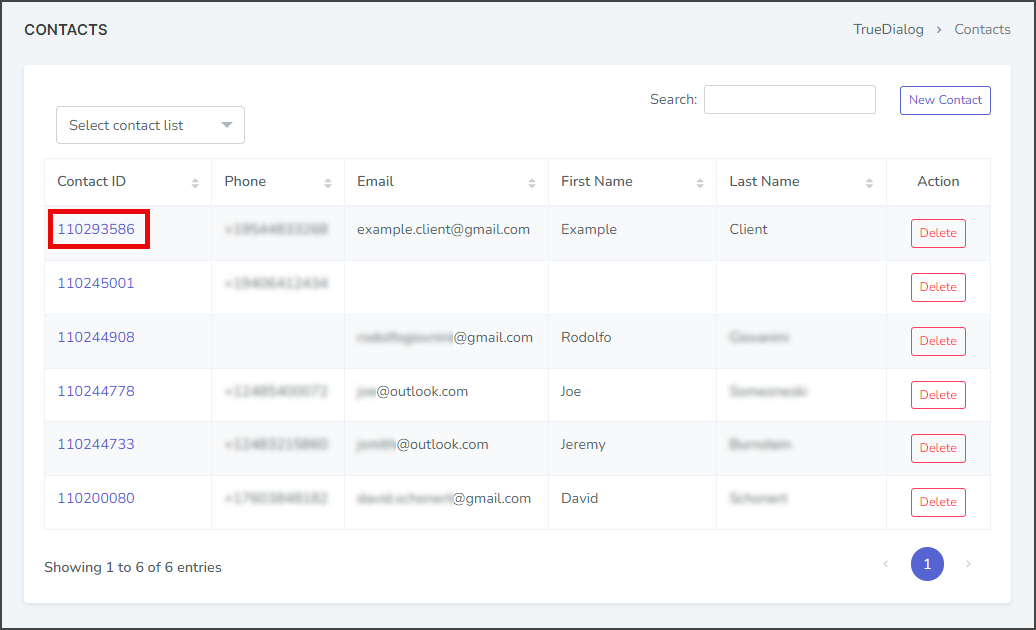
- Click the Contact ID for the contact to edit.
- Update any of the fields in the Basics section.
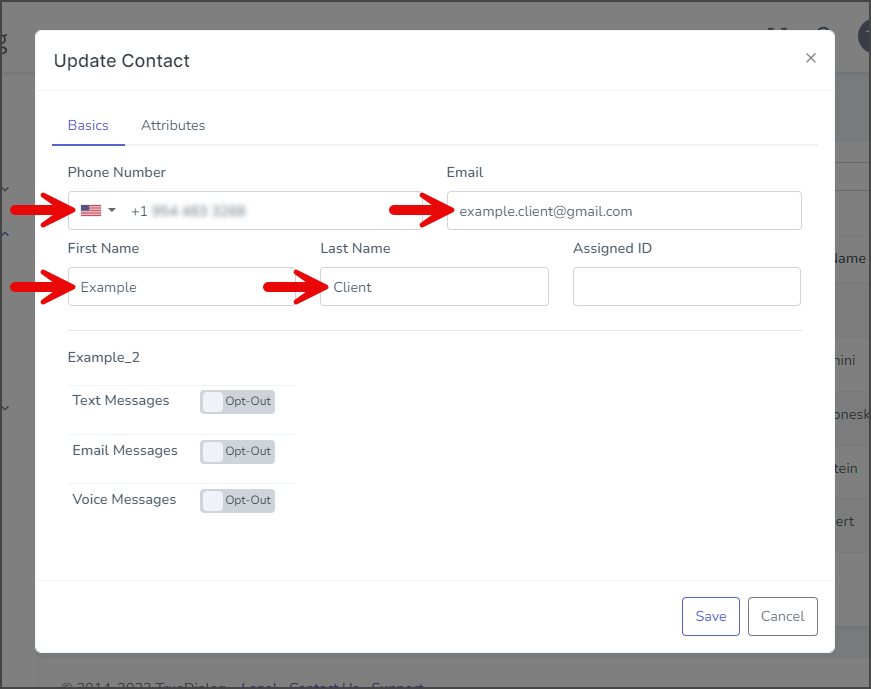
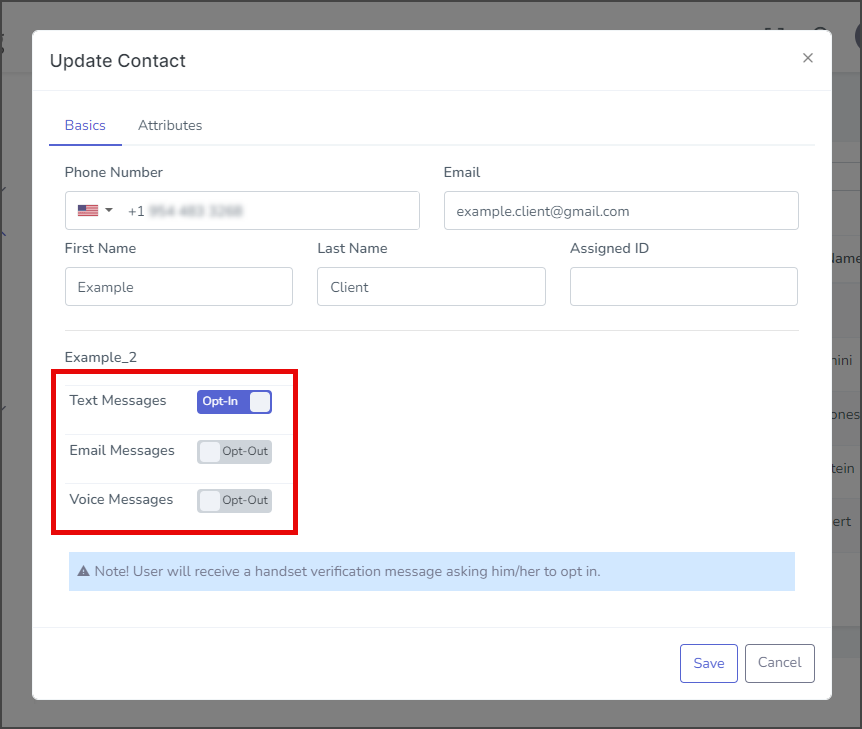
- You can select the corresponding toggle to set Opt-In to Text, Email, or Voice Messages for a contact. By default, a contact is set to Opt-Out of all messages.
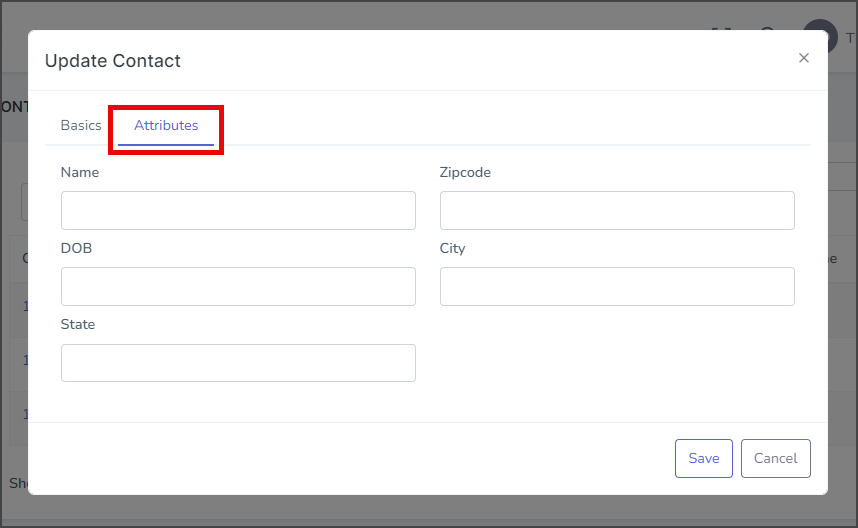
- (Optional) The Attributes tab has all the contact attribute fields available for a contact. These attributes can be entered when a contact is created or updated. See the Contact Attributes article for more information.
- Click Save.
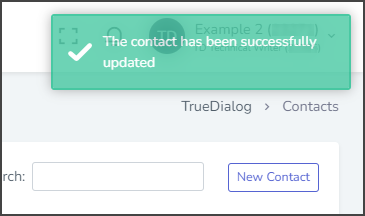
- Once complete, a successfully updated notification will be displayed in the upper right corner.
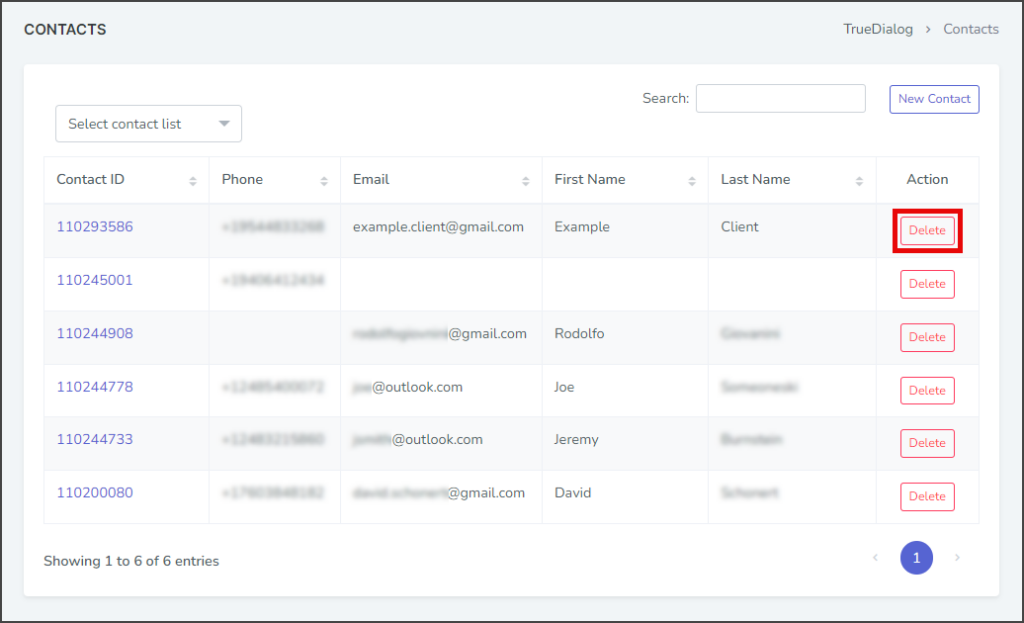
Delete Contact
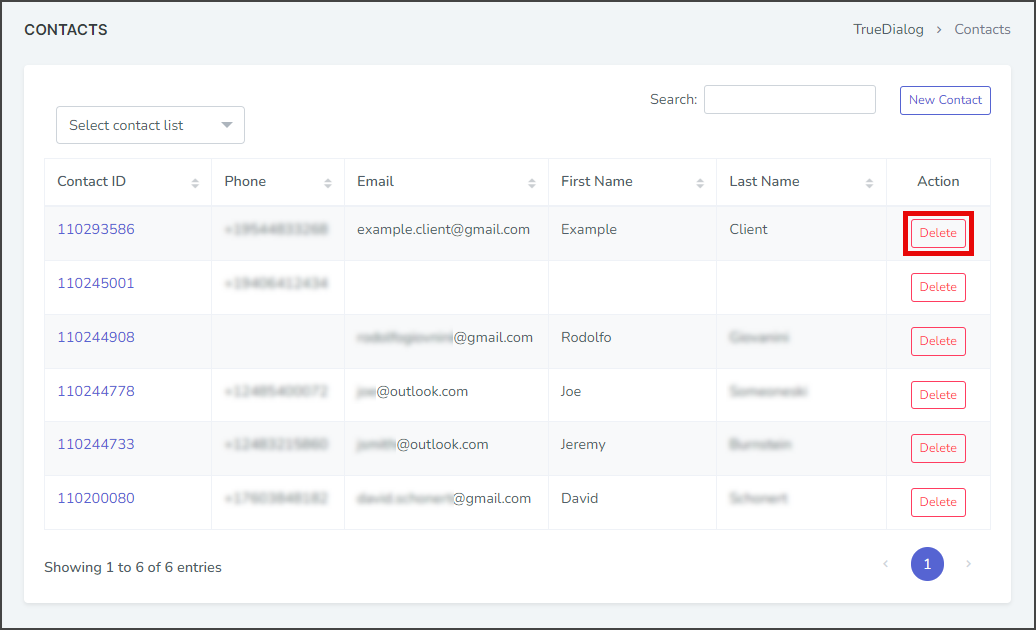
- Click Delete for the contact you wish to delete.
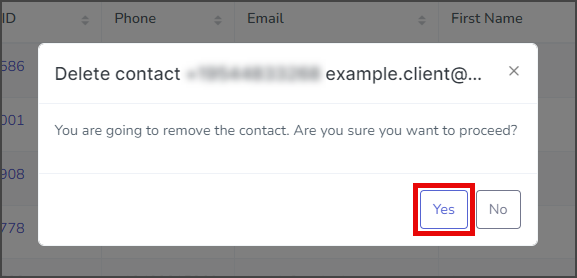
- On the Delete contact confirmation window, click Yes.
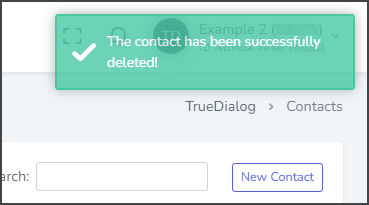
- Once complete, a successfully deleted notification will be displayed in the upper right corner.
Search
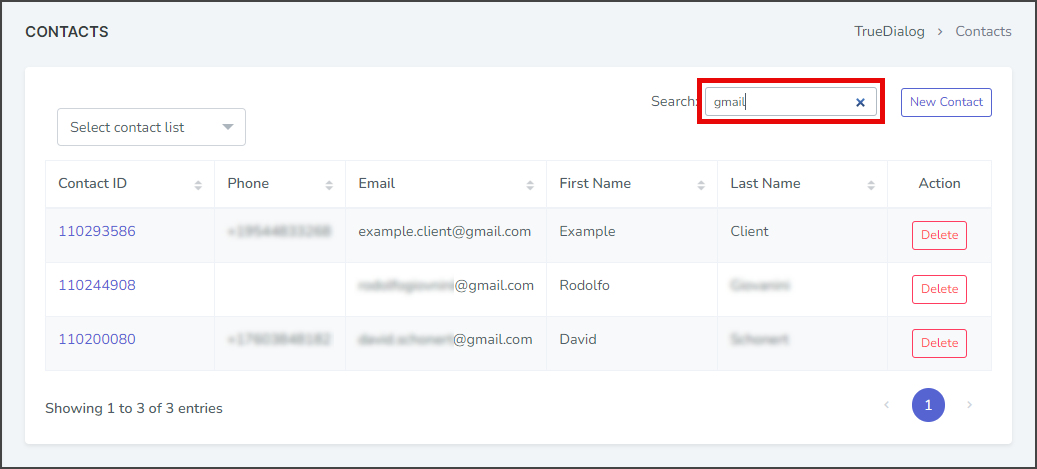
- As you type in the Search box, the results will update in real time, matching your search string to any part of the fields in the contact table. For example, to get a list of contacts using Gmail for their email, start typing gmail.

Contact List Filter
You can use a Contact List to filter your contacts based on specific criteria. This feature enables you to perform advanced searches and view your contacts according to the parameters set in the Contact List. Check out the Creating a Contact List tutorial to learn how to create a Contact List.
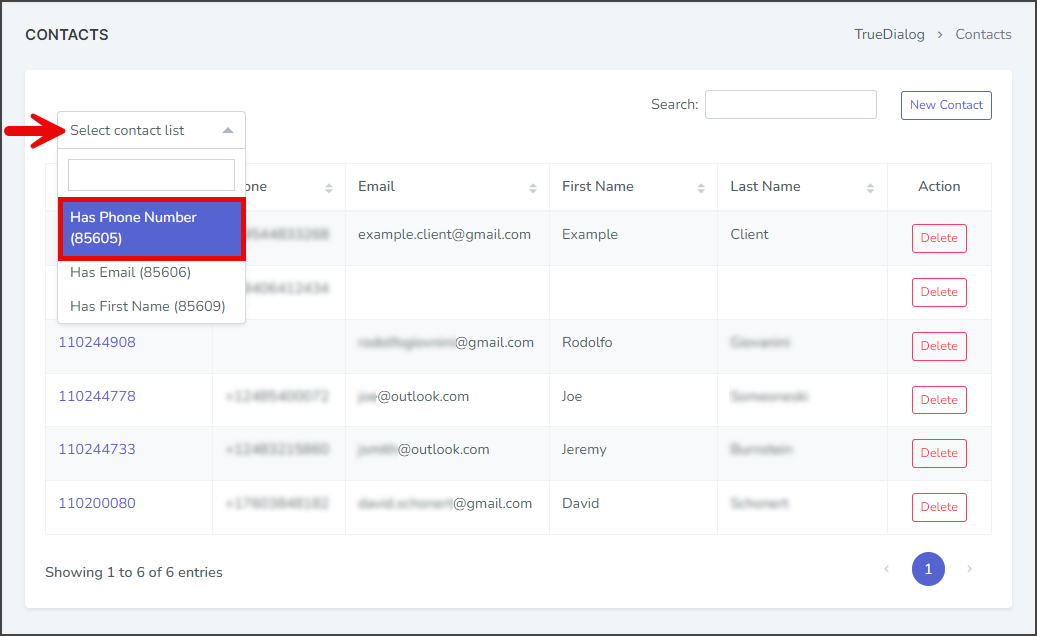
- Click the Select contact list dropdown.

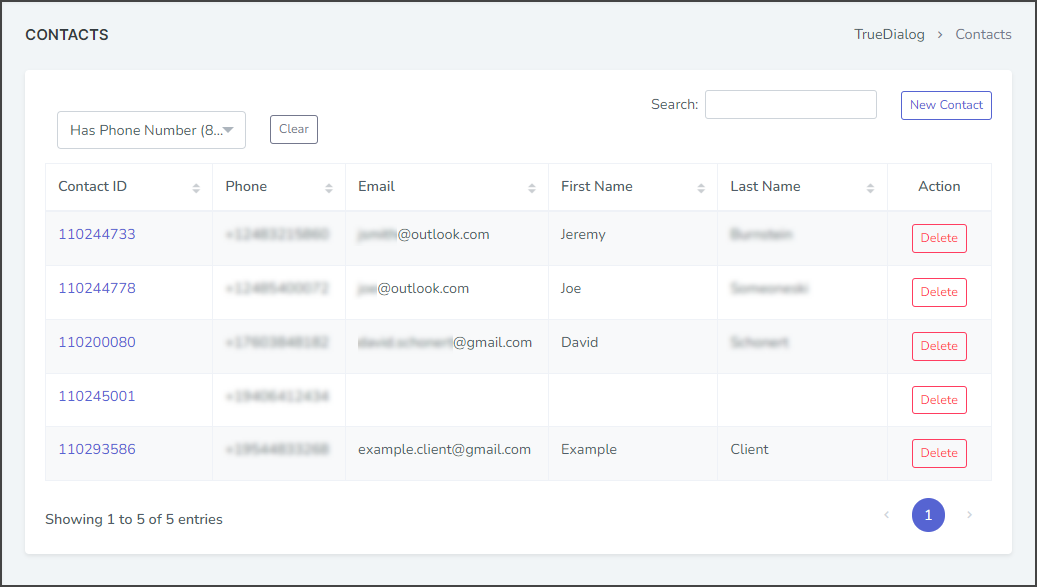
- Select the desired Contact List. For this example, we use a Contact List that only includes contacts with phone numbers.
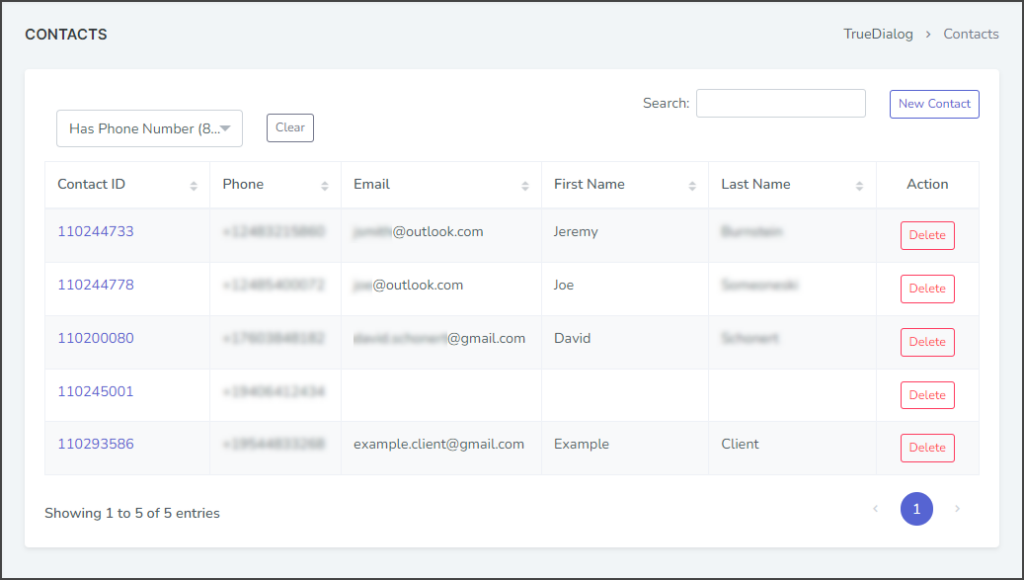
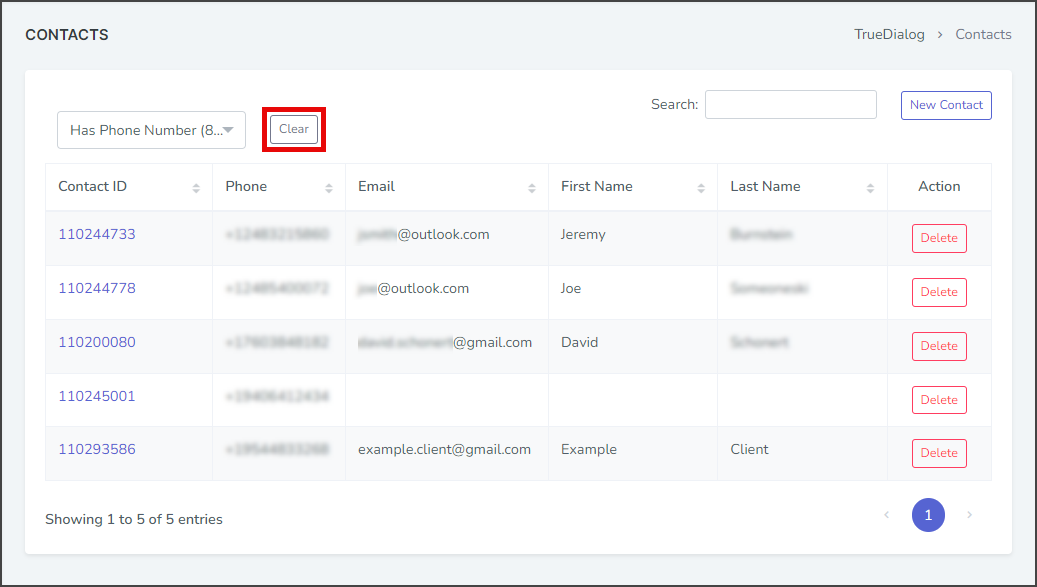
- Click Clear to stop filtering with the Contact List.