TrueDialog Portal
Comms Hub > AI Assistant
This guide shows you how to manage and use the AI Assistant. The AI Assistant is an advanced tool that reads messages received in the Comms Hub and suggests replies. It enables your agents to respond to various client queries quickly. However, unlike basic chatbots, the AI Assistant lets you retain complete control over the conversation by allowing you to edit your responses to fit the ongoing discussion better. To use this feature, you must first create a knowledge base consisting of pairs of questions and answers. Once you have completed these pairs, the AI Assistant will search for matching questions in the knowledge base and suggest possible replies. Each reply has a match percentage, which indicates how well the incoming message matches the question of the proposed reply.
Create a Knowledge Base
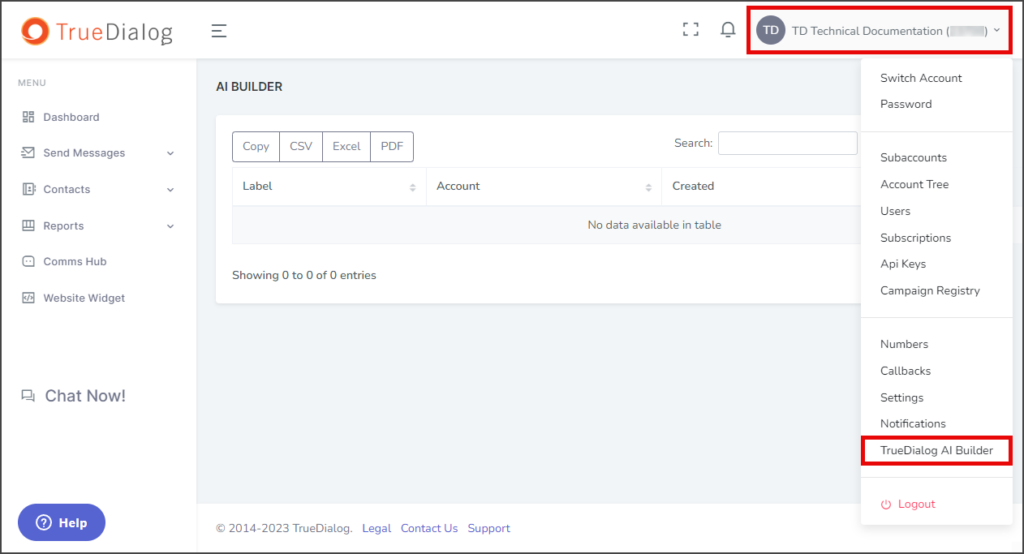
- Click your Account Name in the upper right corner.
- In the dropdown, select AI Builder.
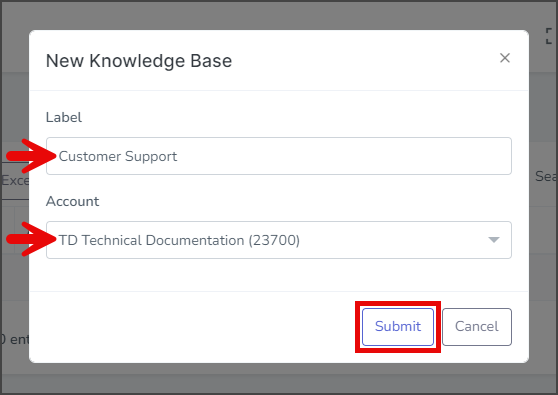
- Click New Knowledge Base.

- Enter a name for your Knowledge Base in the Label textbox.
- Click Account and select the account for which to create the Knowledge Base.
- Click Submit.
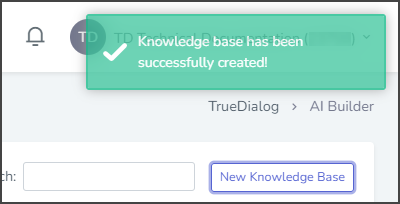
- After creating the Knowledge Base, a success message will appear in the upper right corner.


Create a Question/Answer Pair
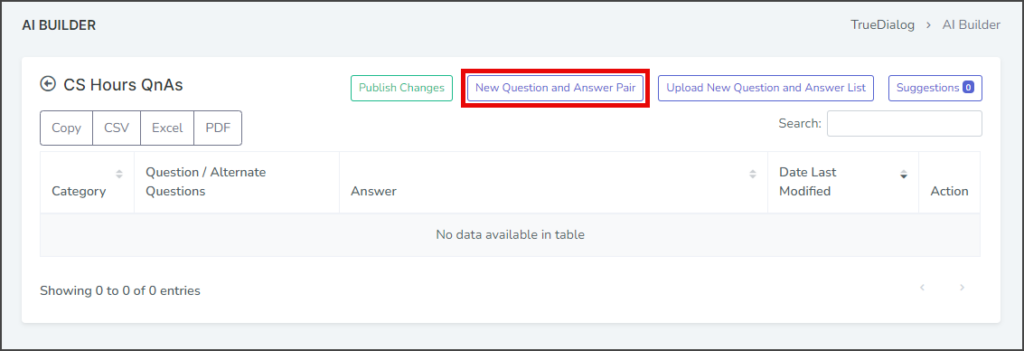
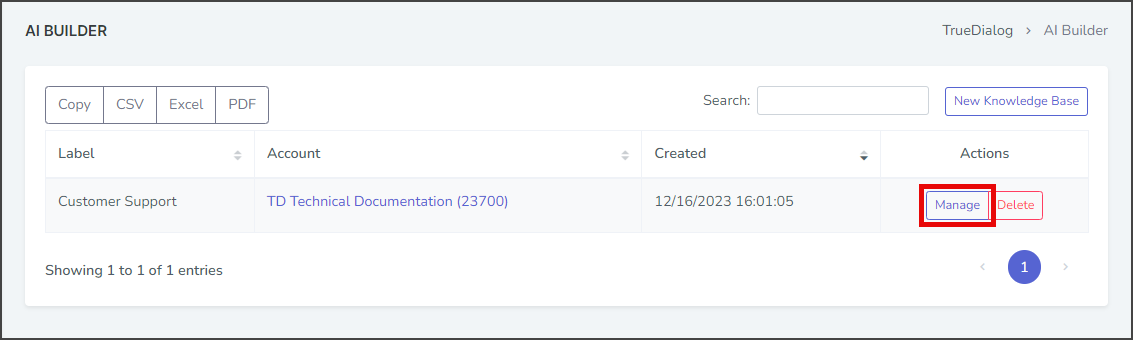
- Click Manage for the newly created Knowledge Base. This will take you to the management page for the Knowledge Base you just made.

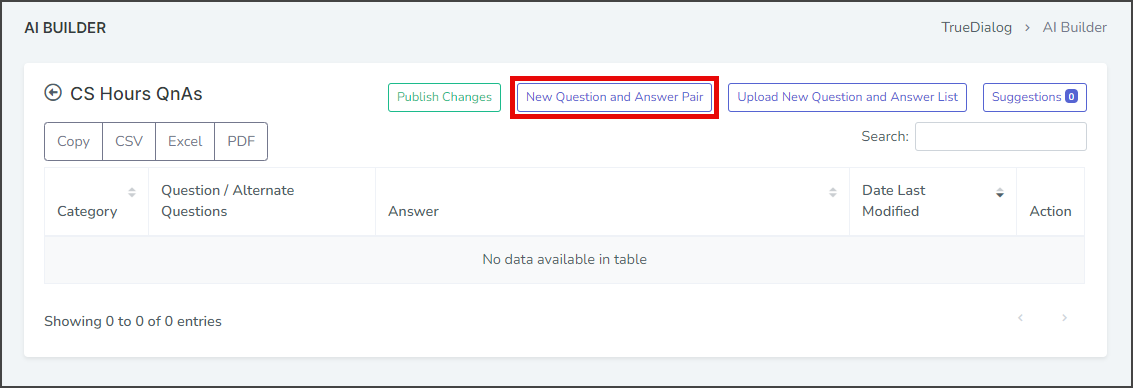
- Click New Question and Answer Pair.
- Enter the question you want to answer in the Question(s) textbox.
- Enter the answer to the question in the Answer textbox.
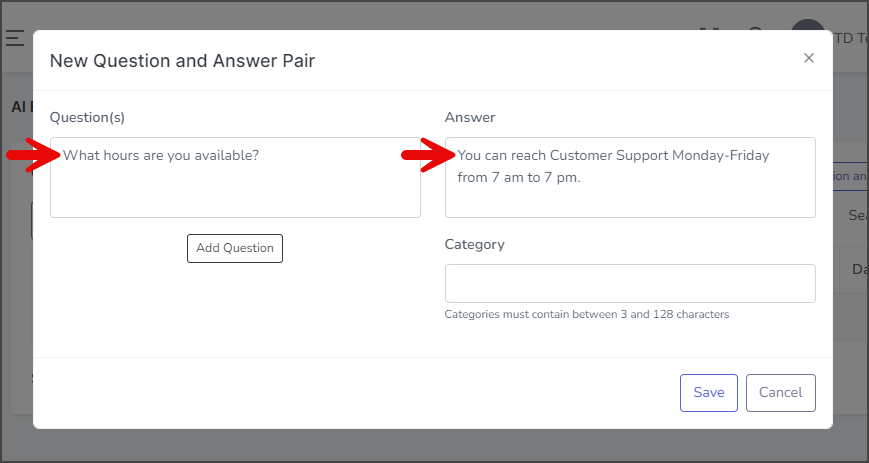
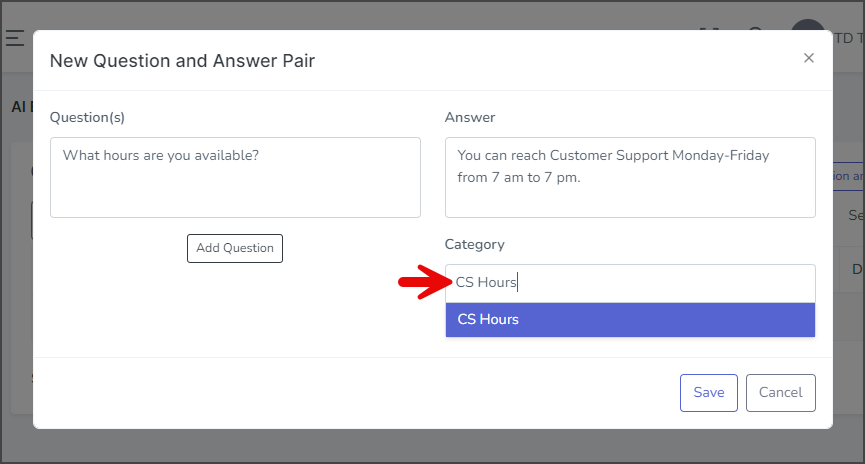
- Click the Category box and select a category or create a new one.
- To create a new category by entering its name and selecting it.
- To create a new category by entering its name and selecting it.
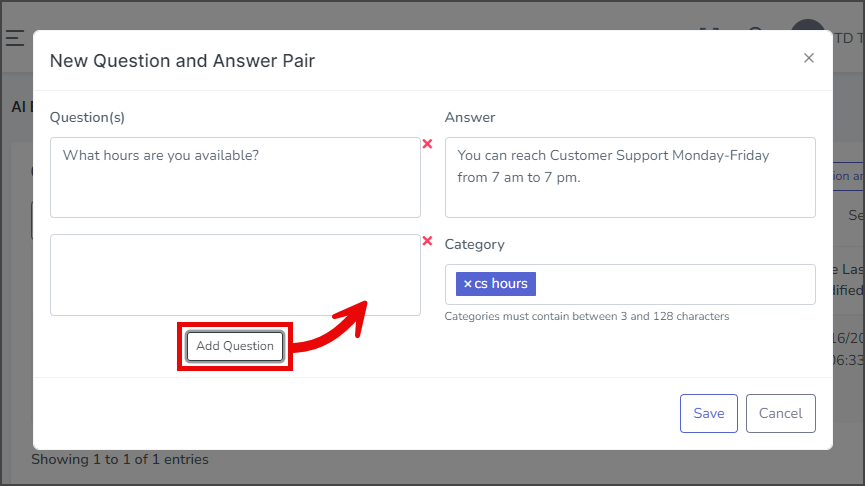
- (Optional) Click Add Question to add another question to be paired with the answer.
- Enter the question you want to answer in the new Questions(s) textbox.
- Enter the question you want to answer in the new Questions(s) textbox.
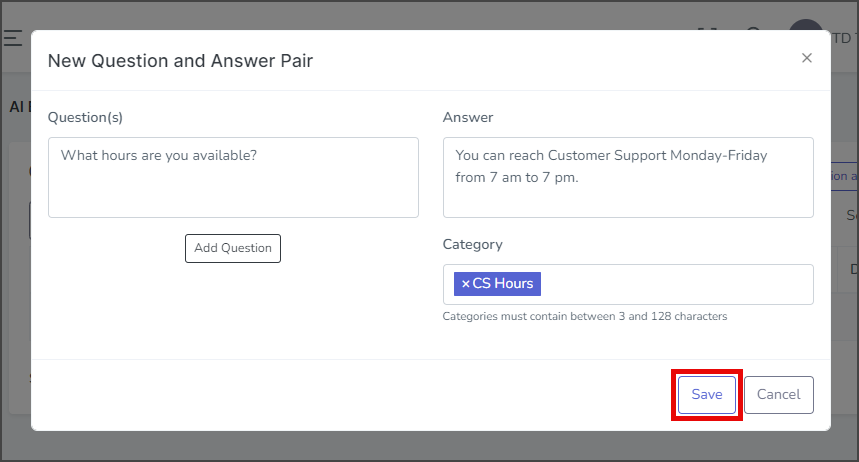
- Click Save.
- After creating the Question and Answer Pair, a success message will appear in the upper right corner.
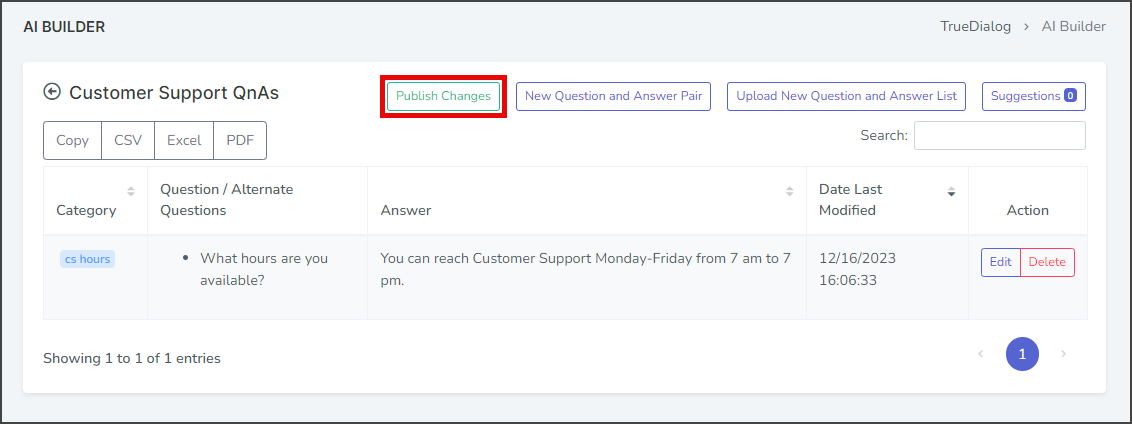
- Click Publish Changes to make the newly created Question and Answer Pair take effect in the system so the AI Assistant can reply to messages.

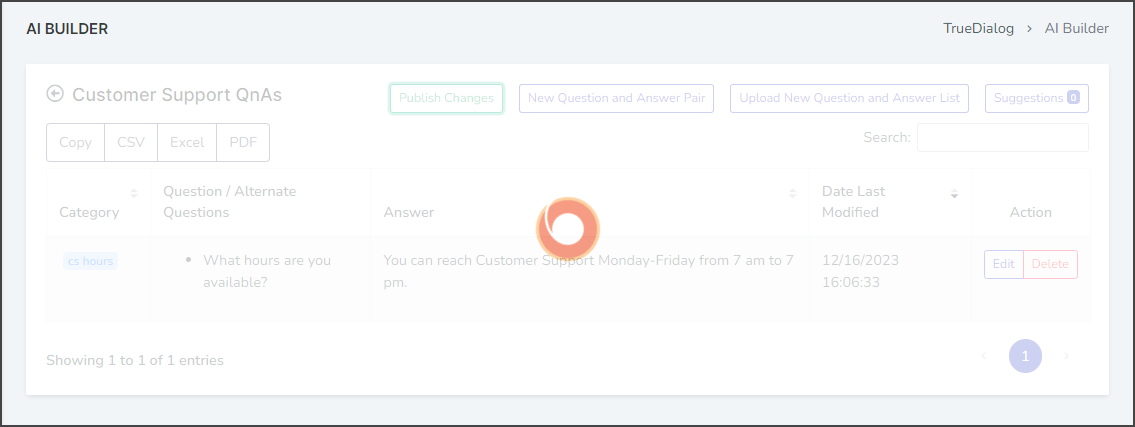
- Wait for the busy indicator to finish.

Use Question/Answer Pair
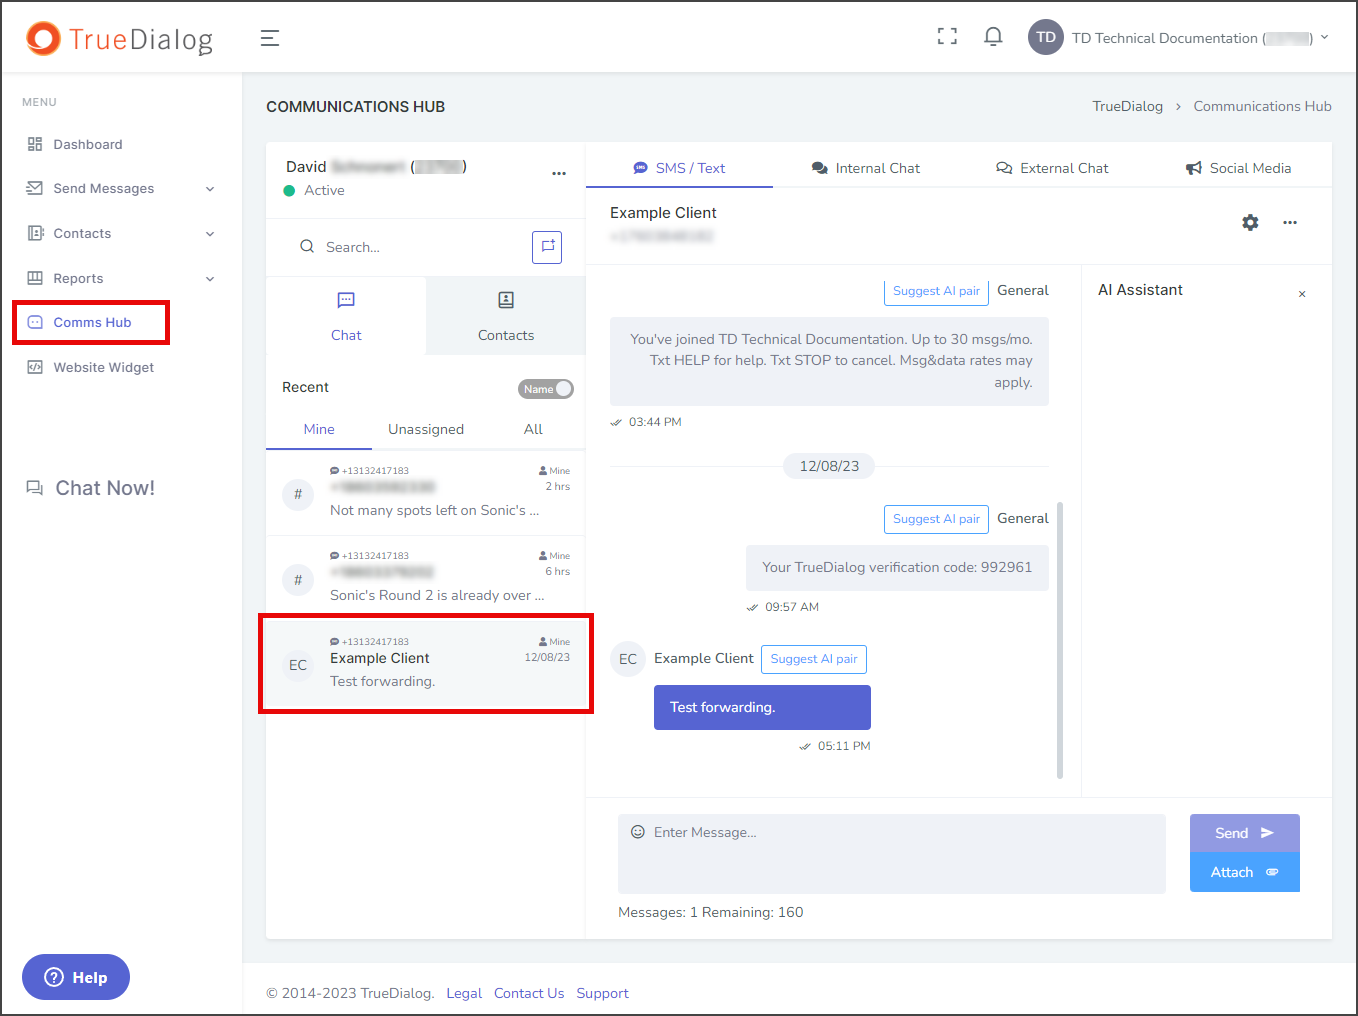
- Click Comms Hub in the left sidebar.
- Select the contact that will send the test message.

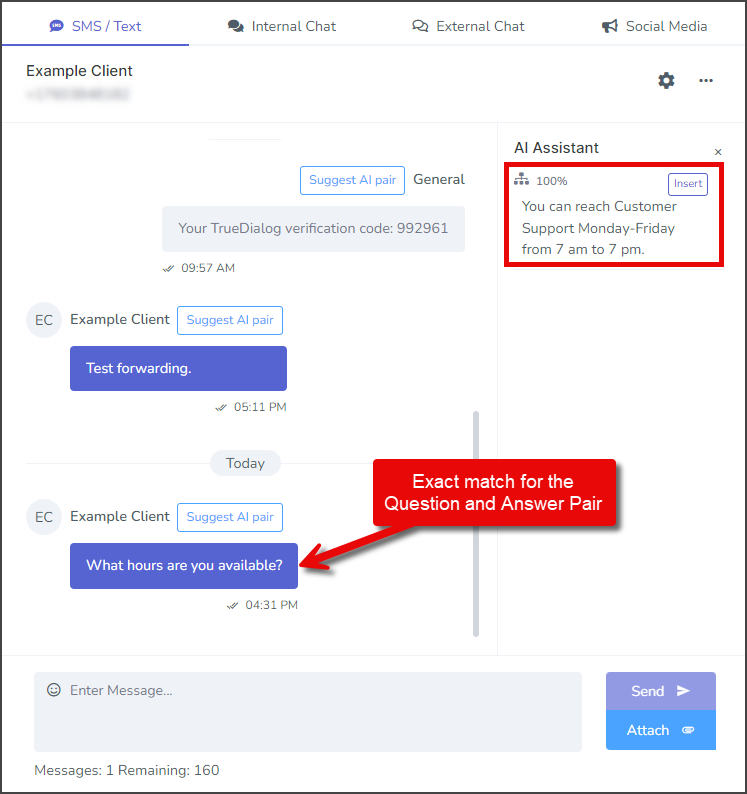
- From the contact’s phone, send a message that is exactly the same as the question in the Question and Answer Pair.
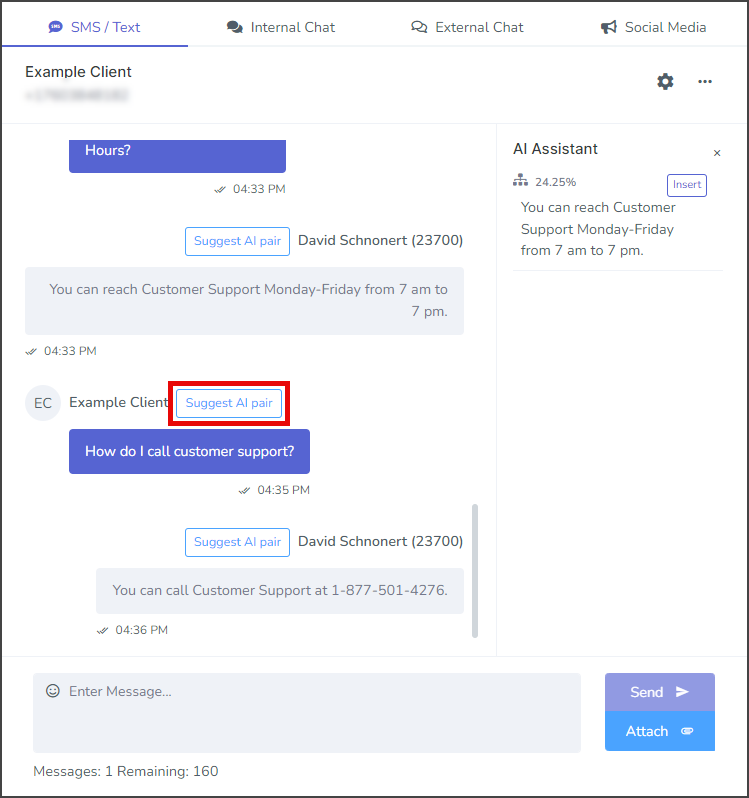
- Once the message is received, the AI Assistant matches the message and displays suggested replies. Each suggested reply will have a percentage to indicate how good of a match the Question and Answer Pair is for the contacts question.
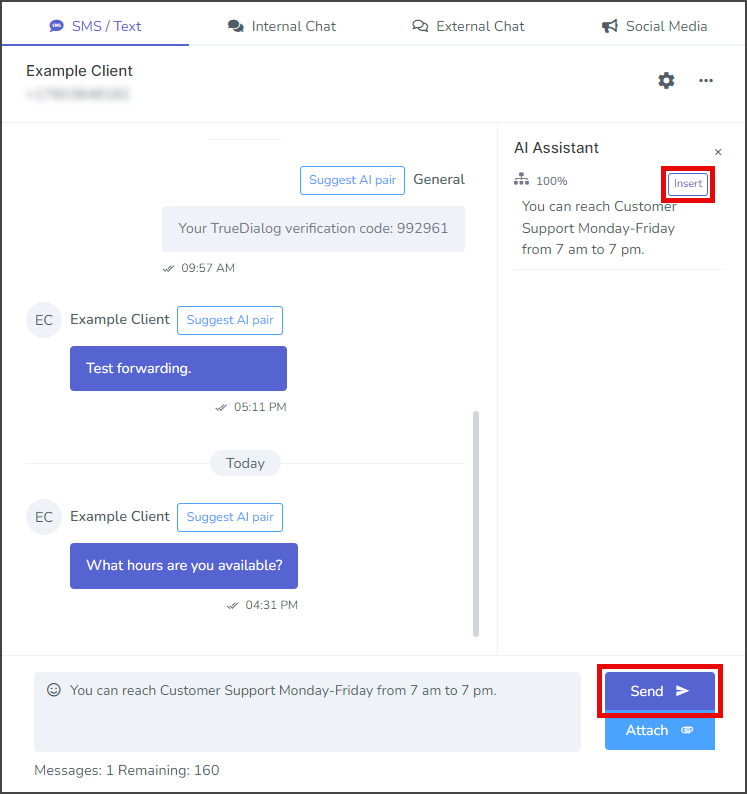
- Click Insert for the AI Assistant suggested message to copy the message to the Message textbox.
- After inserting the suggested message, it can be edited to better suit the conversation context.
- Click Send to send the message to the client.
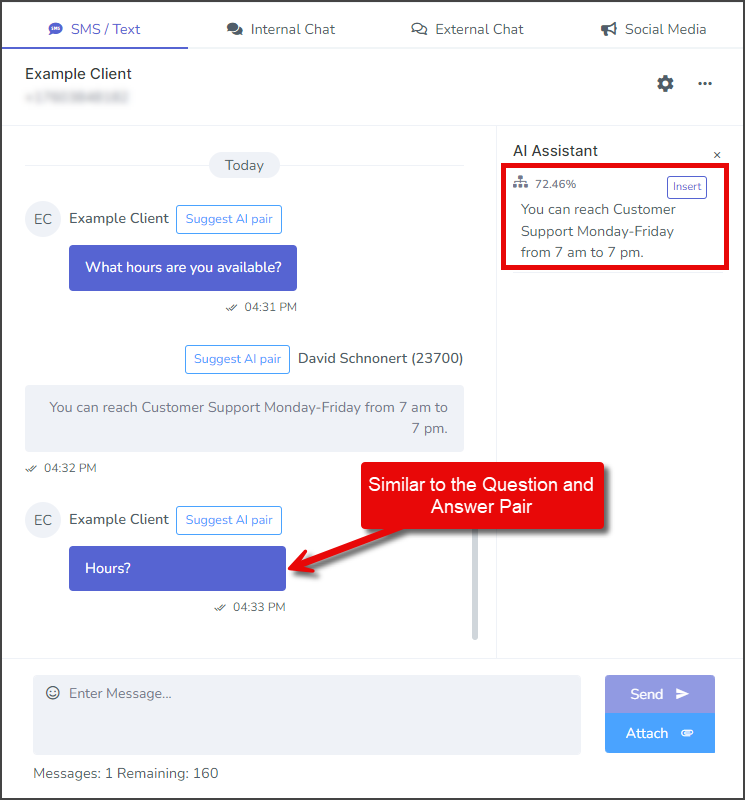
- The next test uses a message from the contact that isn’t a perfect match.
- From the contact’s phone, send a message similar to the question in the Question and Answer Pair.
- Once the message is received, the AI Assistant matches the message and displays suggested replies. Note: This time, the AI Assistant gave the reply a 72.46% match instead of 100% for a perfect match.
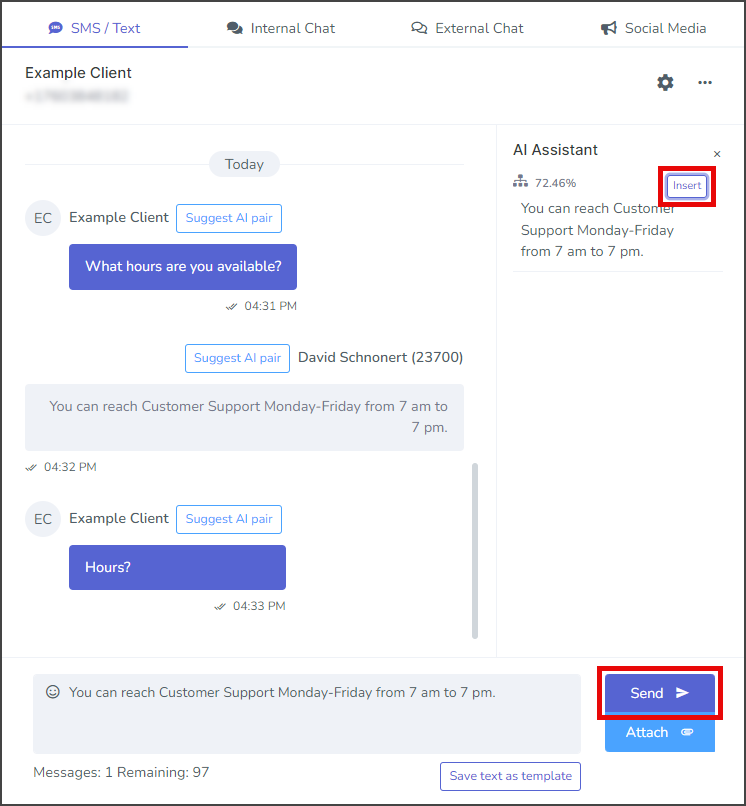
- Click Insert for the AI Assistant suggested message to copy the message to the Message textbox.
- Click Send to send the message to the client.
Suggest AI Pair
- Click Suggest AI pair for any message in the message thread.
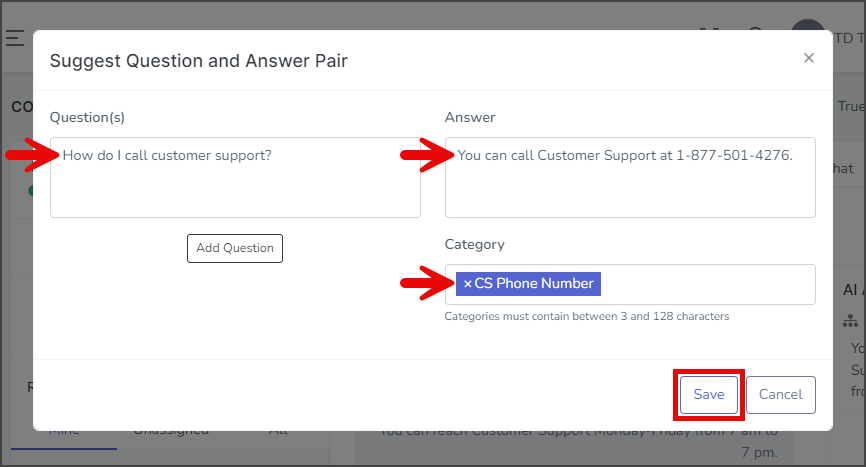
- Complete the Question and Answer Pair form. The Question(s) will be filled in if you selected the contact’s message, and the Answer will be filled in if you selected your message.
- Click Save to create a new Question and Answer Pair in your Knowledge Base.
- After creating the Question and Answer Pair, a success message will appear in the upper right corner.
Update Question/Answer Pair
- Click your Account Name in the upper right corner.
- In the dropdown, select AI Builder.
- Click Manage for the Knowledge Base you are using.
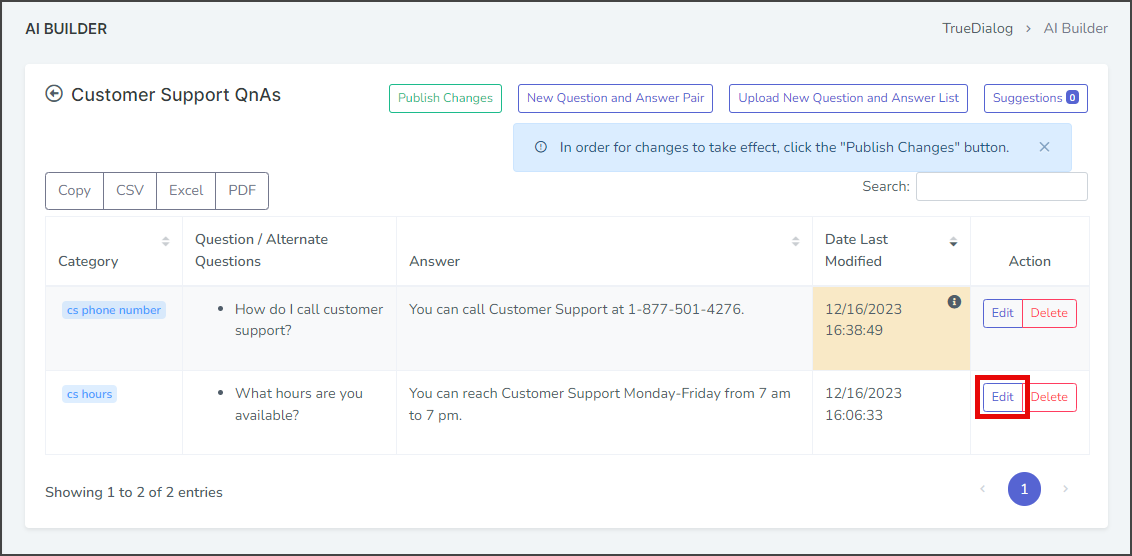
- Click Edit for the Question and Answer Pair to update.

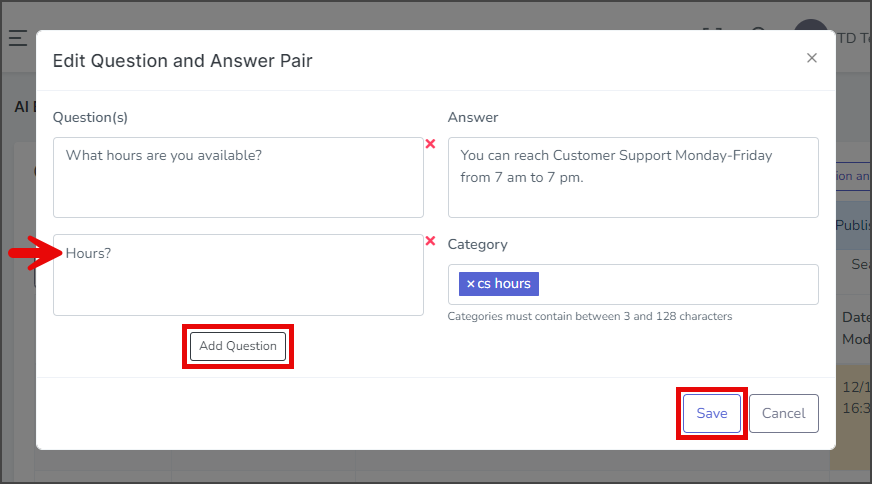
- Update any of the fields on the Edit Question and Answer Pair window.
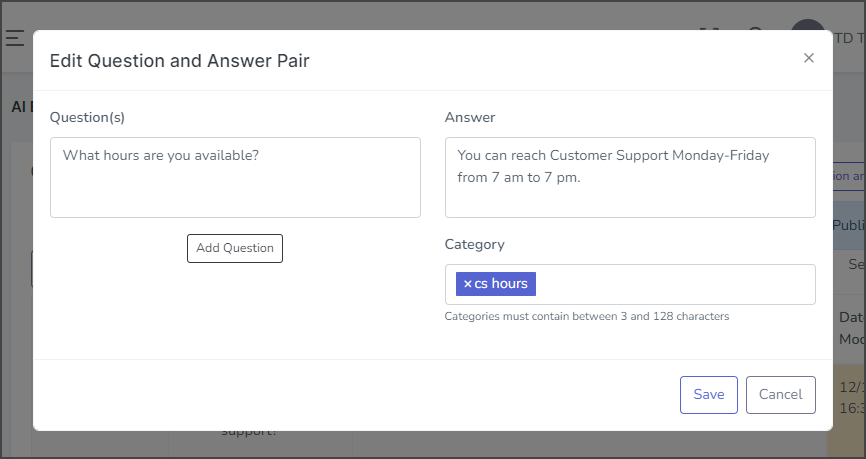
- For this example, we are adding a new question.
- Click Add Question.
- Enter the question to pair with the answer in the new Question(s) textbox.
- Click Save.
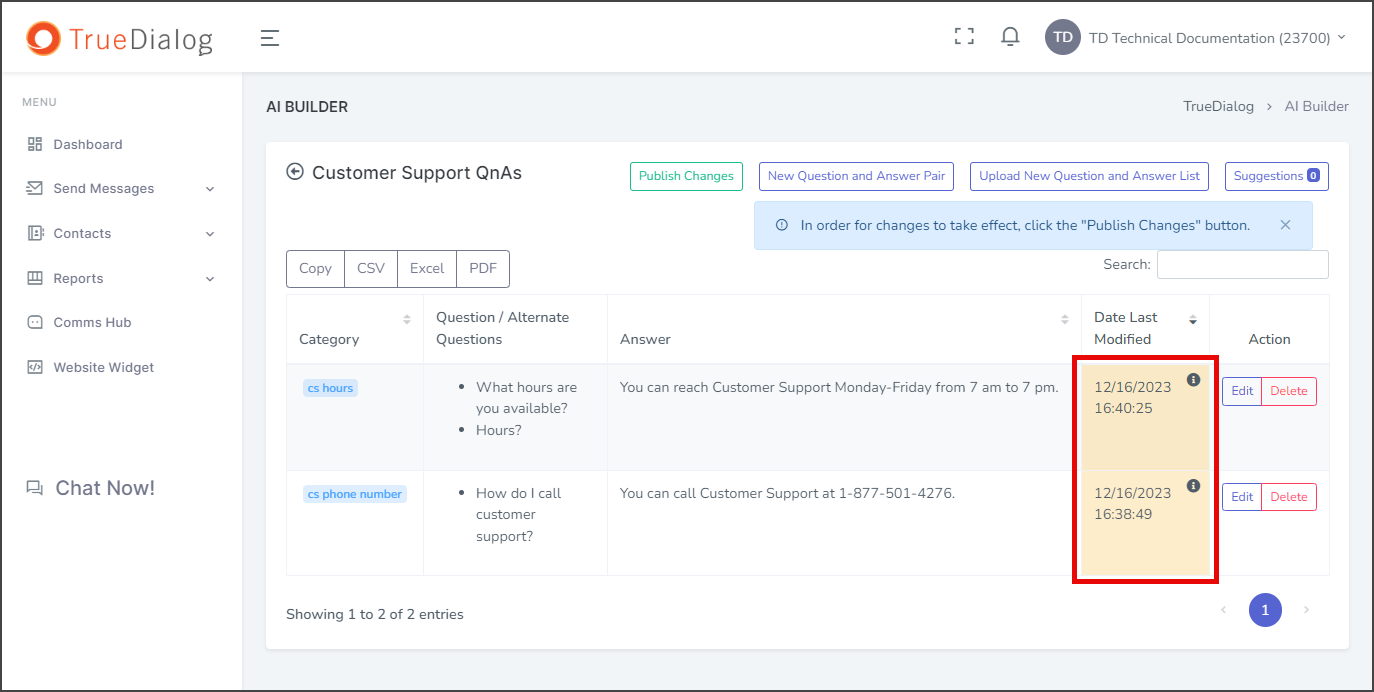
- Once updated, the changes won’t take effect until they are published.
- Any unpublished changes will be highlighted in yellow with an information circle icon in the upper right corner of the Date Last Modified column.

- Any unpublished changes will be highlighted in yellow with an information circle icon in the upper right corner of the Date Last Modified column.
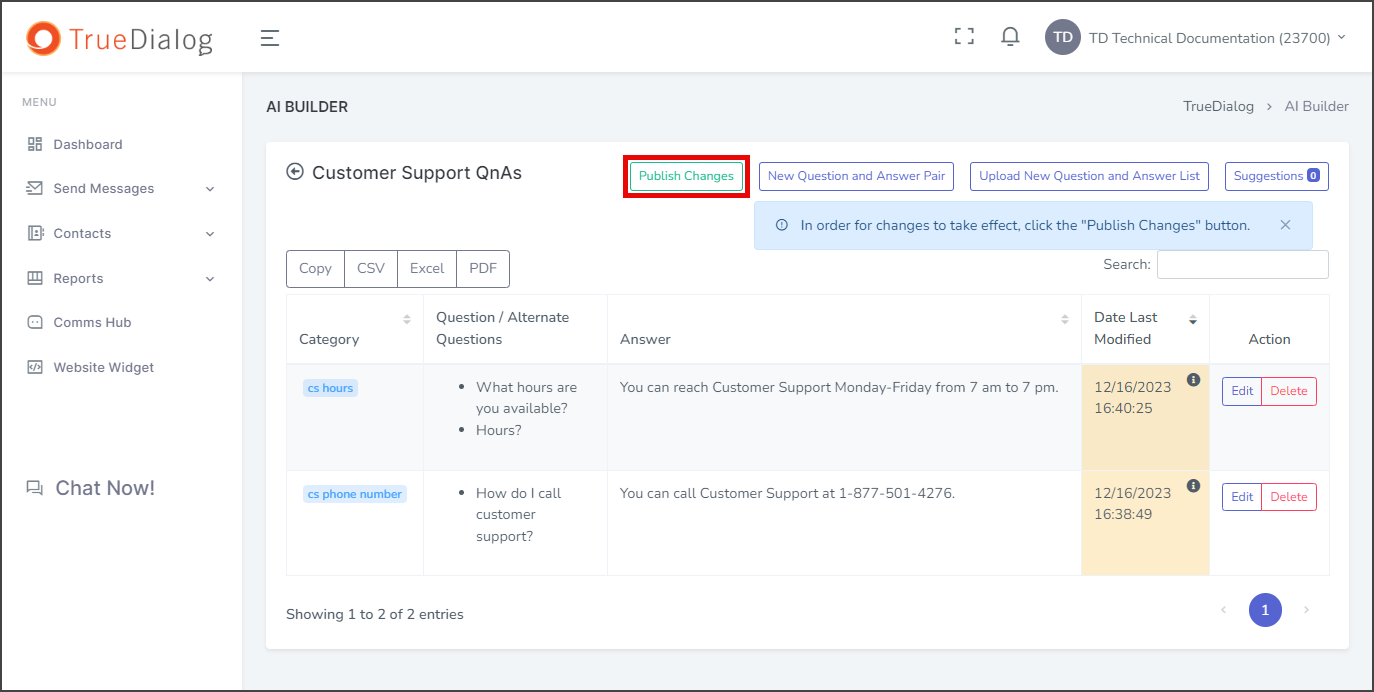
- Click Publish Changes.
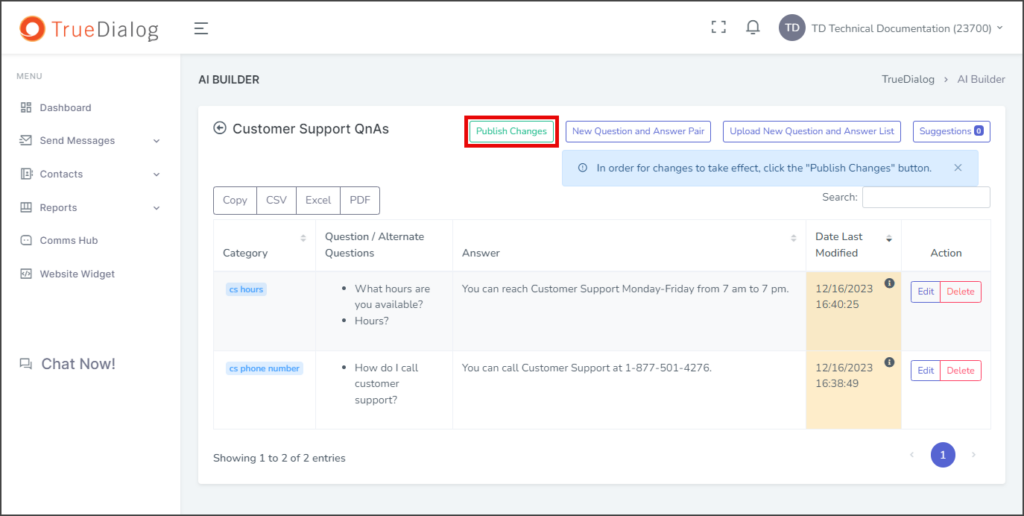
- Wait for the busy indicator to finish.