
TrueDialog Portal
Administration > WhatsApp
This guide will show you how to manage your WhatsApp connections. You can view your WhatsApp numbers, change the TrueDialog account your WhatsApp Account is connected to, and Remove and Delete all your WhatsApp connection data. There are two ways to access the management features of your WhatsApp connections, as shown in the instructions below. To register a new number with WhatsApp, follow the instructions in the Adding a WhatsApp Phone Number article.
WhatsApp Management Pages
You can manage your WhatsApp connections from the Comms Hub and the WhatsApp Connector page. See the following instructions for accessing both management pages.
WhatsApp Connector Page
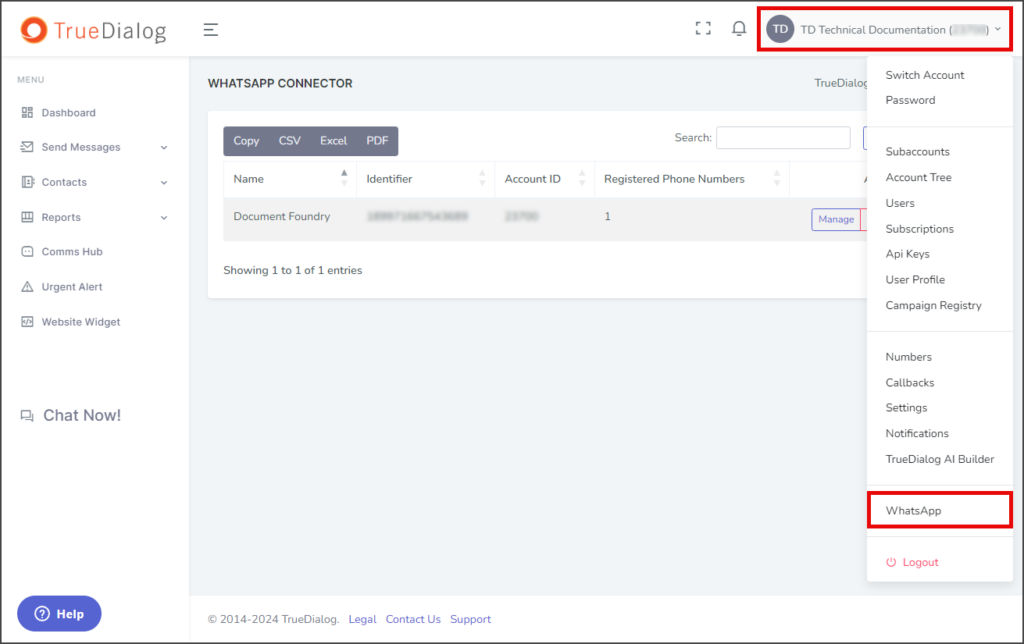
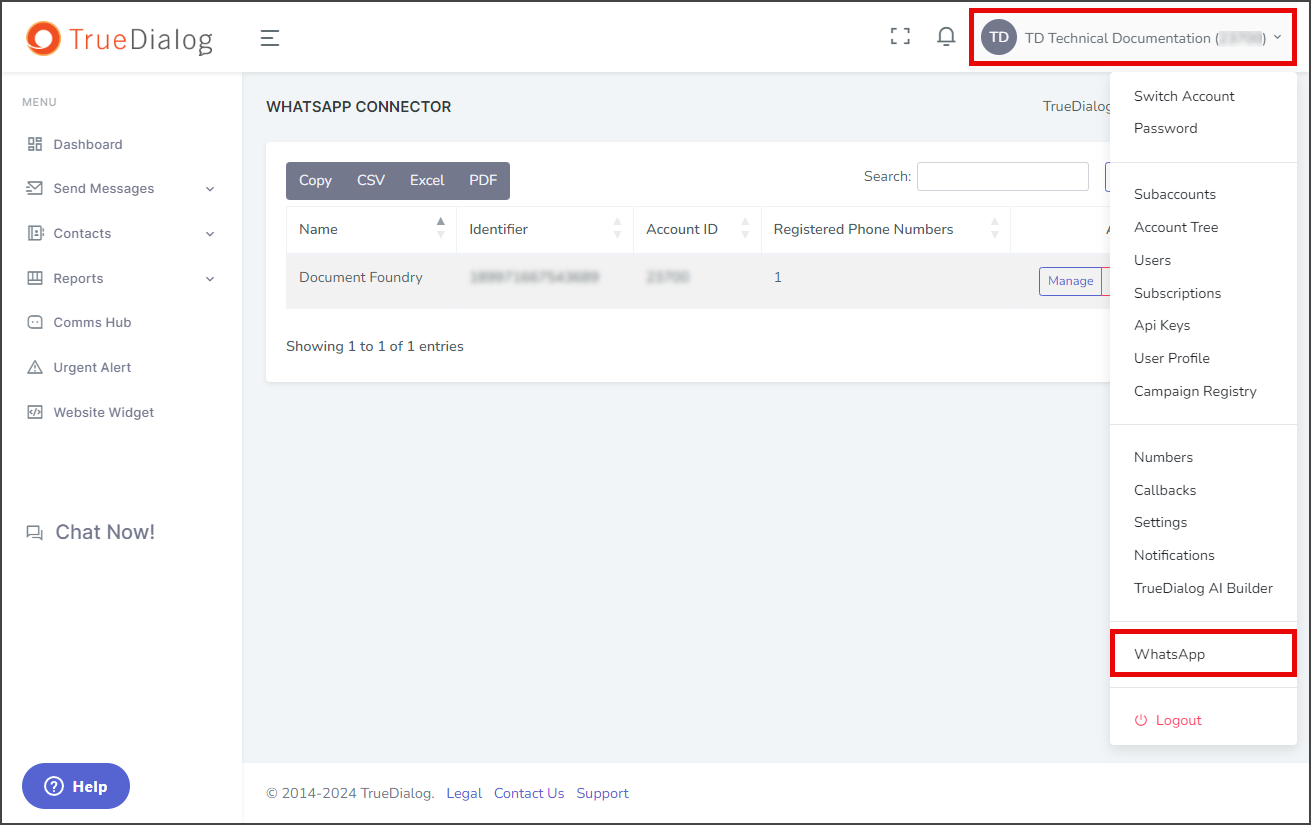
- Click your Account Name in the upper right corner.
- In the dropdown, select WhatsApp.
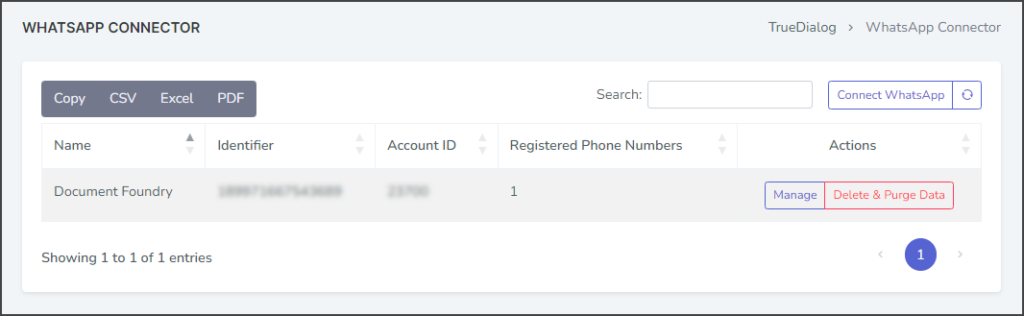
- View each of your WhatsApp connections.

Comms Hub – Channels Window
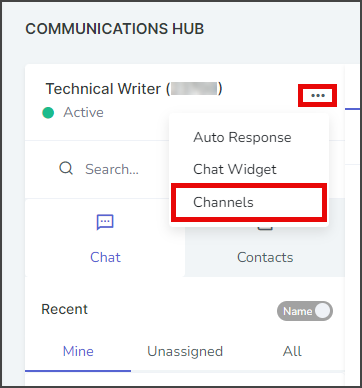
- Access the Communication Hub page by clicking Comms Hub in the left sidebar.
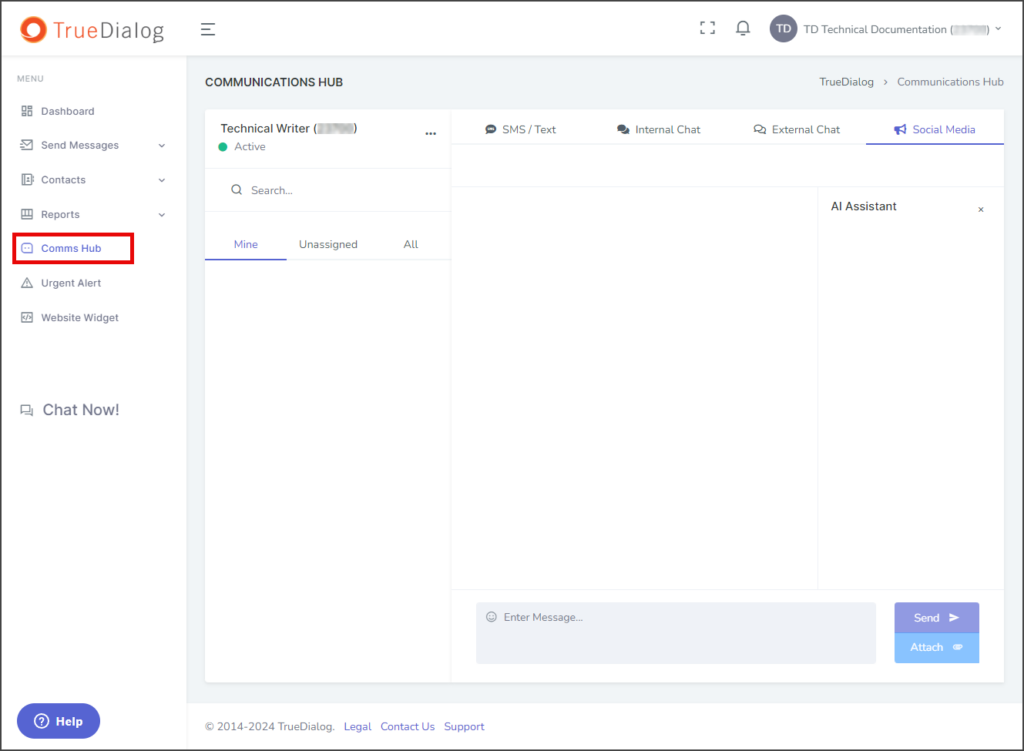
- Click the horizontal line of three dots to the right of the user name and select Channels.
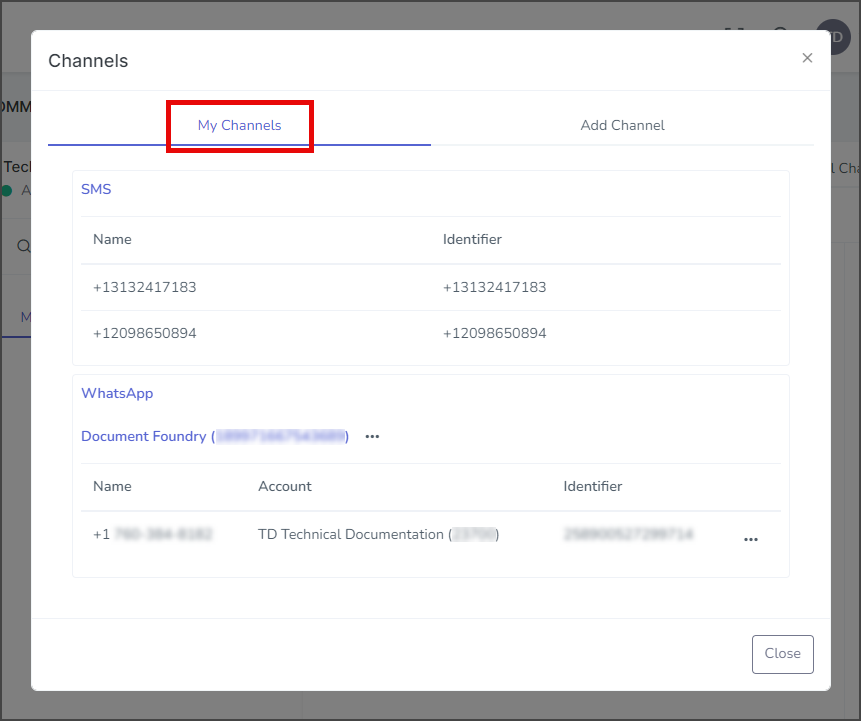
- Click the My Channels tab.

View Registered Numbers
You can view information about each phone number registered to your WhatsApp Account.
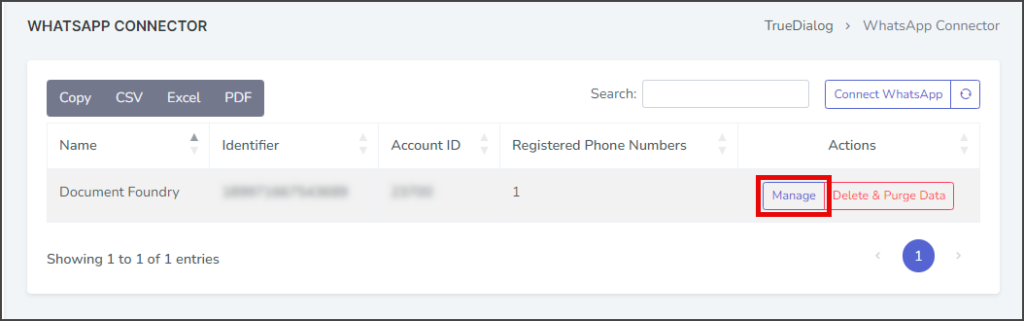
- From the WhatsApp Connector page:
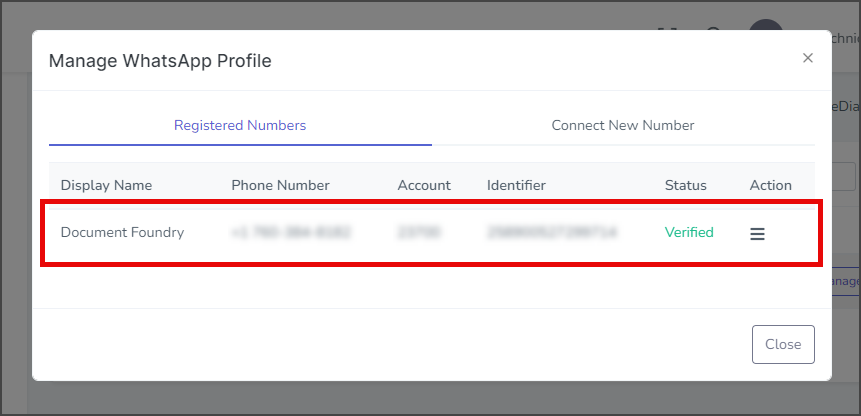
- Click Manage.
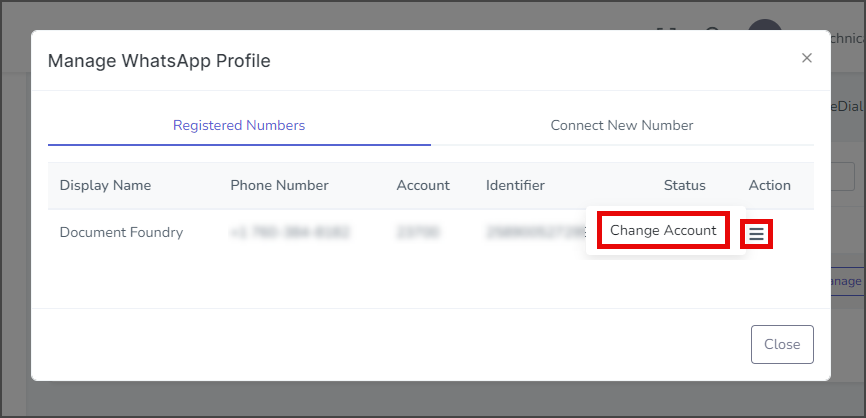
- The Registered Numbers tab displays each phone number registered to the selected WhatsApp Account.
- Each phone number has essential information like Account, which is the account that manages new message assignments, and Status, which is the status of the number with WhatsApp.
- From the Comms Hub – Channels window:
- The WhatsApp section displays the connection and a list of registered phone numbers.
- Each phone number has essential information, such as Account, which is the account that manages new message assignments. Note: The WhatsApp Connector page displays more information about phone numbers.
Change Account
Messages from new users will show up as unassigned. These messages must be assigned to an account before you can send a reply. You can find the account that manages the assignment of unassigned messages in the Account column of the WhatsApp phone number. If you need to change the managing account, follow the instructions below.
- From the WhatsApp Connector page:
- Click Manage.
- View the managing account in the Account column.

- Click the three horizontal lines in the Action column for the WhatsApp number to change the account.
- Click Change Account.
- Click Manage.
- From the Comms Hub – Channels window:
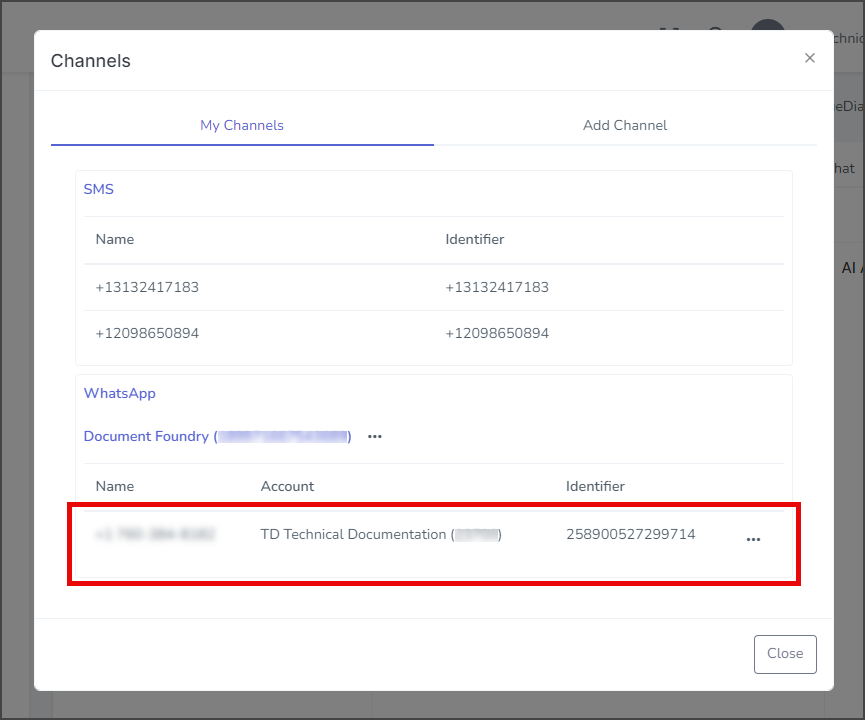
- View the managing account in the Account column.

- Click the three dots on the right of the WhatsApp number to change the account.
- Click Change Account.

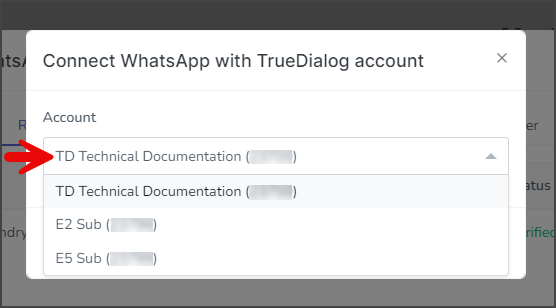
- View the managing account in the Account column.
- Click the Account dropdown and select the account to change the WhatsApp connection.
- Click Connect.
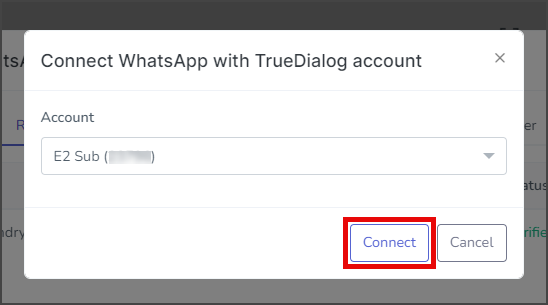
- The Account will be updated with the new account selection.


Remove WhatsApp Connection
This operation will disconnect your WhatsApp Account from TrueDialog’s system and delete all associated data from TrueDialog. No changes will be made to your WhatsApp Account on WhatsApp’s servers.
- From the WhatsApp Connector page:
- Click Delete & Purge Data.
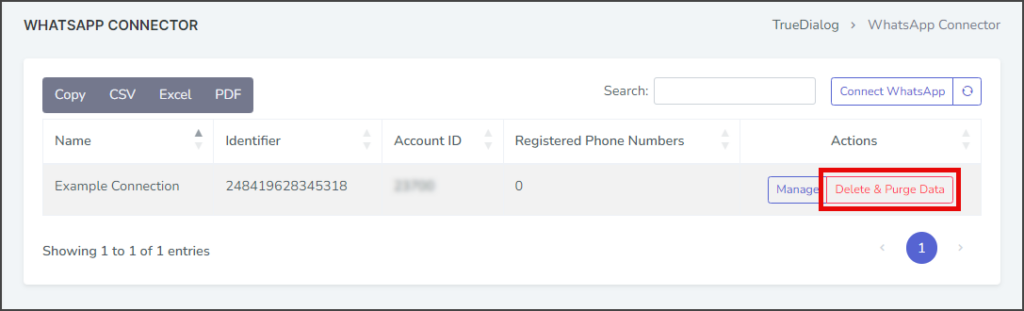
- Click Delete & Purge Data.
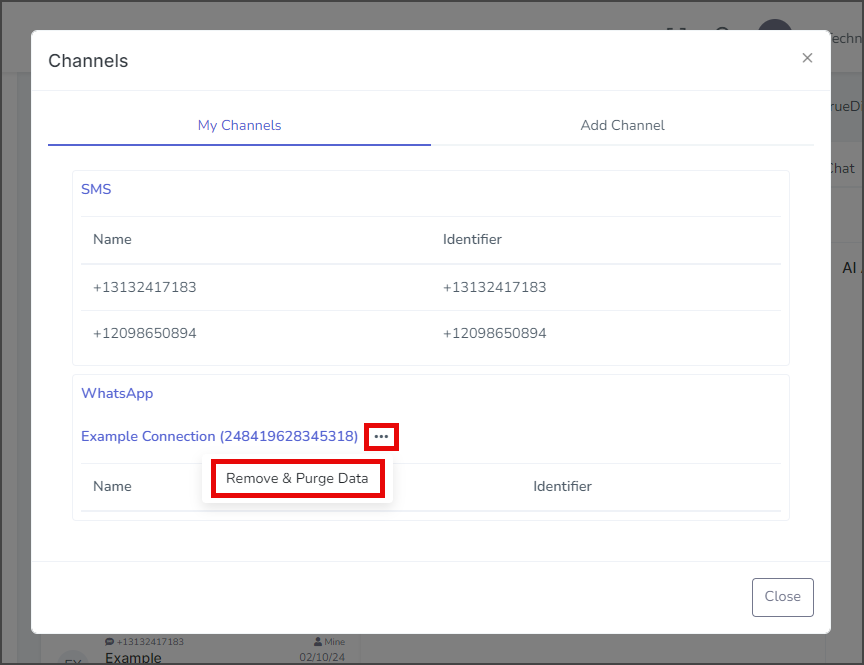
- From the Comms Hub – Channels window:
- Click the Three Dots on the right side of the Facebook Messenger connection you want to manage.
- Select Remove & Purge Data.
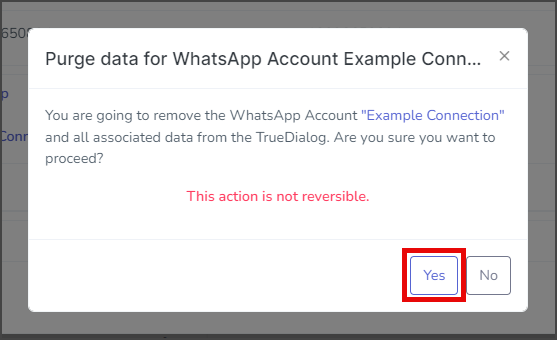
- Click Yes in the Purge Data confirmation window.
- Wait for the action to complete.
- After removing the Facebook Account, a success message will appear in the upper right corner.
