
TrueDialog Portal
Comms Hub > Chat Widget
This article explains how to manage your Chat Widgets. The Chat Widget can be integrated with your website to allow users to start a chat directed to the Comms Hub – External Chat. This article shows how to edit an existing widget, change the notification sound, and delete a widget. See the Creating a Comms Hub Chat Widget article for instructions on creating a Chat Widget.
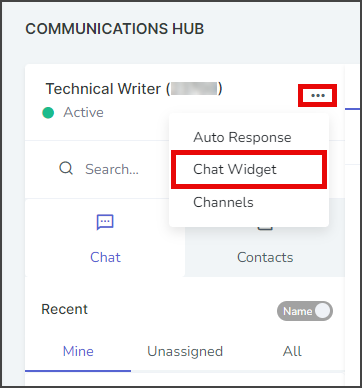
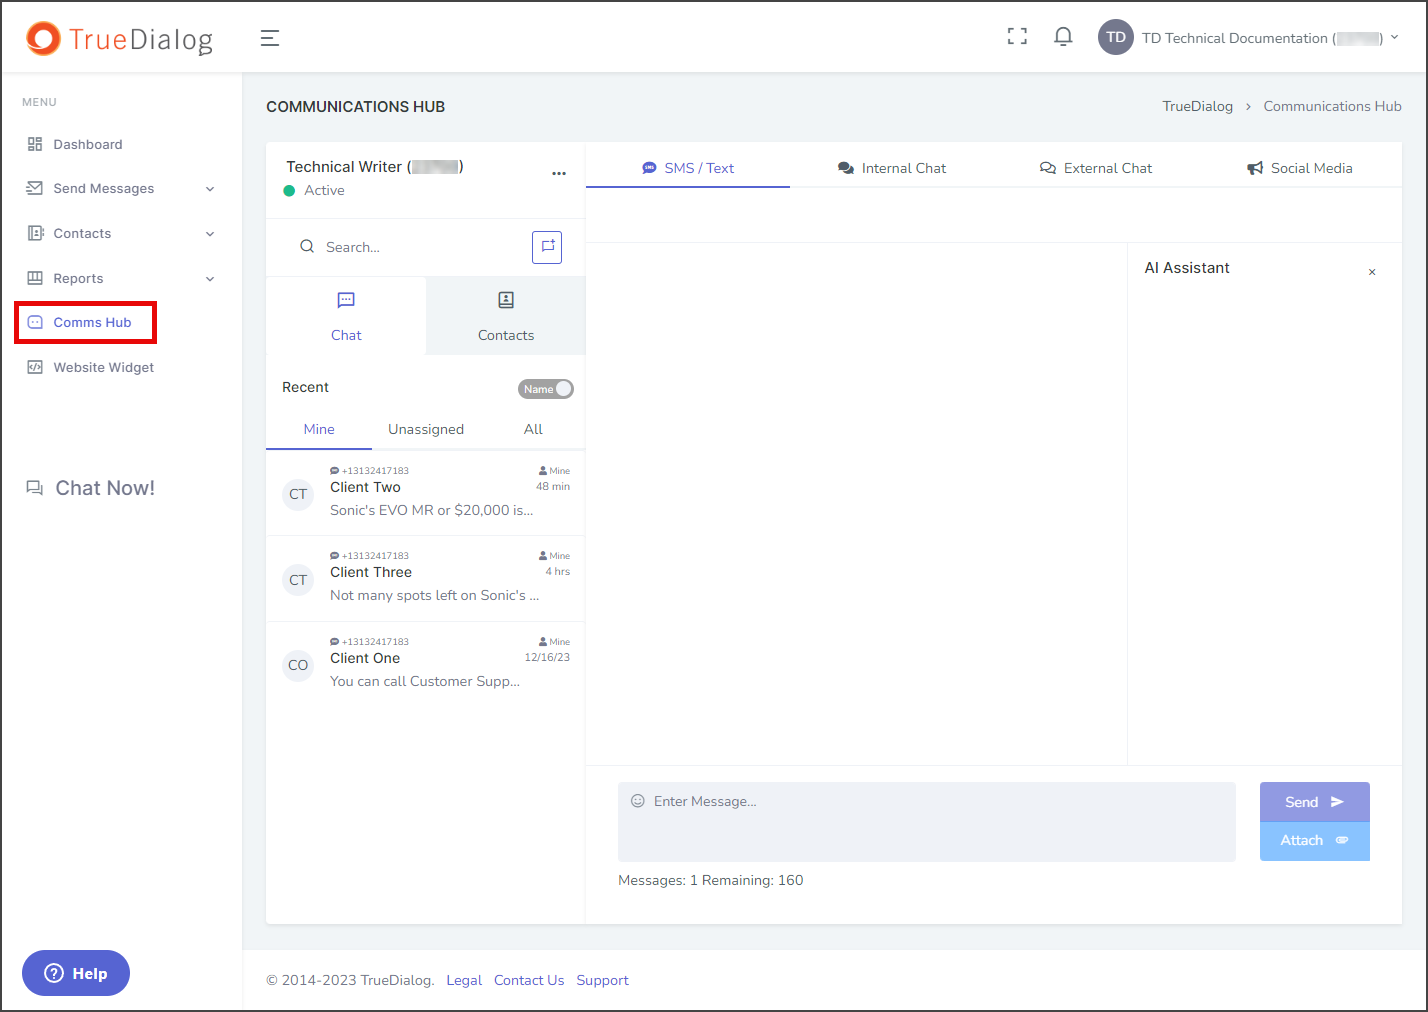
- Access the Communication Hub page by clicking Comms Hub in the left sidebar.

- Click the horizontal line of three dots to the right of the user name and select Chat Widget.
- Chat Widget window.
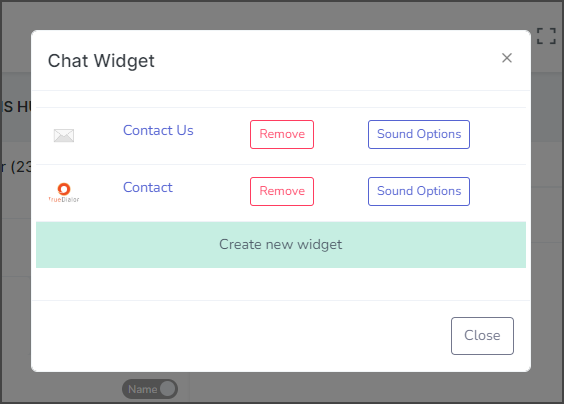
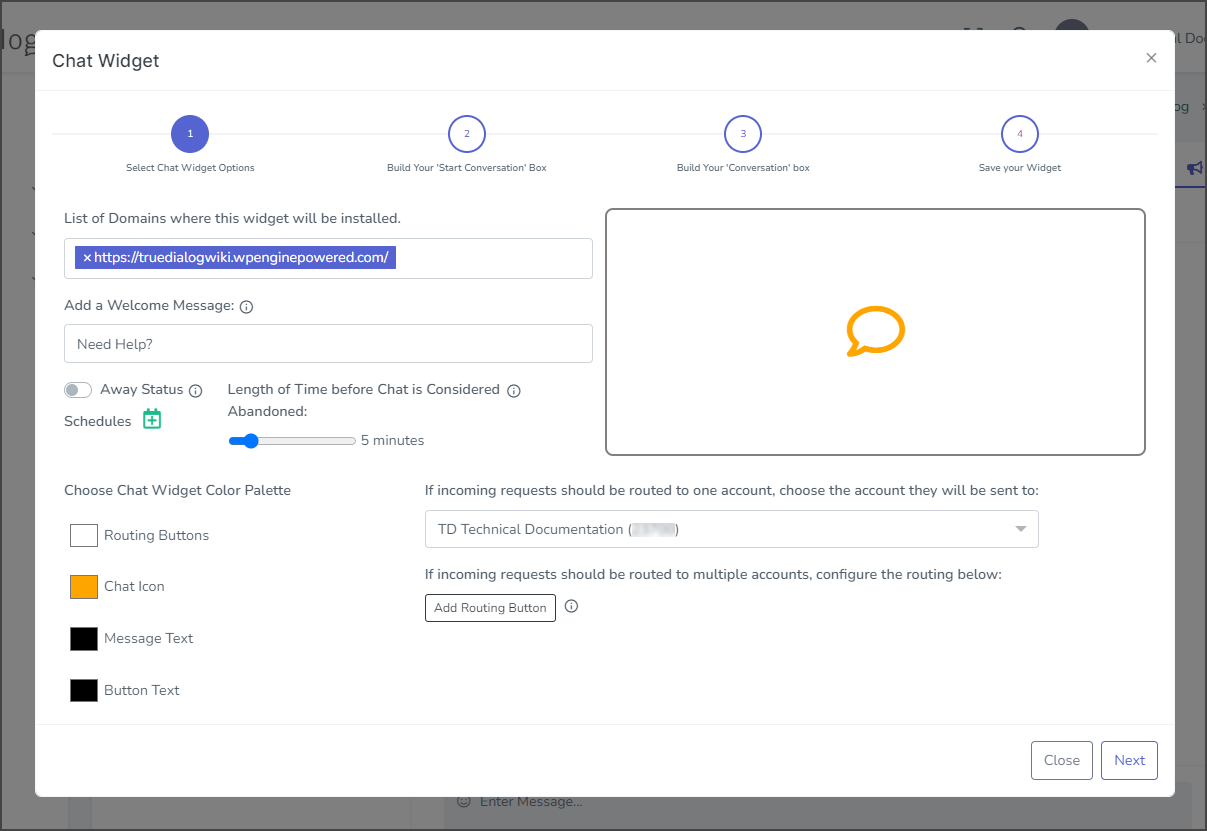
Edit Chat Widget
Editing a Chat Widget is the same process as creating a Chat Widget. Note: If the Chat Widget is deployed to your website, any changes you make to the widget are applied to the deployed widget immediately after you click Update.
- Click the Chat Widget name to open the edit widget window.
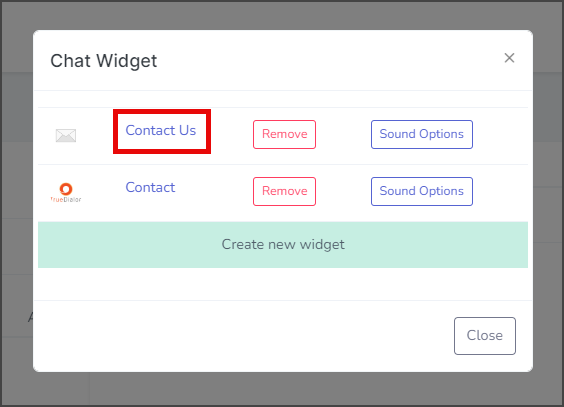
- Follow the instructions in the Creating a Comms Hub Chat Widget article. The steps for creating a Chat Widget are the same as editing.

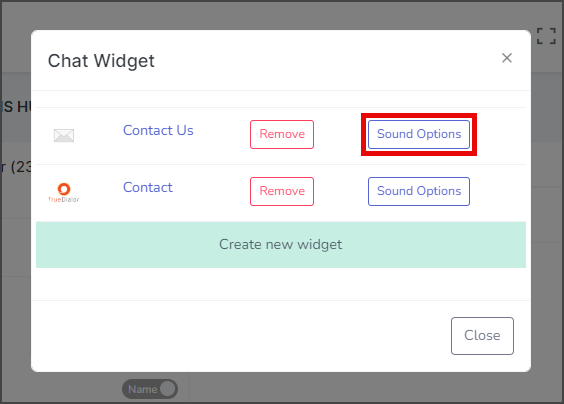
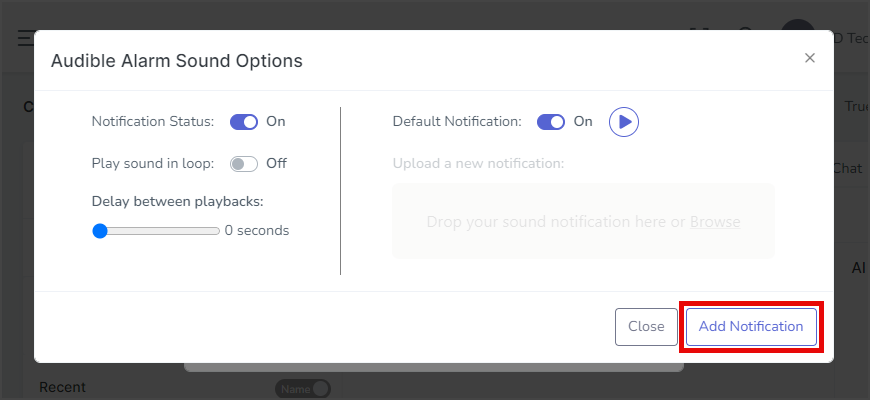
Sound Options
You can set a notification sound to be played when you receive an incoming chat message.
- Click Sound Options.
- Turn the Notification Status toggle On.
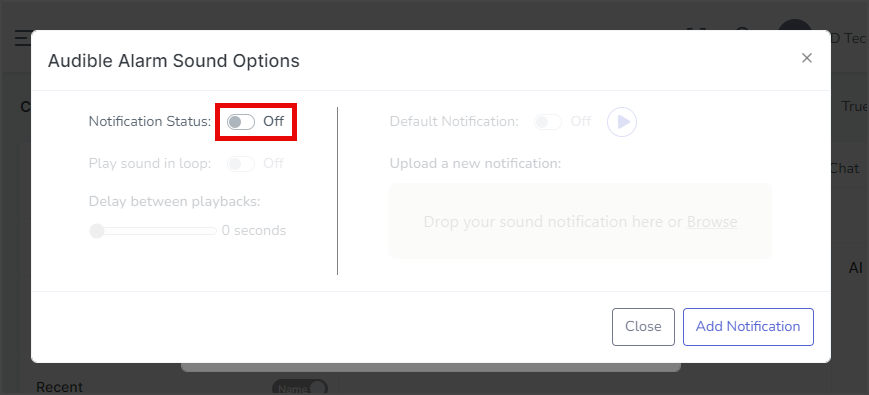
- (Optional) The Play sound in loop toggle, if On, will play the notification sound repeatedly with a delay between each loop.
- (Optional) The Delay between playbacks slider sets the number of seconds to wait before playing the notification sound again. [0 to 30 seconds]
- Turn the Default Notification toggle On to use the default notification sound.
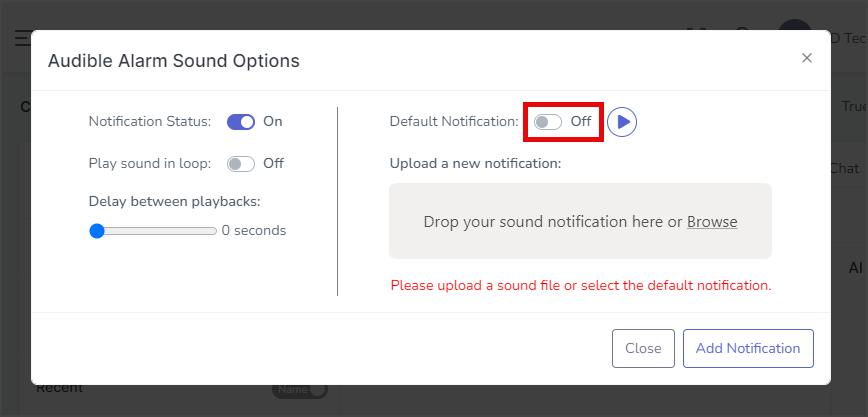
- If Default Notification is Off, Drag & Drop or Browse for a sound file for the notification.
- Click Add Notification to set the notification sound.
- After updating the sound options, a success message will appear in the upper right corner.

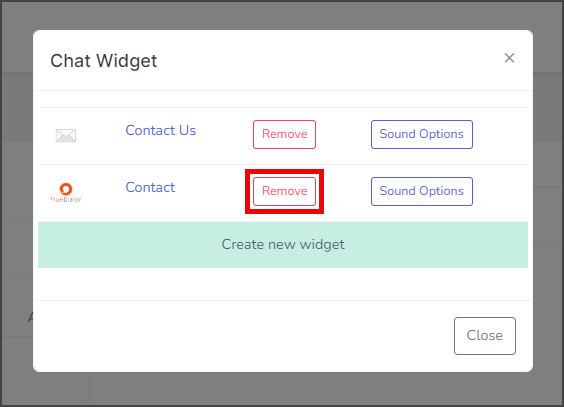
Remove Chat Widget
- Click Remove for the Chat Widget you want to remove.
- Click Yes in the Delete widget Chat confirmation window. Note: Ensure the widget is not currently deployed on your website before taking any action, as it will cause the widget to stop functioning.
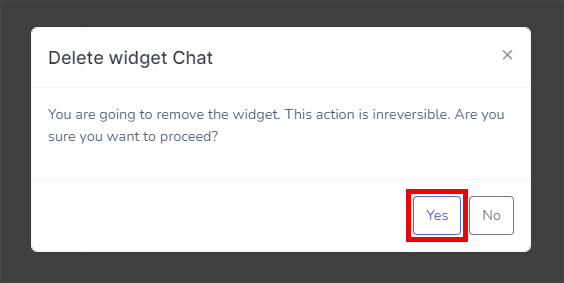
- After removing the widget, a success message will appear in the upper right corner.
