TrueDialog Portal
Sending Messages > Campaigns
The guide covers creating a Voice campaign. A campaign holds the message to send to end-users. For voice messages, your message will be read by a text-to-voice program when the end-user answers the voice call. Follow the instructions below to create a voice message campaign.
Create an Email Campaign
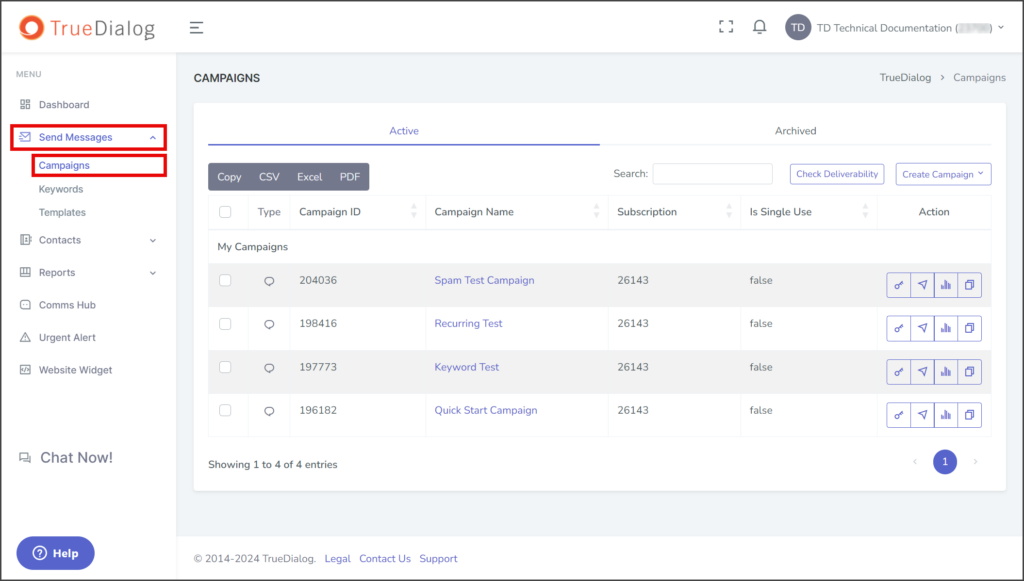
- Expand Send Messages in the left sidebar and select Campaigns.
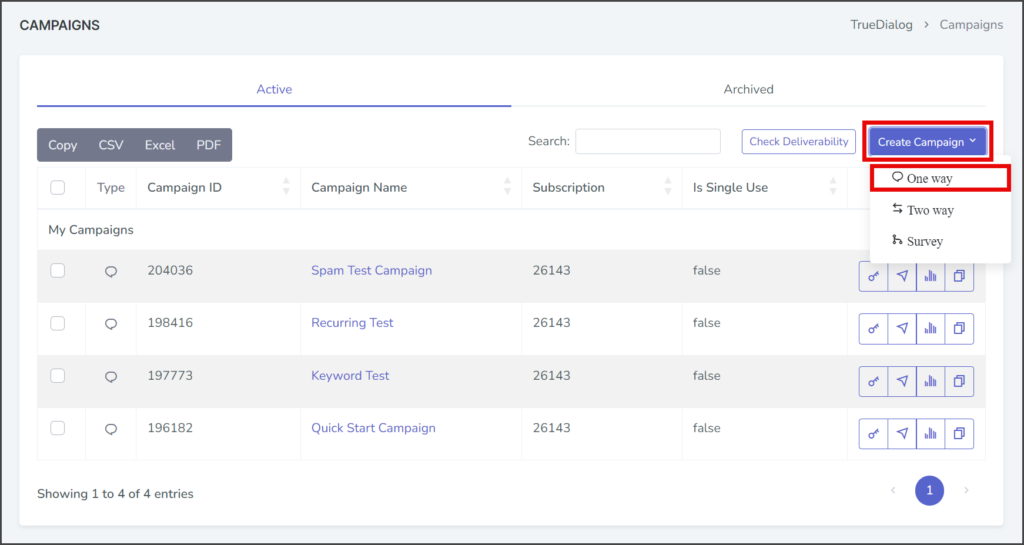
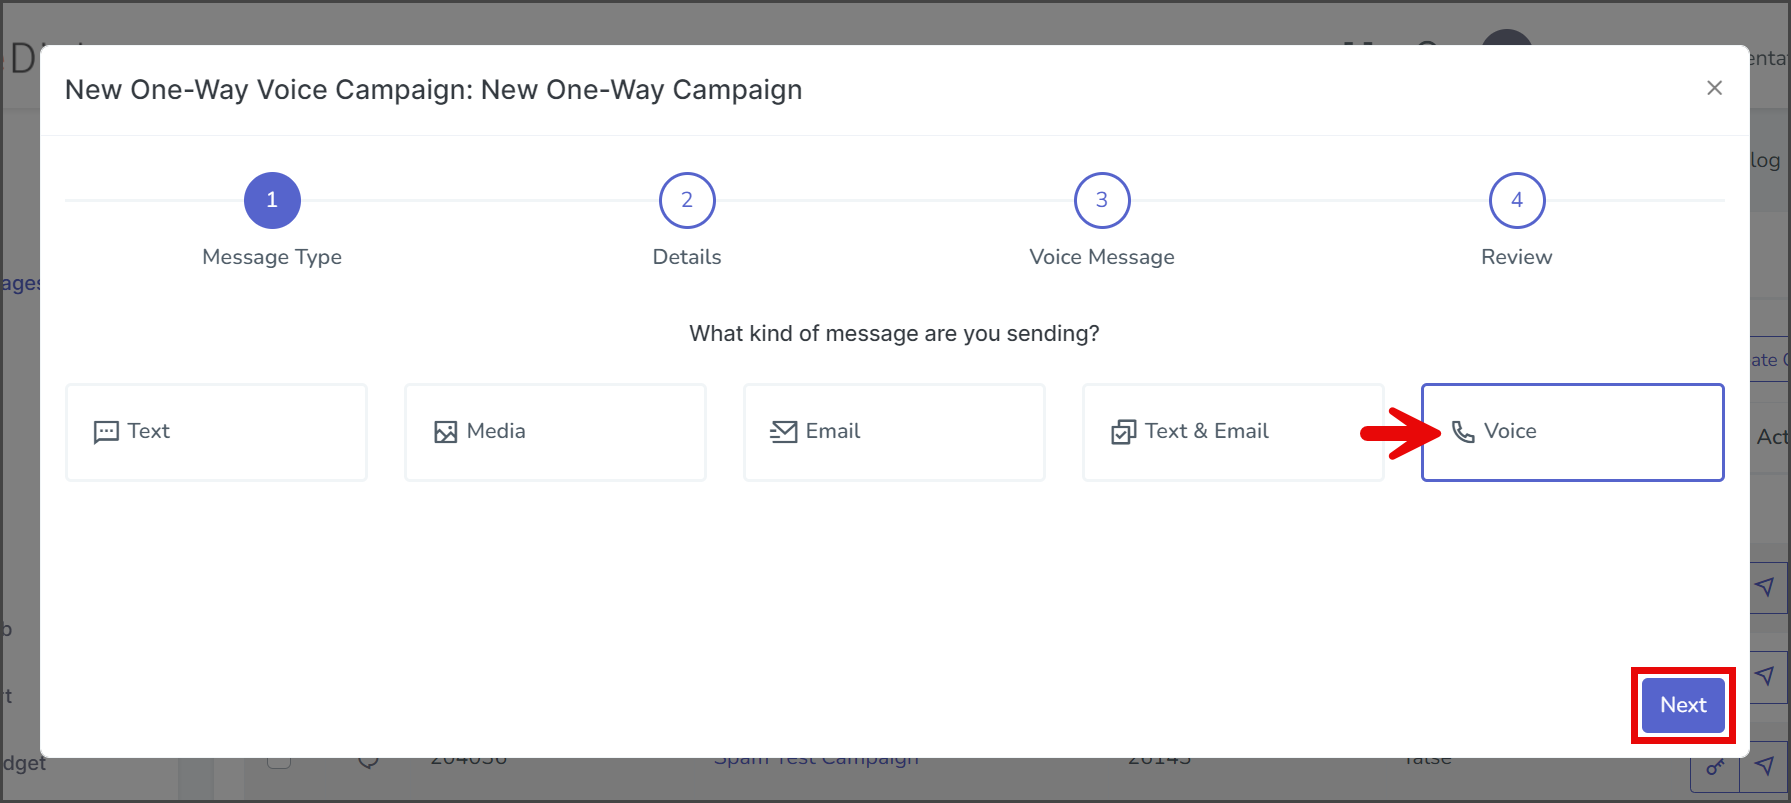
- Click the Create Campaign dropdown and select One way to open the New One-Way Campaign window.
- Select Voice for the message type.
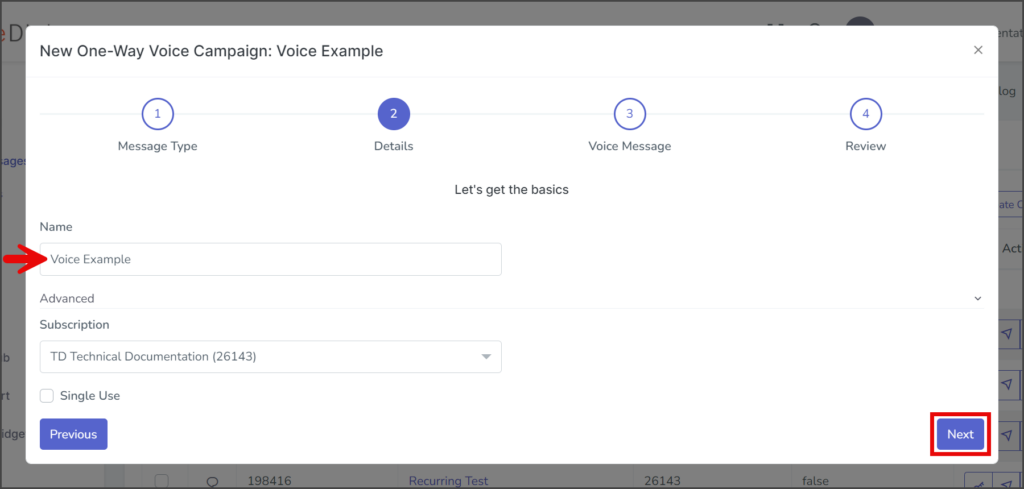
- Click Next to go to the Details page.

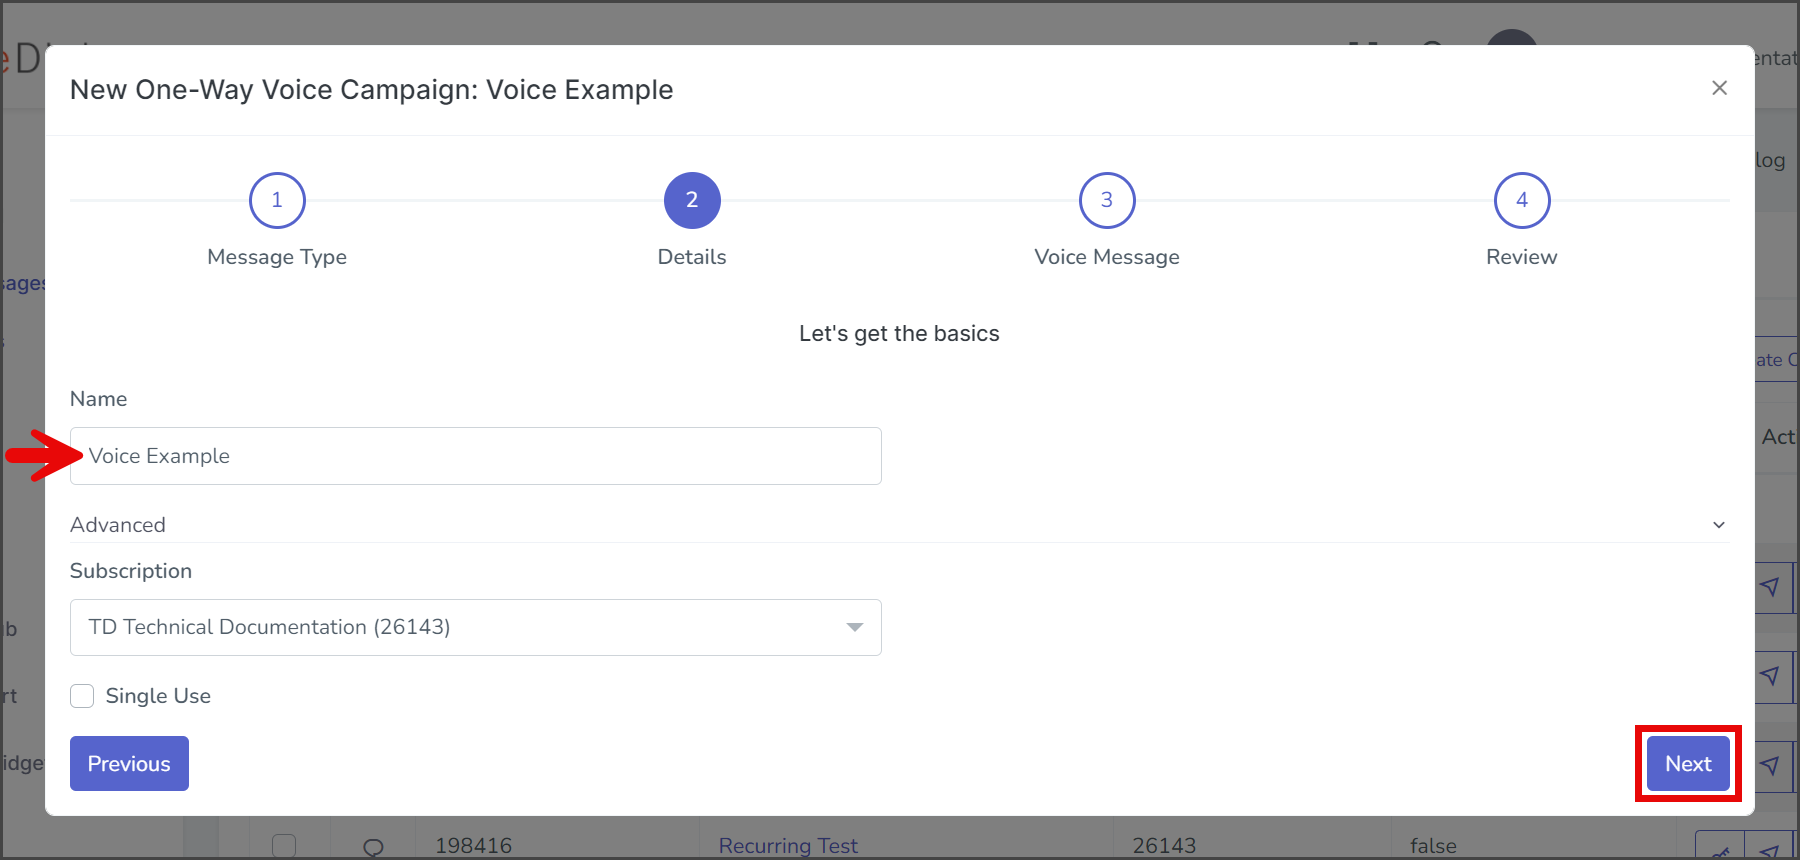
- Enter your campaign’s name in the Name textbox.
- (Optional) Expand the Advanced section.
- Subscription – Select the subscription to use for this campaign. The default subscription will be selected.
- Single Use – If checked, the end-user will receive a voice message from this campaign only once. Note: Don’t set it to single use until testing is complete.
- Click Next to go to the Voice Message page.


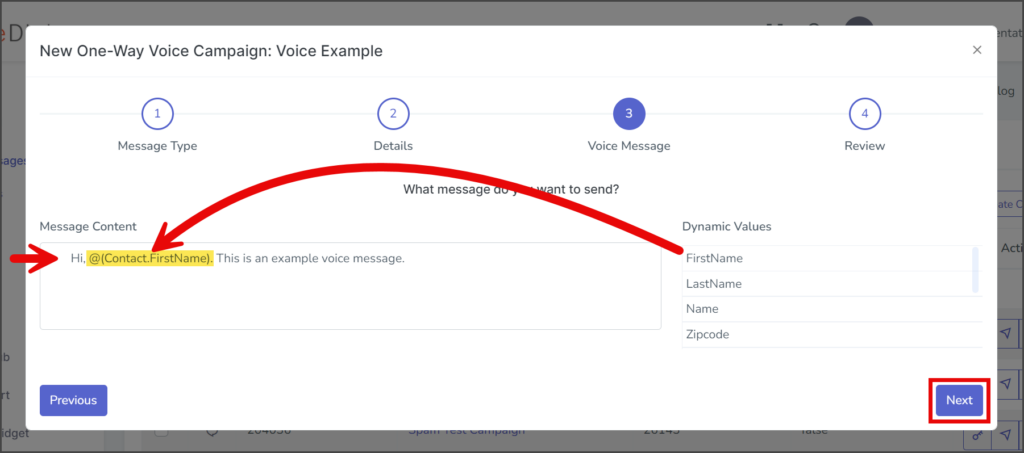
Voice Message Page
- Enter your message in the Message Content textbox. This message will be read aloud to your end-user using a text-to-speech program.
- (Optional) The Dynamic Values feature lets you include contact attributes in your message by dragging and dropping them. When you send a message with dynamic content, the attribute value for each contact will be automatically inserted into the message sent to them. If no value is assigned to a particular contact, the text-to-voice program will skip speaking the dynamic value.
- Click Next to go to the Review page.
Review Page
- If you test the campaign, make sure the number you use to test with has a valid Call Forwarding number assigned to it. If Call Forwarding is not active or you are unsure, Click here to setup Call Forwarding. See the Long Code Call Forwarding article for instructions on adding a Call Forwarding number.
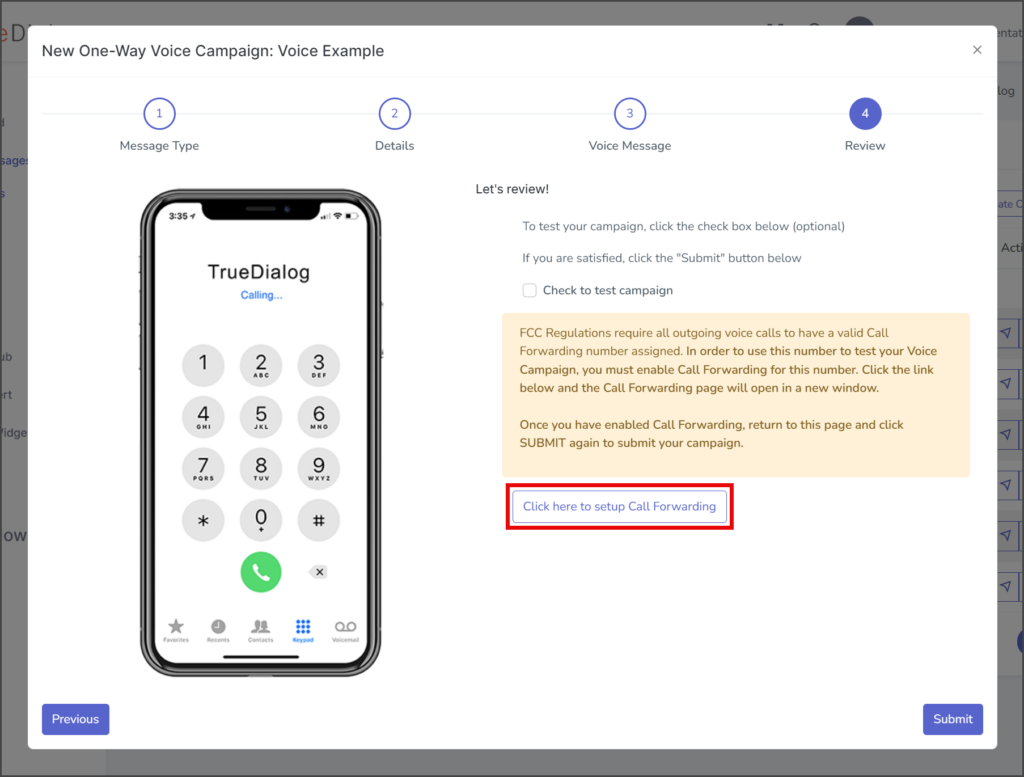
- (Optional) Check to test campaign – If checked, the campaign will be tested by sending the message to the specified contact once the campaign is created.
- Note: It is strongly recommended that you test all campaigns before making them live.
- Click the Voice Channel dropdown and select the channel to send the test message. You should test with the channel you will use to send your campaign.
- In the Contacts textbox, enter the phone numbers to receive the test message. To enter multiple phone numbers, type a comma after the number, and the number will automatically be added to the list of contacts.
- Click Submit to create the campaign. The campaign message will be sent to the listed contacts if the Check to test campaign checkbox is checked.

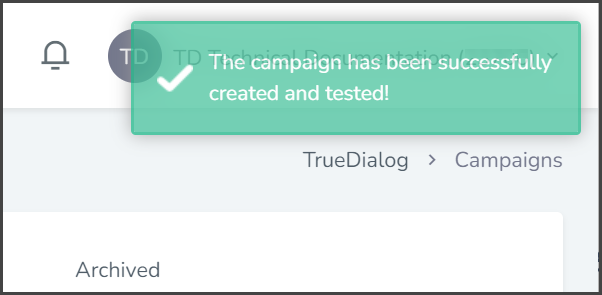
- After creating the campaign, a success message will appear in the upper right corner.