TrueDialog Portal
Contacts > Import Contacts
This guide will teach you how to import your contacts into the TrueDialog system using the Import tool. Contacts must be imported from a CSV file with the column headers in the first row. To make the process simpler, we recommend using the provided import template. If you have different column header names, need to import more contact properties, or are experiencing issues with the import, refer to the Importing Contacts – Advanced article or contact TrueDialog’s knowledgeable support team: email support@truedialog.com or call 1-877-501-4276.
Import File
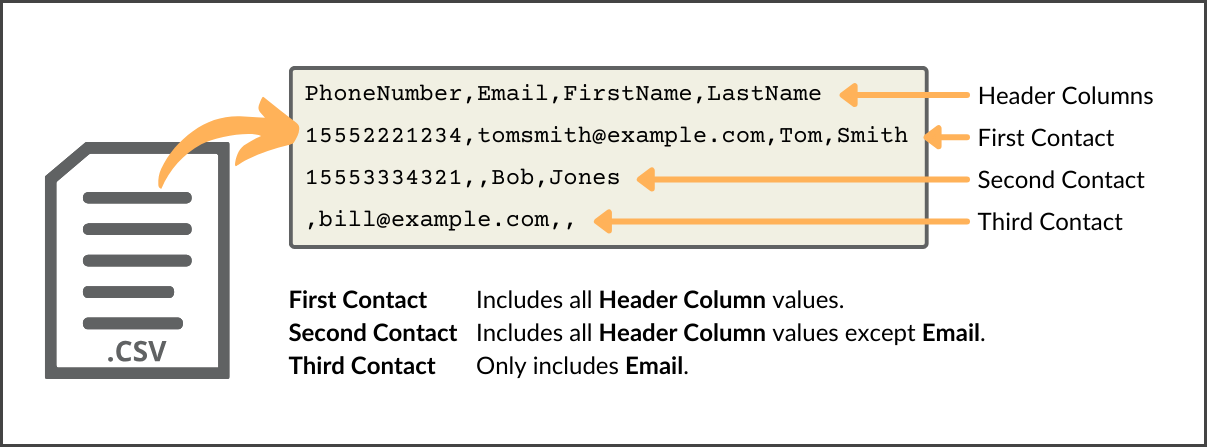
The import tool accepts files in comma-separated values (CSV) format. See the Importing Contacts – Overview article for more details on creating an import file. To simplify the import process, TrueDialog provides an import template that you can use to create your import file.
Download Template
[truedialog-portal-import-template.csv]
Size < 1KB
Start New Import
- Expand Contacts in the left sidebar and select Import Contacts.

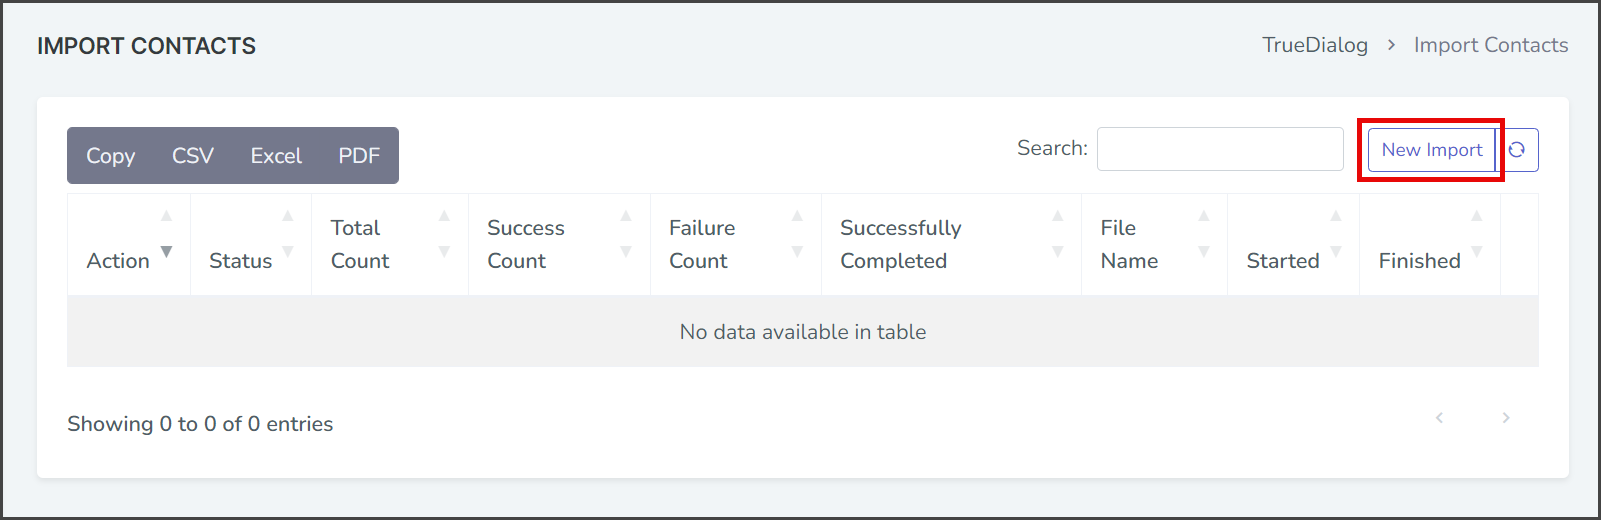
- Click New Import to open a dialog for importing contacts.

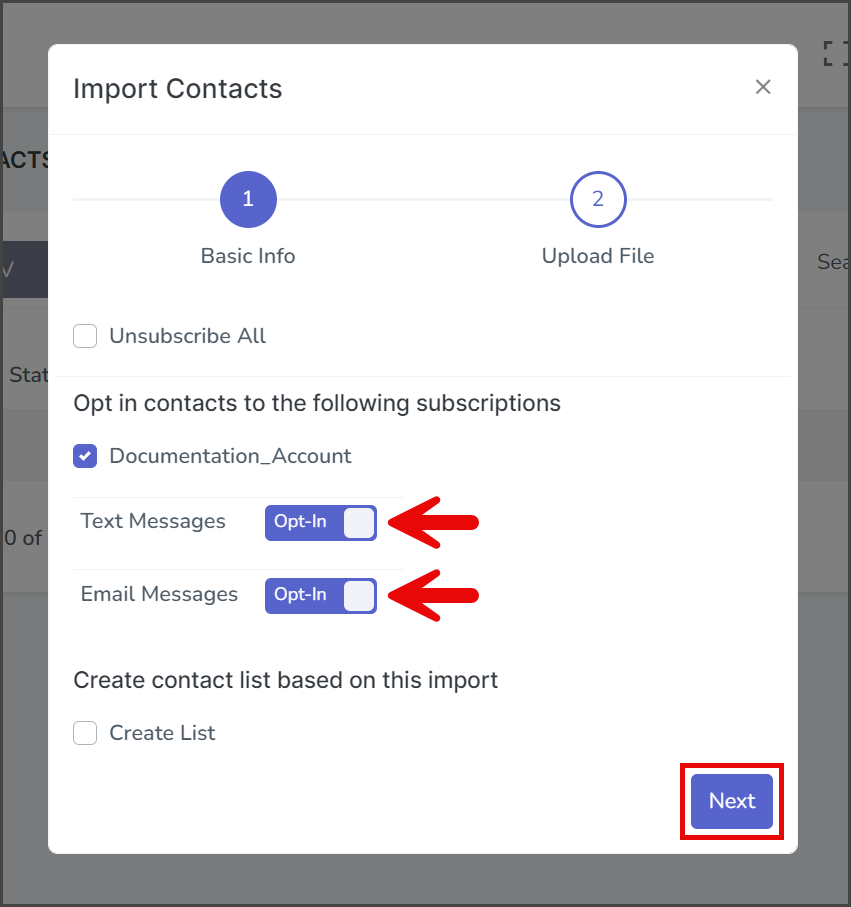
- Check the checkbox for your subscription under the Opt in contacts to the following subscriptions section.

- Set the toggle for Text Messages and Email Messages to Opt-In. These options will allow all imported contacts to receive text and email messages. See the Importing Contacts – Advanced article for more details about setting the Opt-In status.
- Click Next to go to the Upload File page.
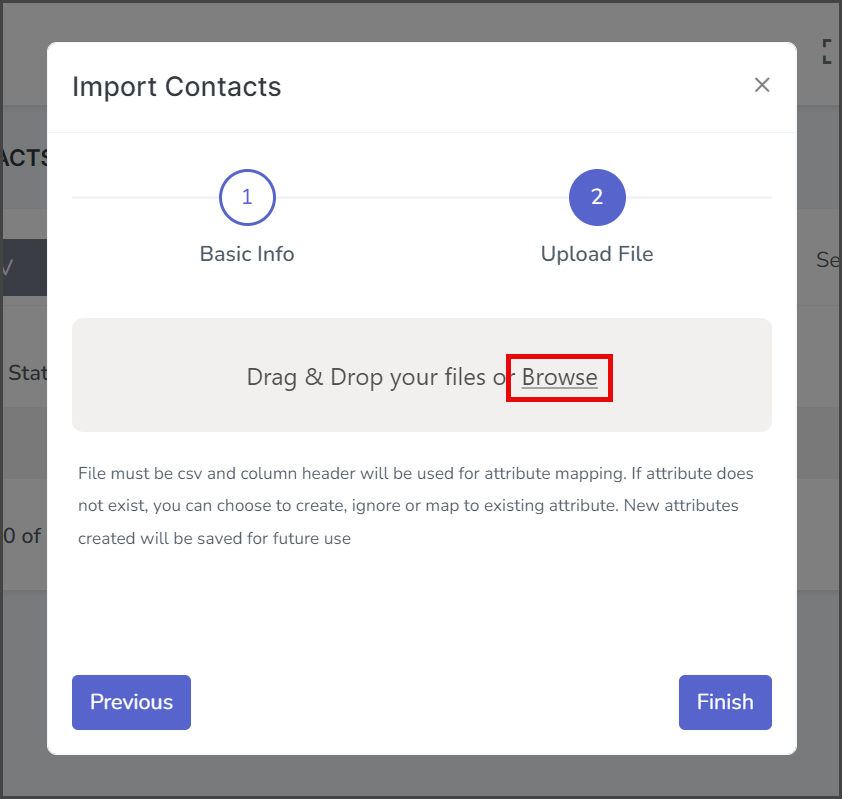
- Click Browse or drag & drop a file to import.
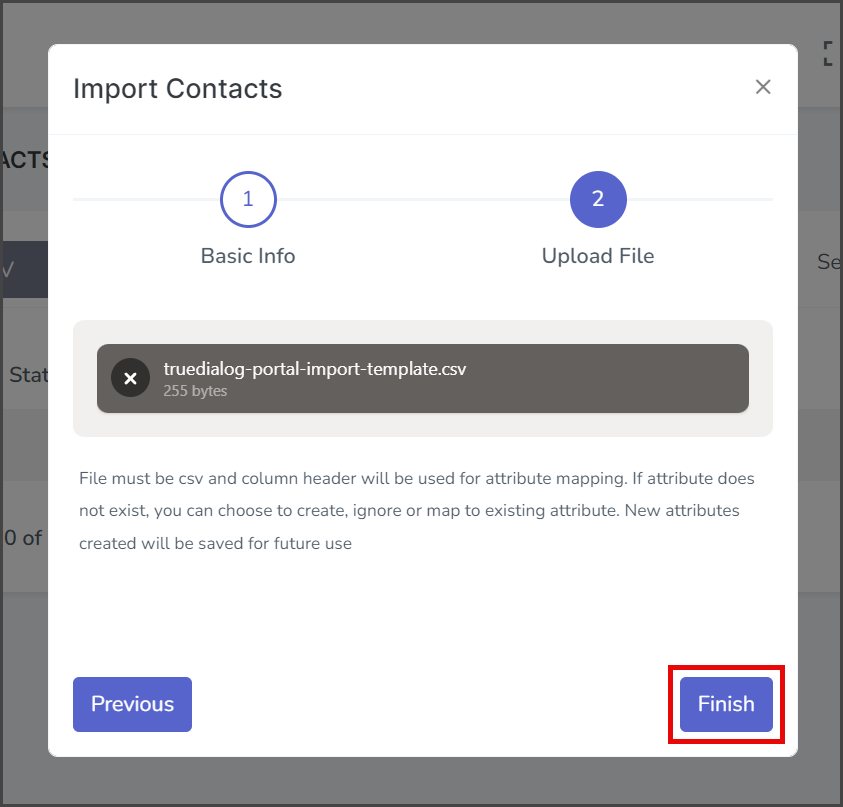
- Wait for the CSV file to upload.
- If there are unrecognized columns, see the Importing Contacts – Advanced article for a section on handling unrecognized columns.
- When ready, click Finish to start the import.
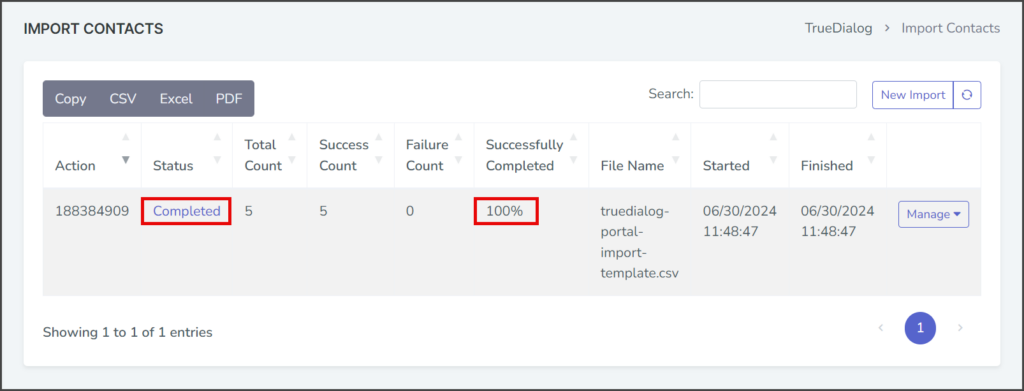
- After starting the import, a message indicating that it has been successfully started will appear in the upper right corner.
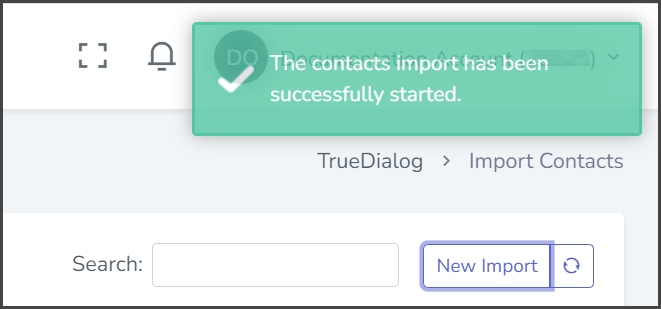
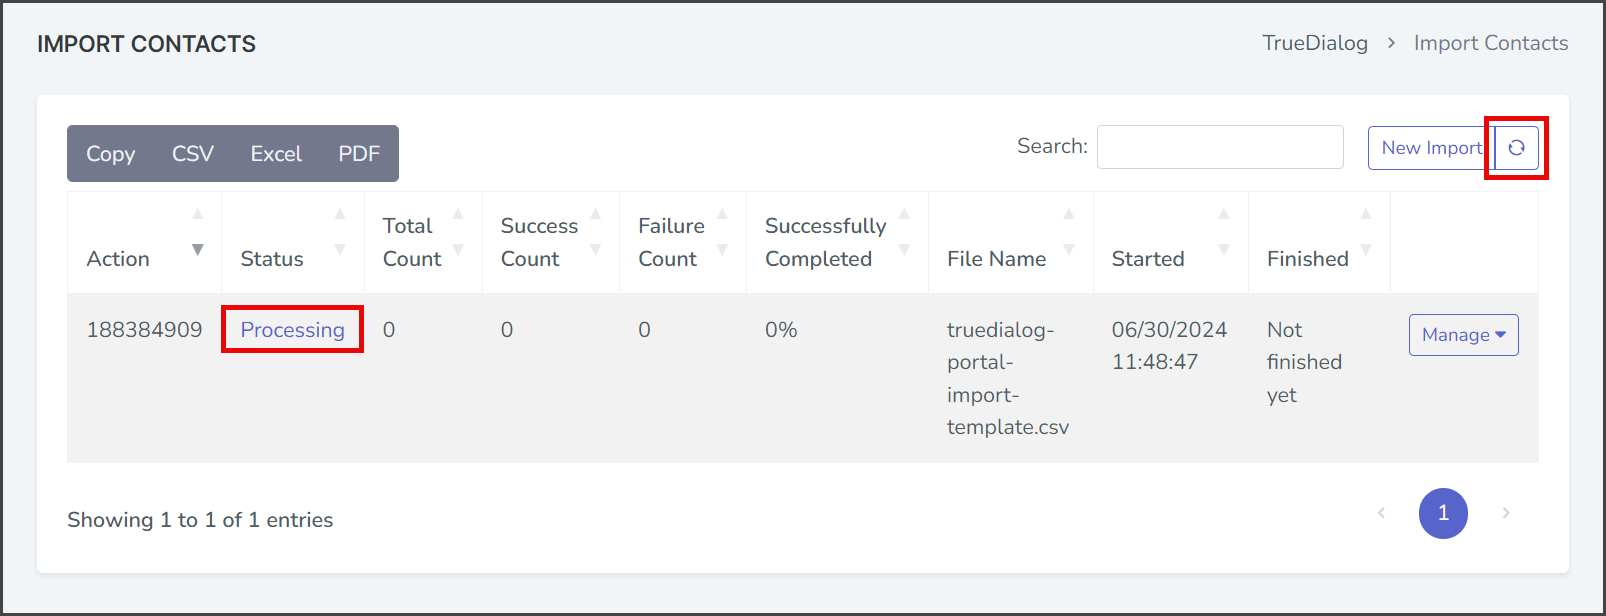
- Initially, the import Status will display Pending.
- Refresh the page to check the status by clicking the Refresh icon.

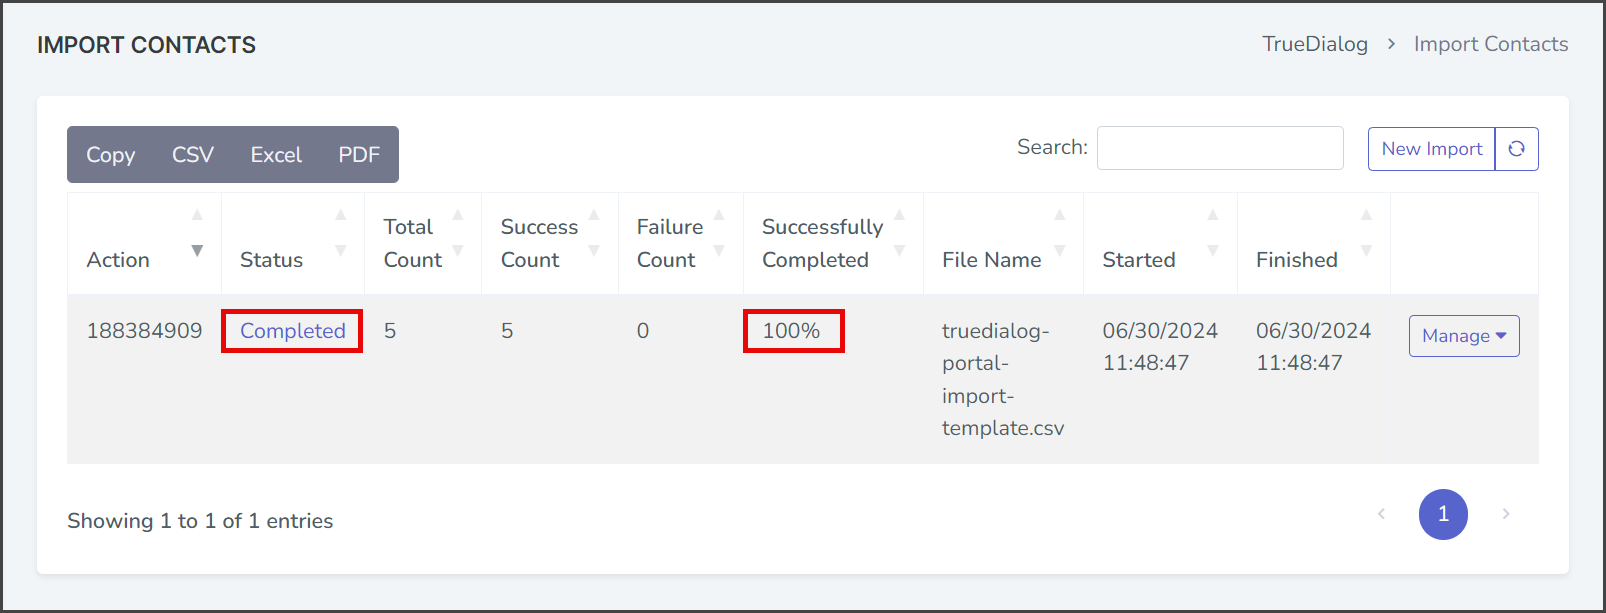
- Once the Status is Complete, check the Successfully Completed percentage to ensure it shows 100%. If it is not 100%, see the Importing Contacts – Advanced article for possible reasons why the import failed.