Salesforce
TrueDialog Integration
By default, TrueDialog supports the standard object types with phone numbers in the Mobile or Phone fields. If you are using a custom object or a custom phone field in a standard object, you connect the TrueDialog integration to the field where the phone number for the record is stored.
For specific requirements regarding the addition of a custom phone field to certain standard objects, please refer to the following section:
⮞ Standard Object Requirements
The example below shows how to configure the TrueDialog integration to utilize a custom field in the Contact object. The process is the same when working with a custom object, except that you need to enter the API name of the custom object instead of Contact in the instructions provided.
Create Custom Phone Number Field
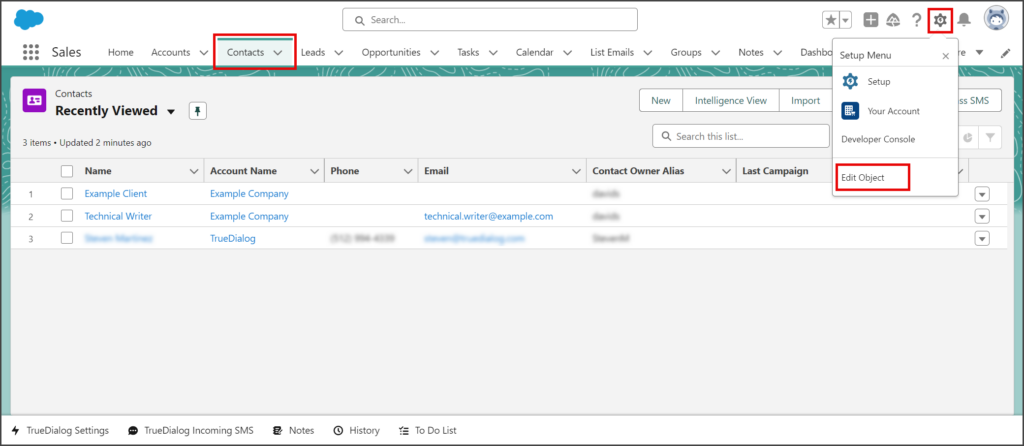
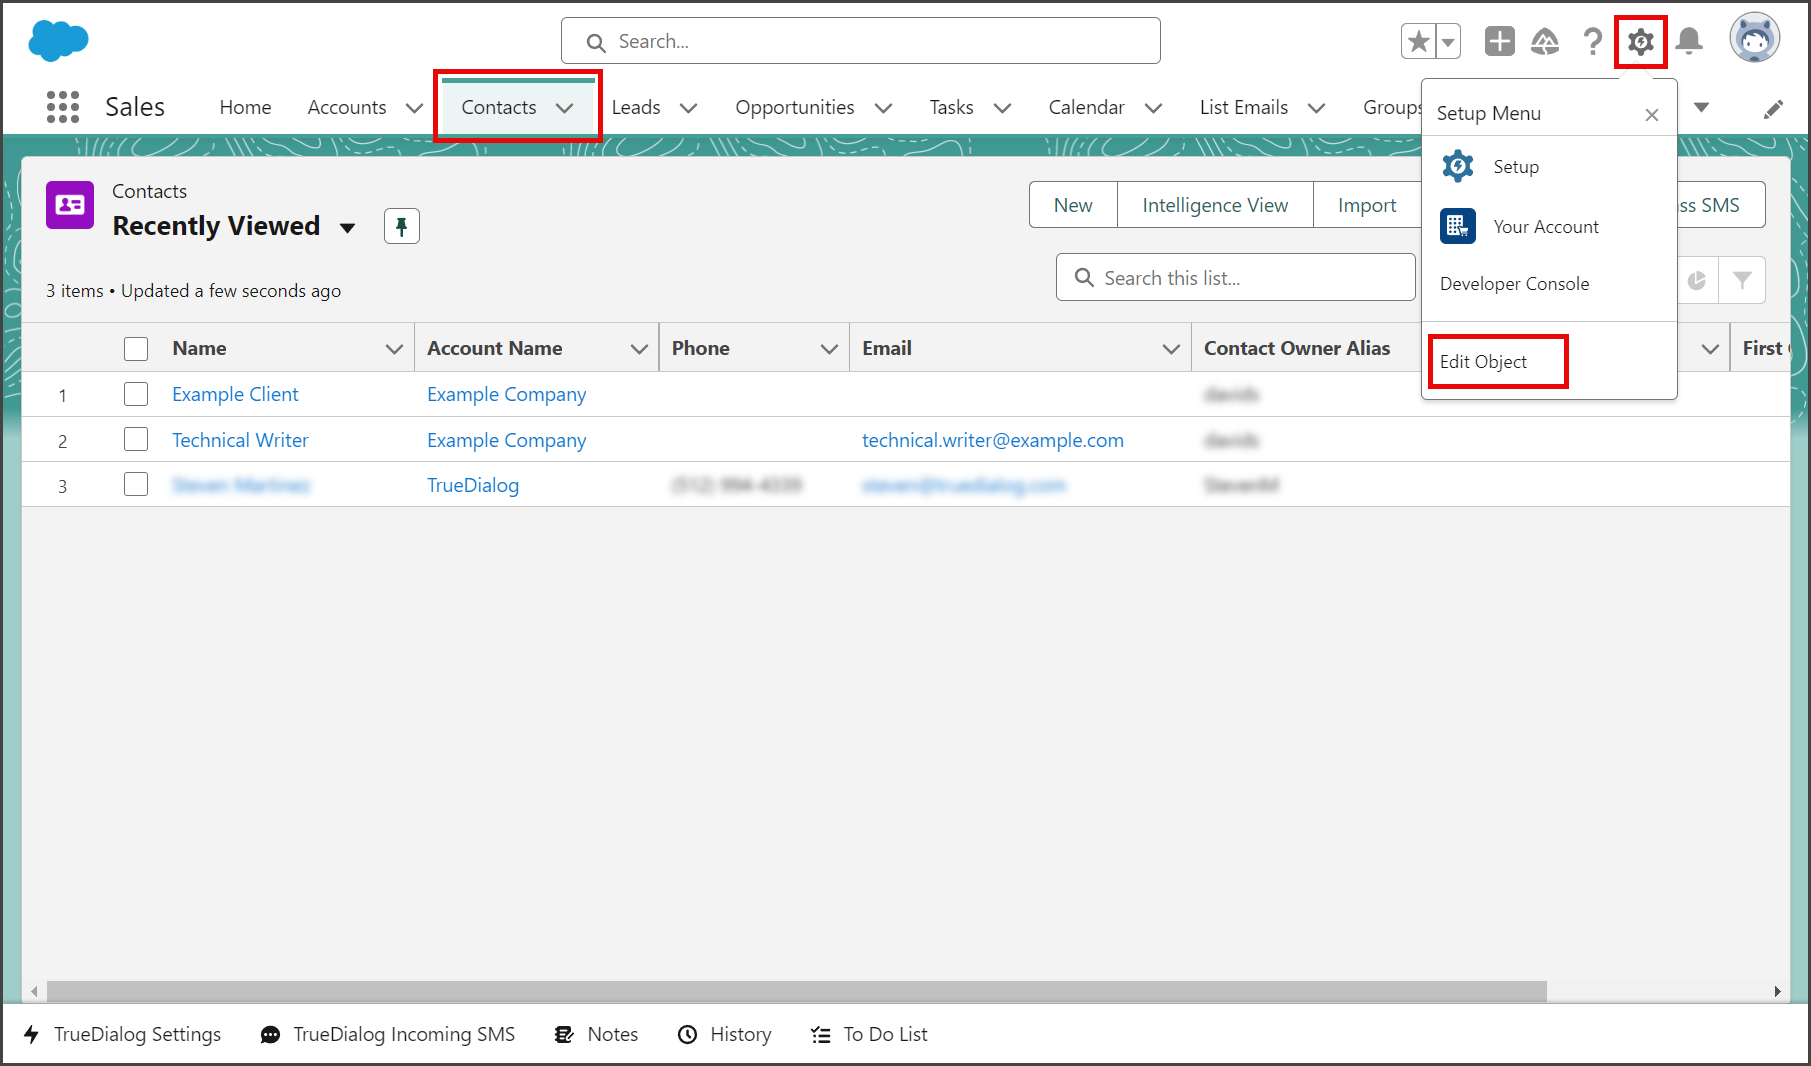
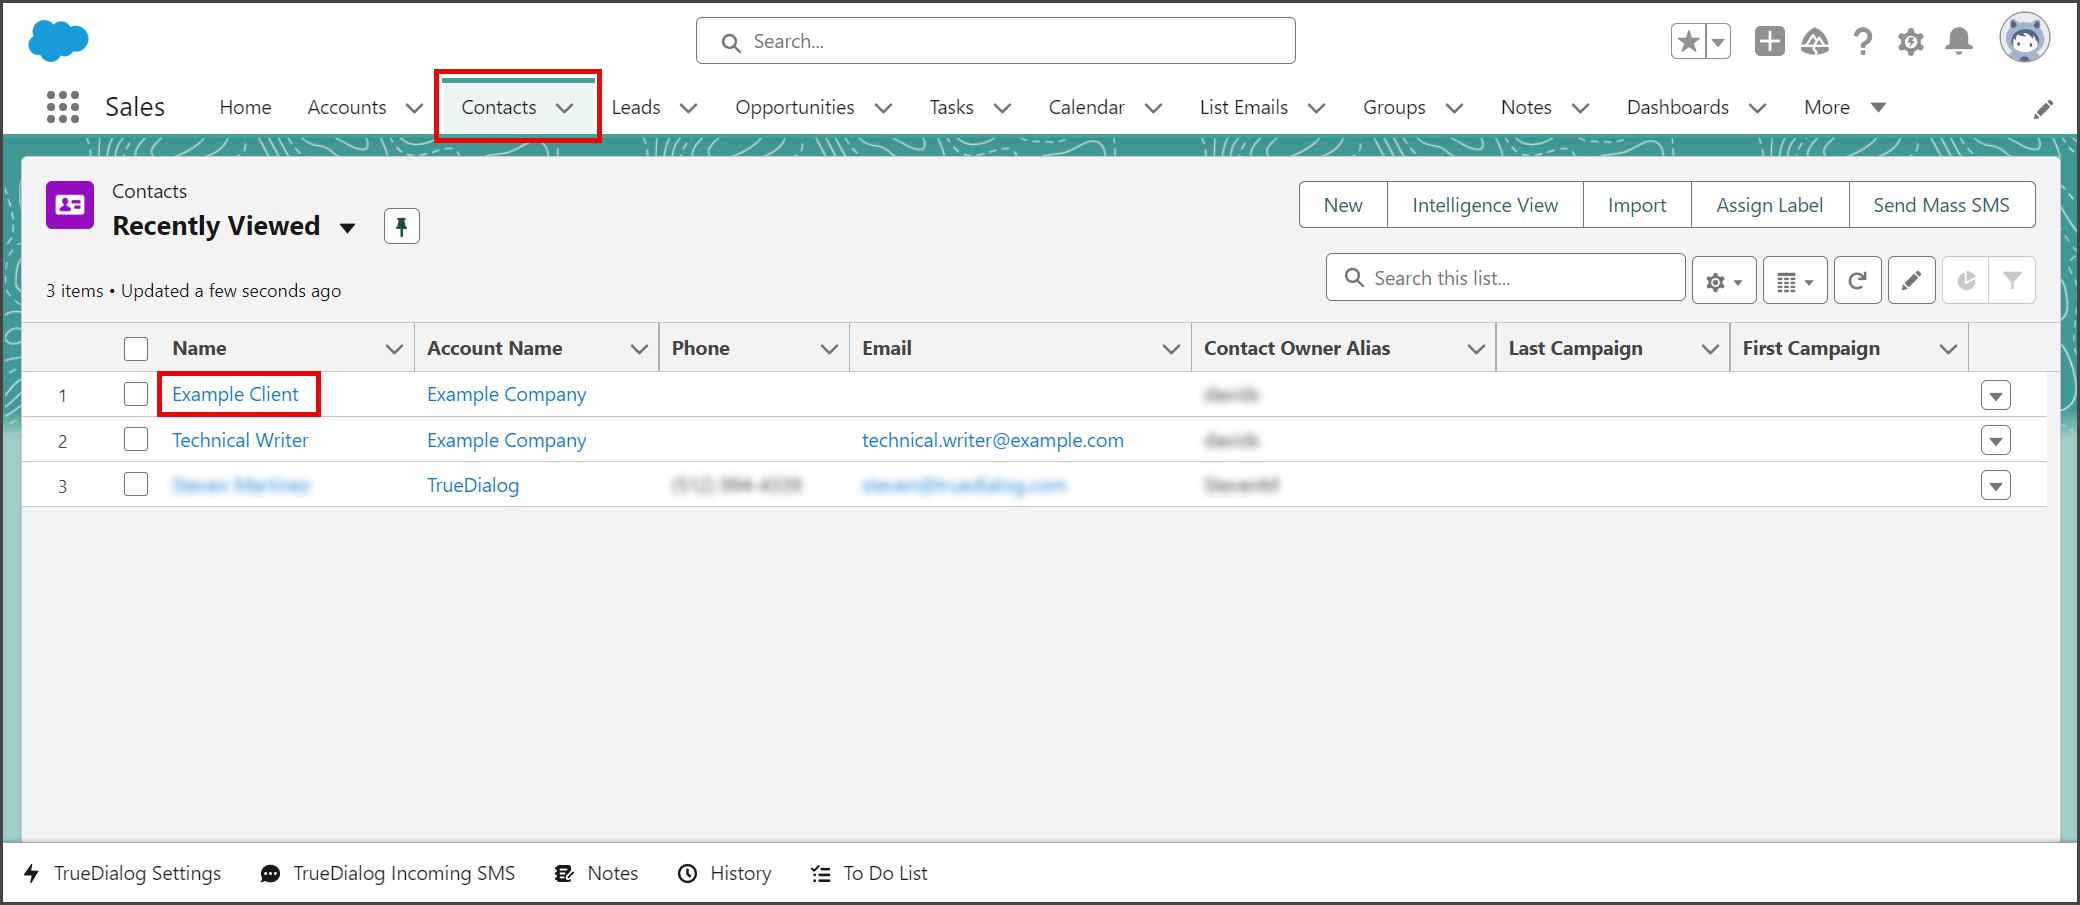
- Select the Contacts tab.
- Click the Settings Gear icon to open the settings menu.
- Click Edit Object.
- Click Fields & Relationships from the left sidebar.
- Click New.
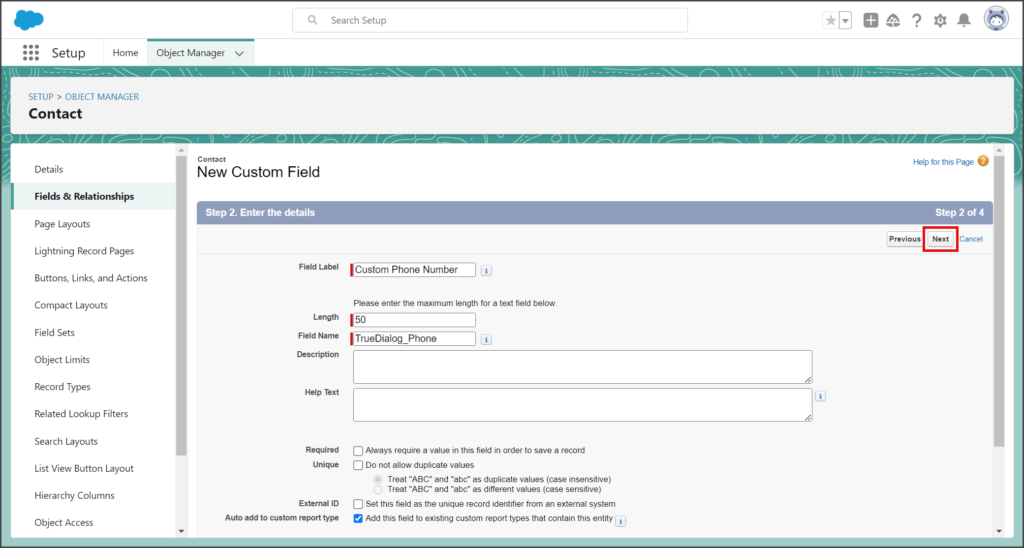
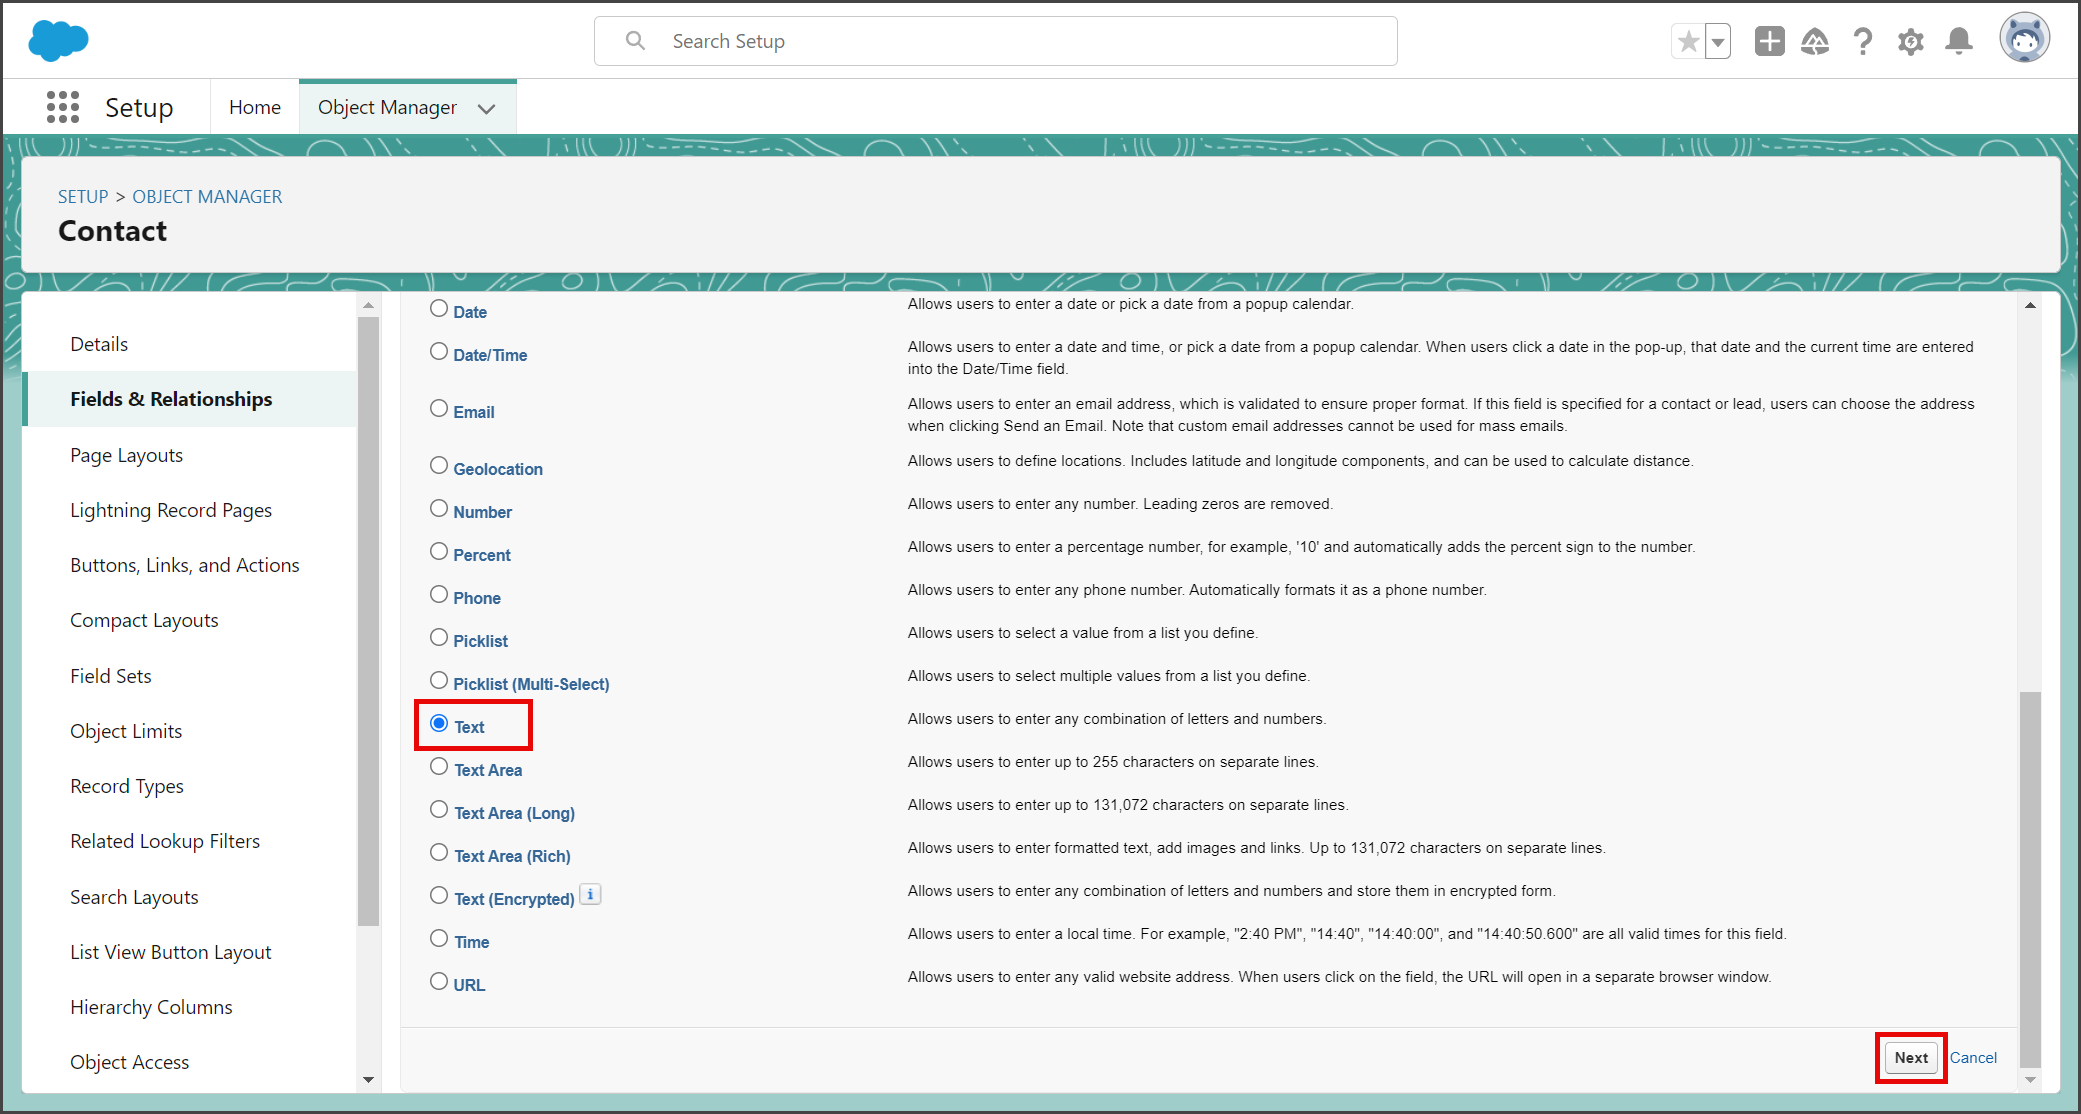
- Scroll down and select Text for the Data Type of the field.
- Click Next.

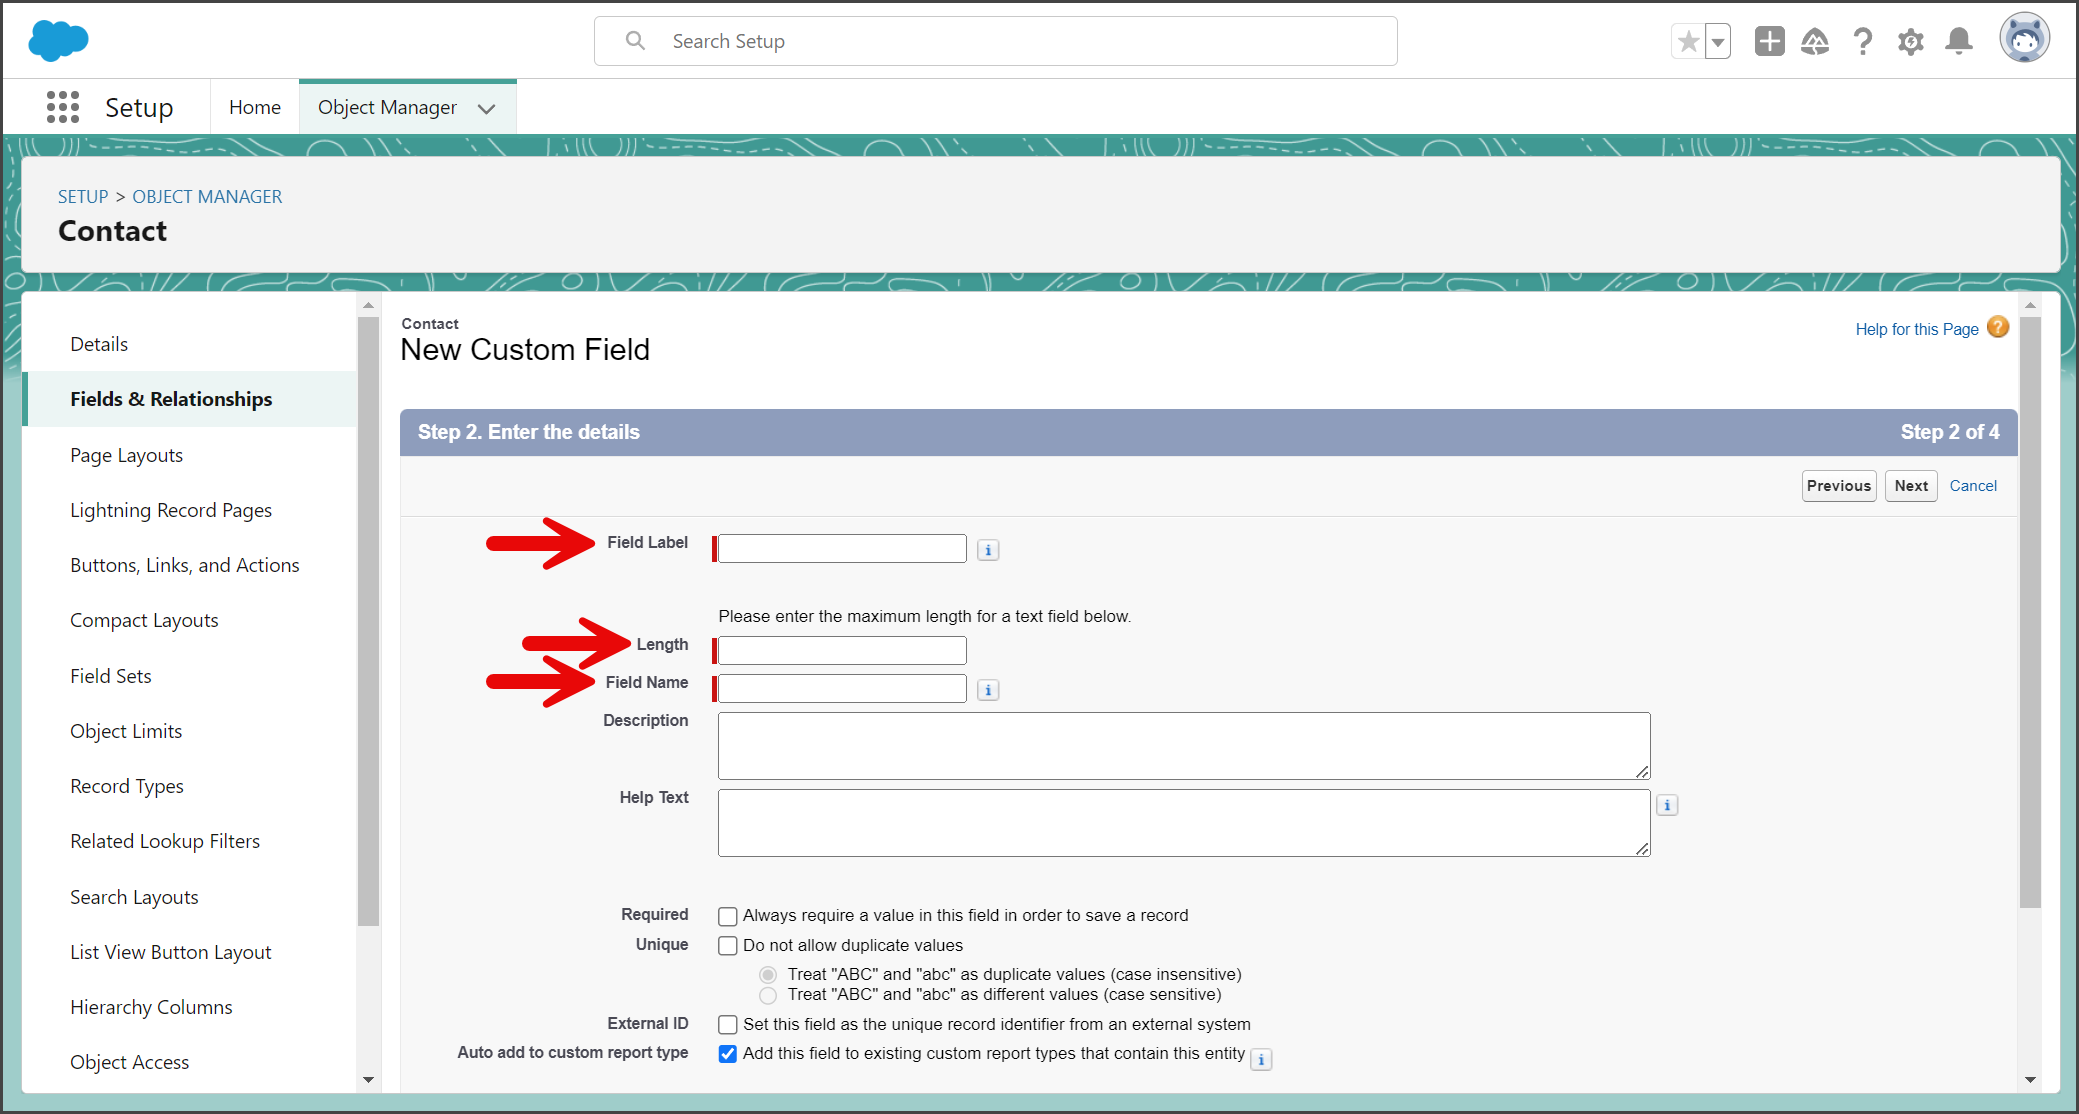
- Enter the name to be displayed on the records layout page in the Field Label textbox.
- Enter the number of characters for the field in the Lenght textbox.
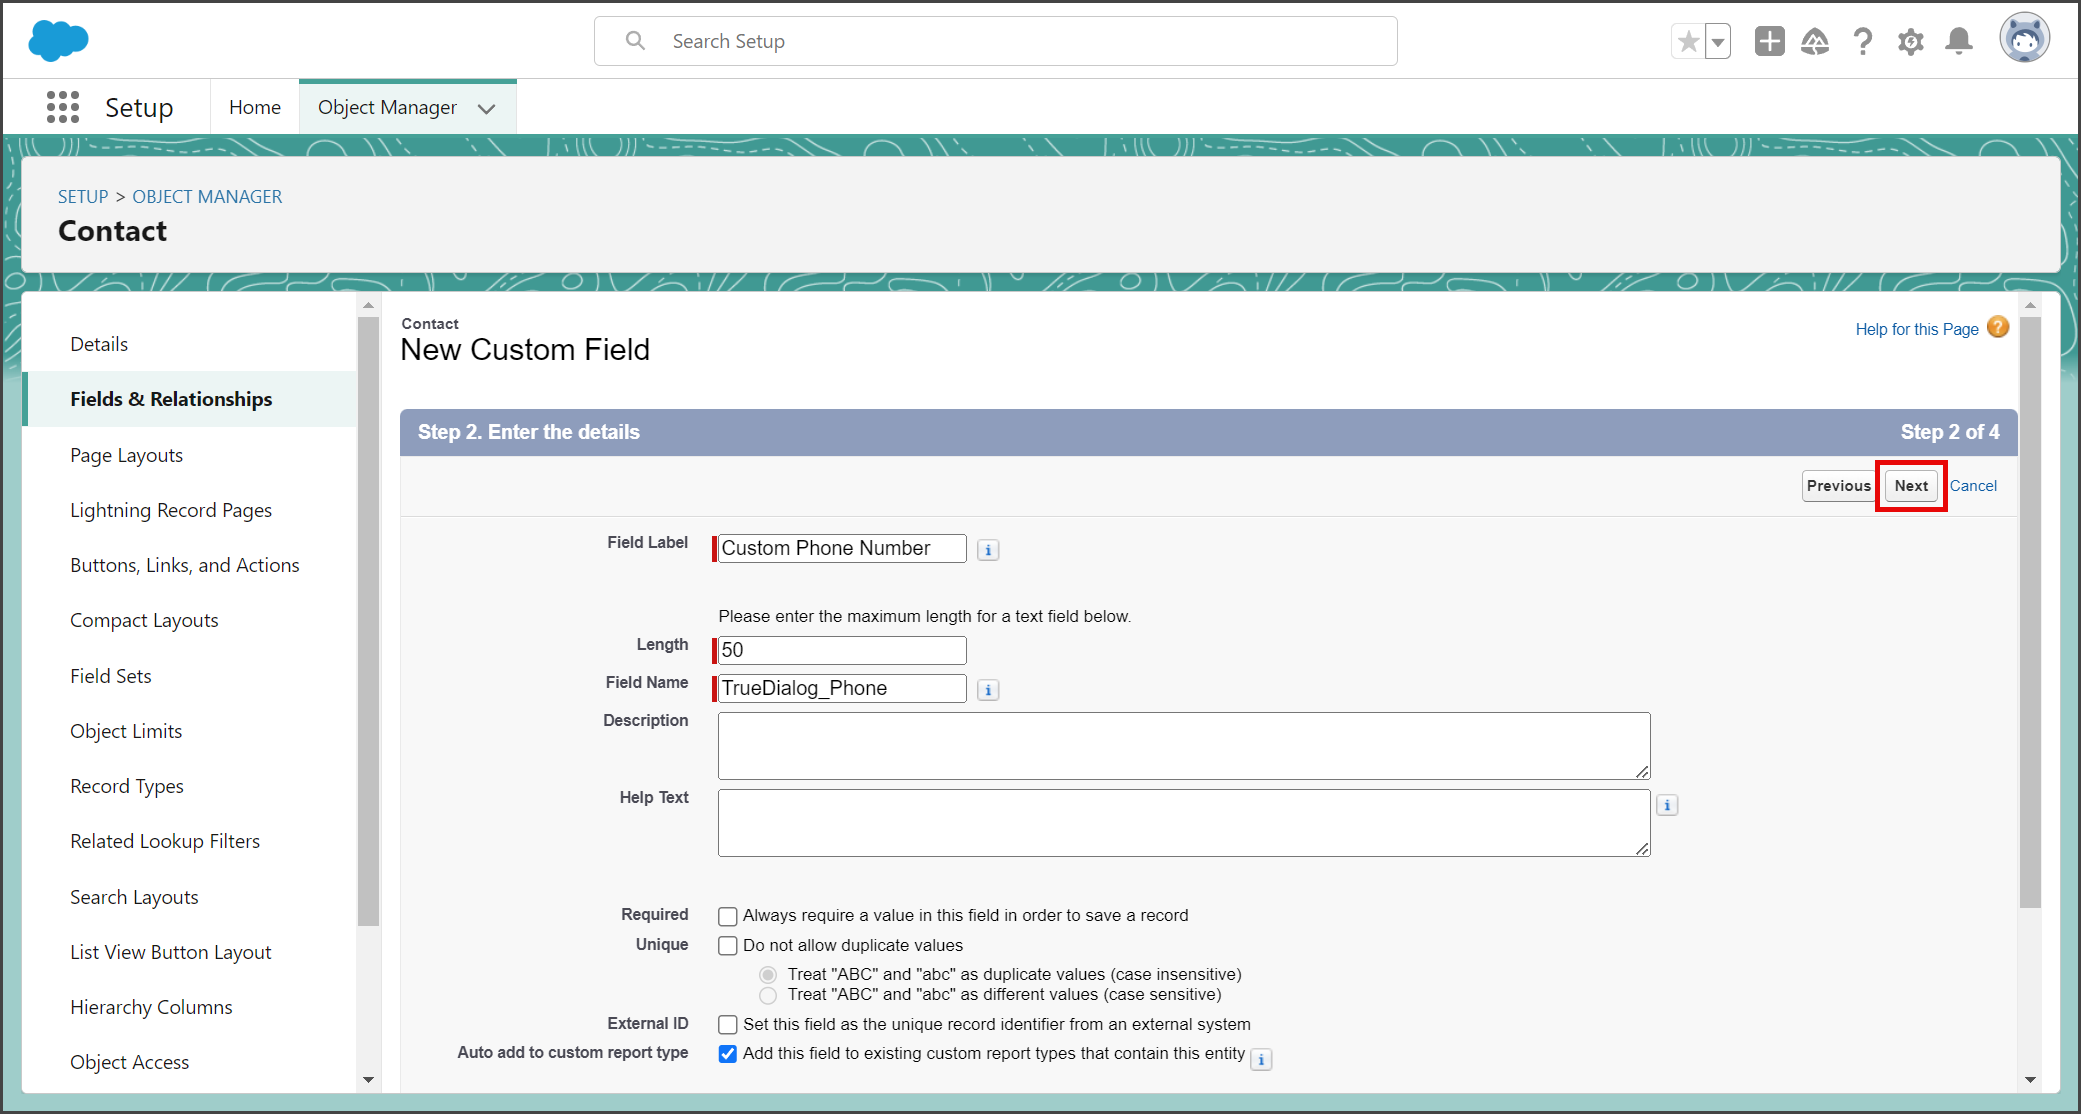
- Change the Field Name to TrueDialog_Phone.

- Click Next.
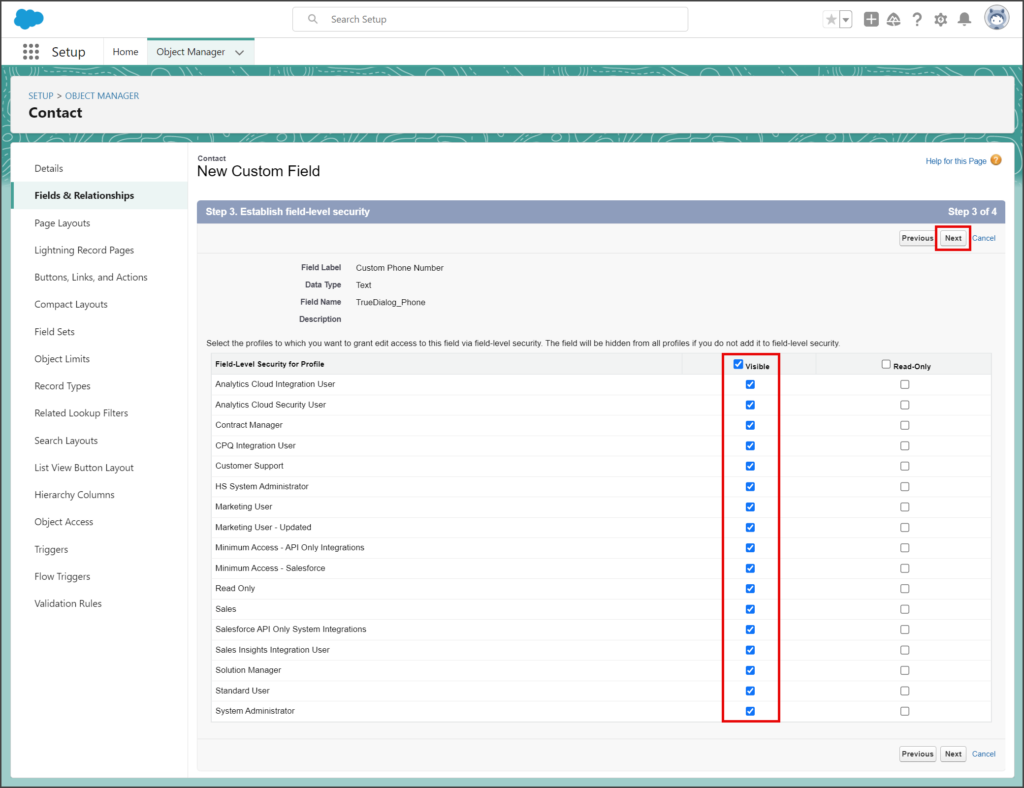
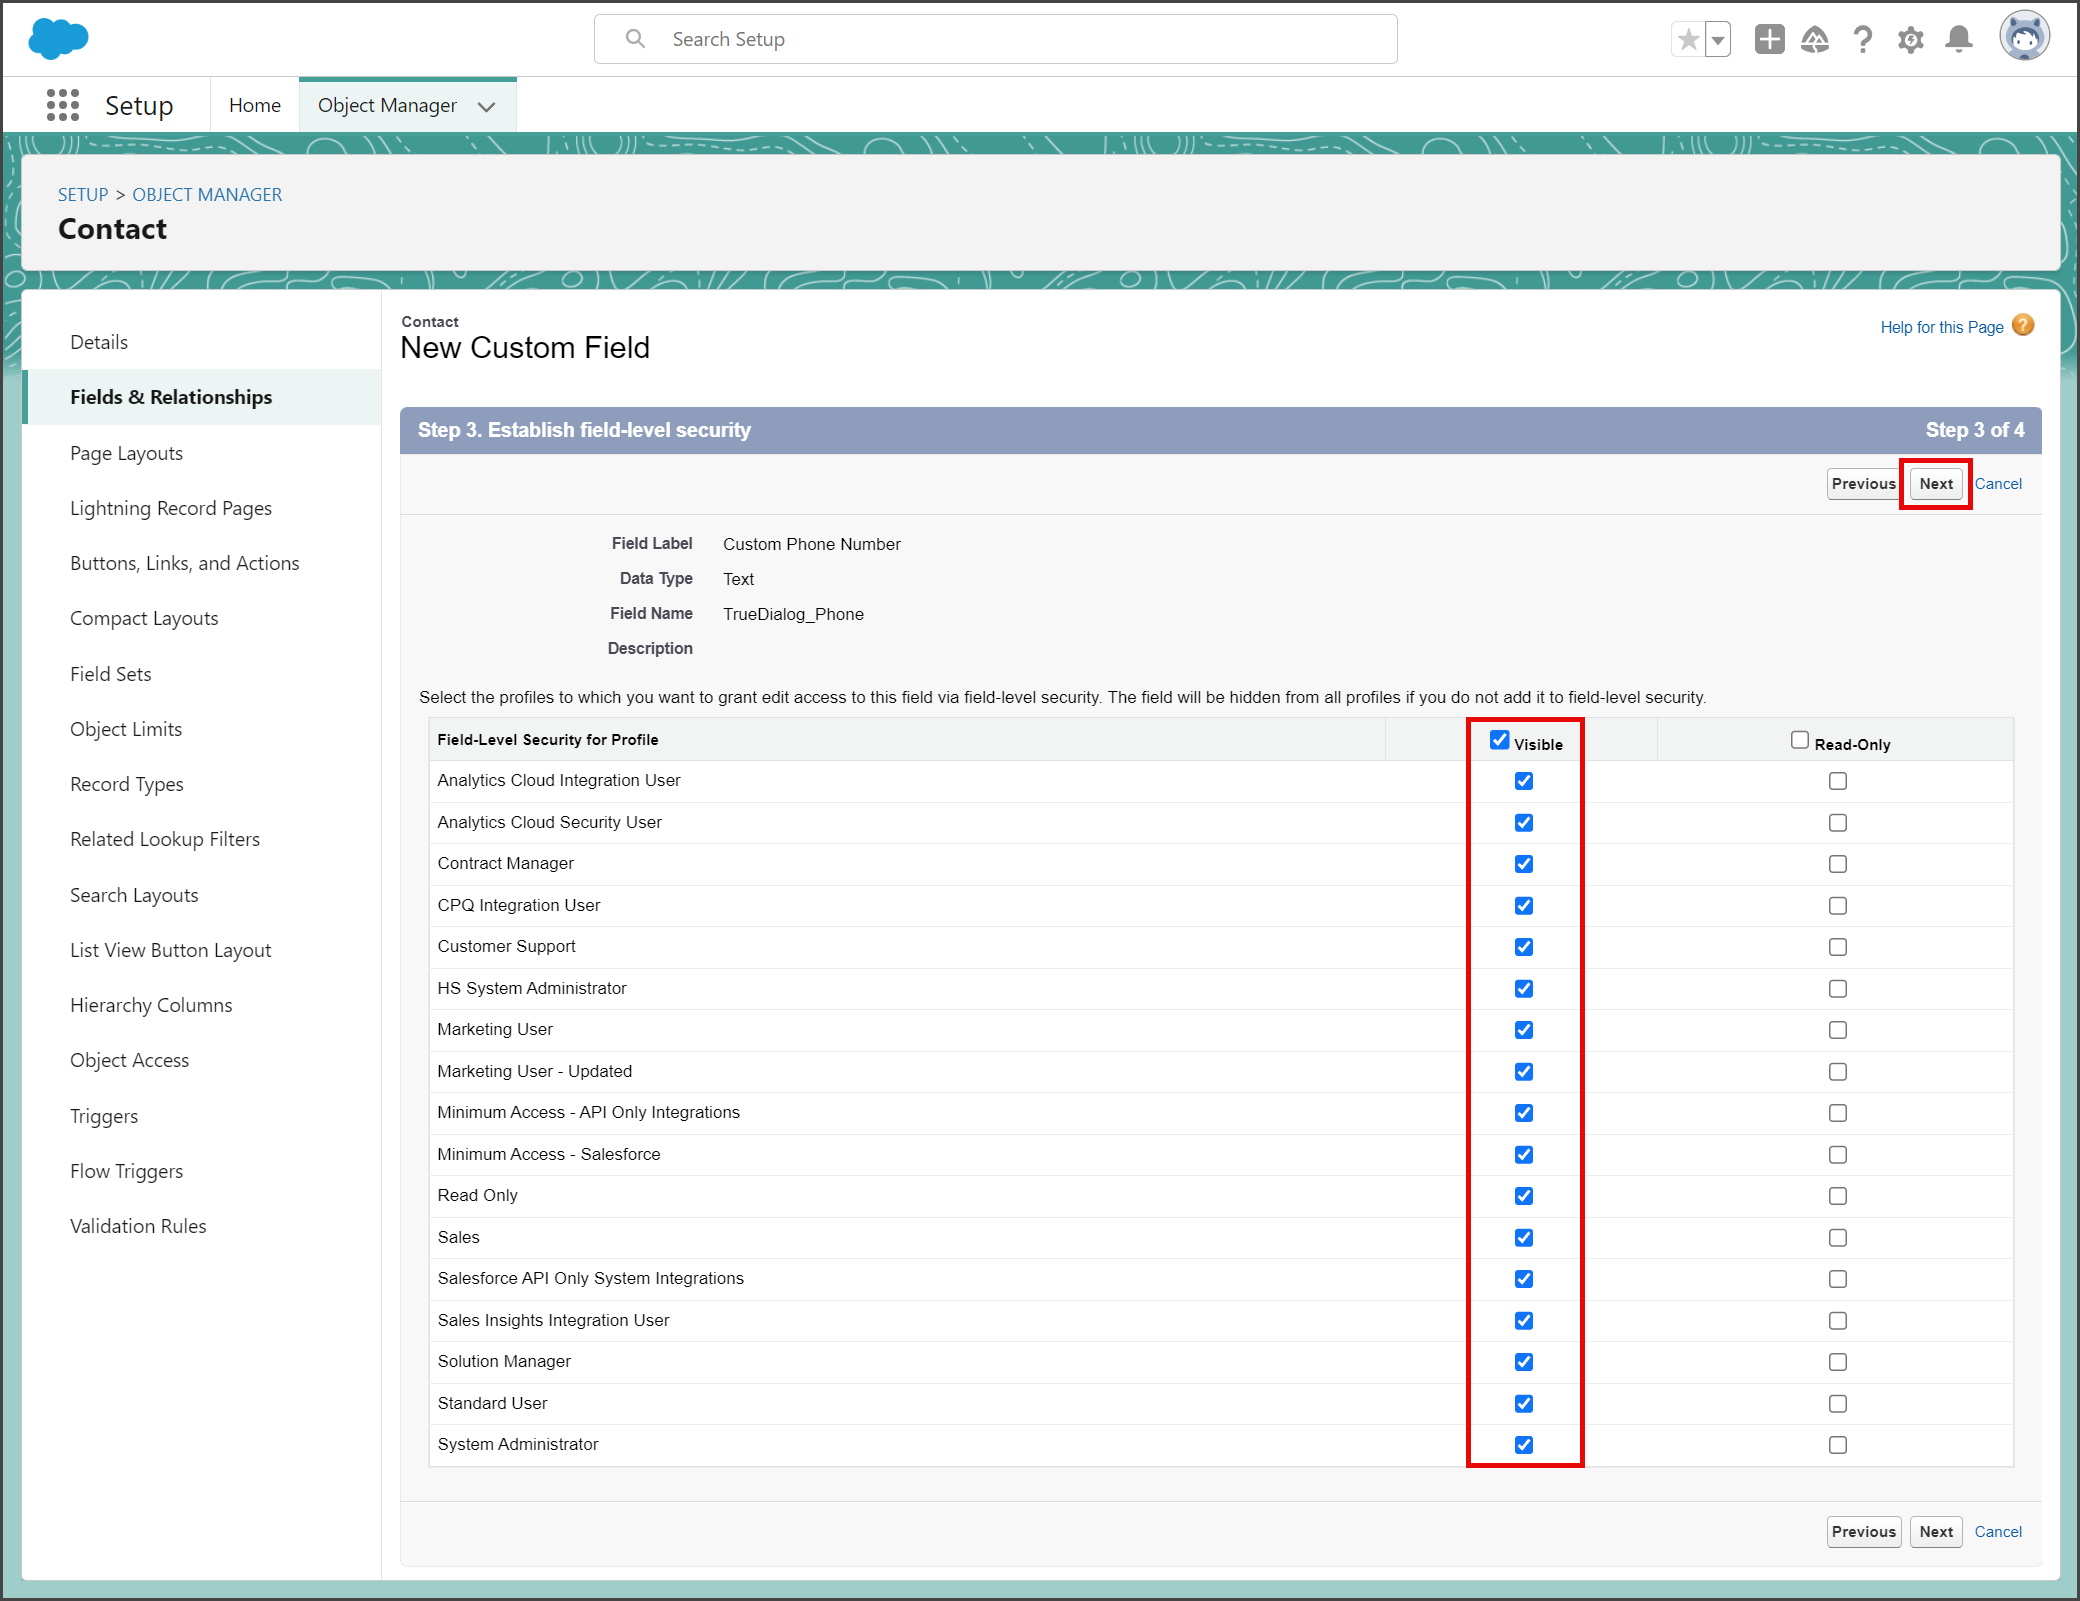
- Ensure the Visible checkbox is checked on all the profiles needing access to this field. If you are unsure, check all the profiles.
- Click Next.
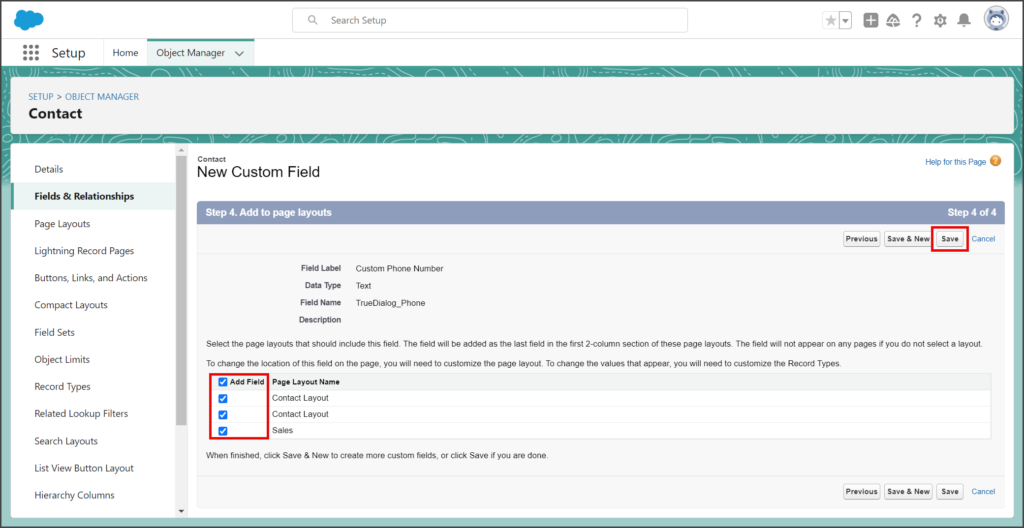
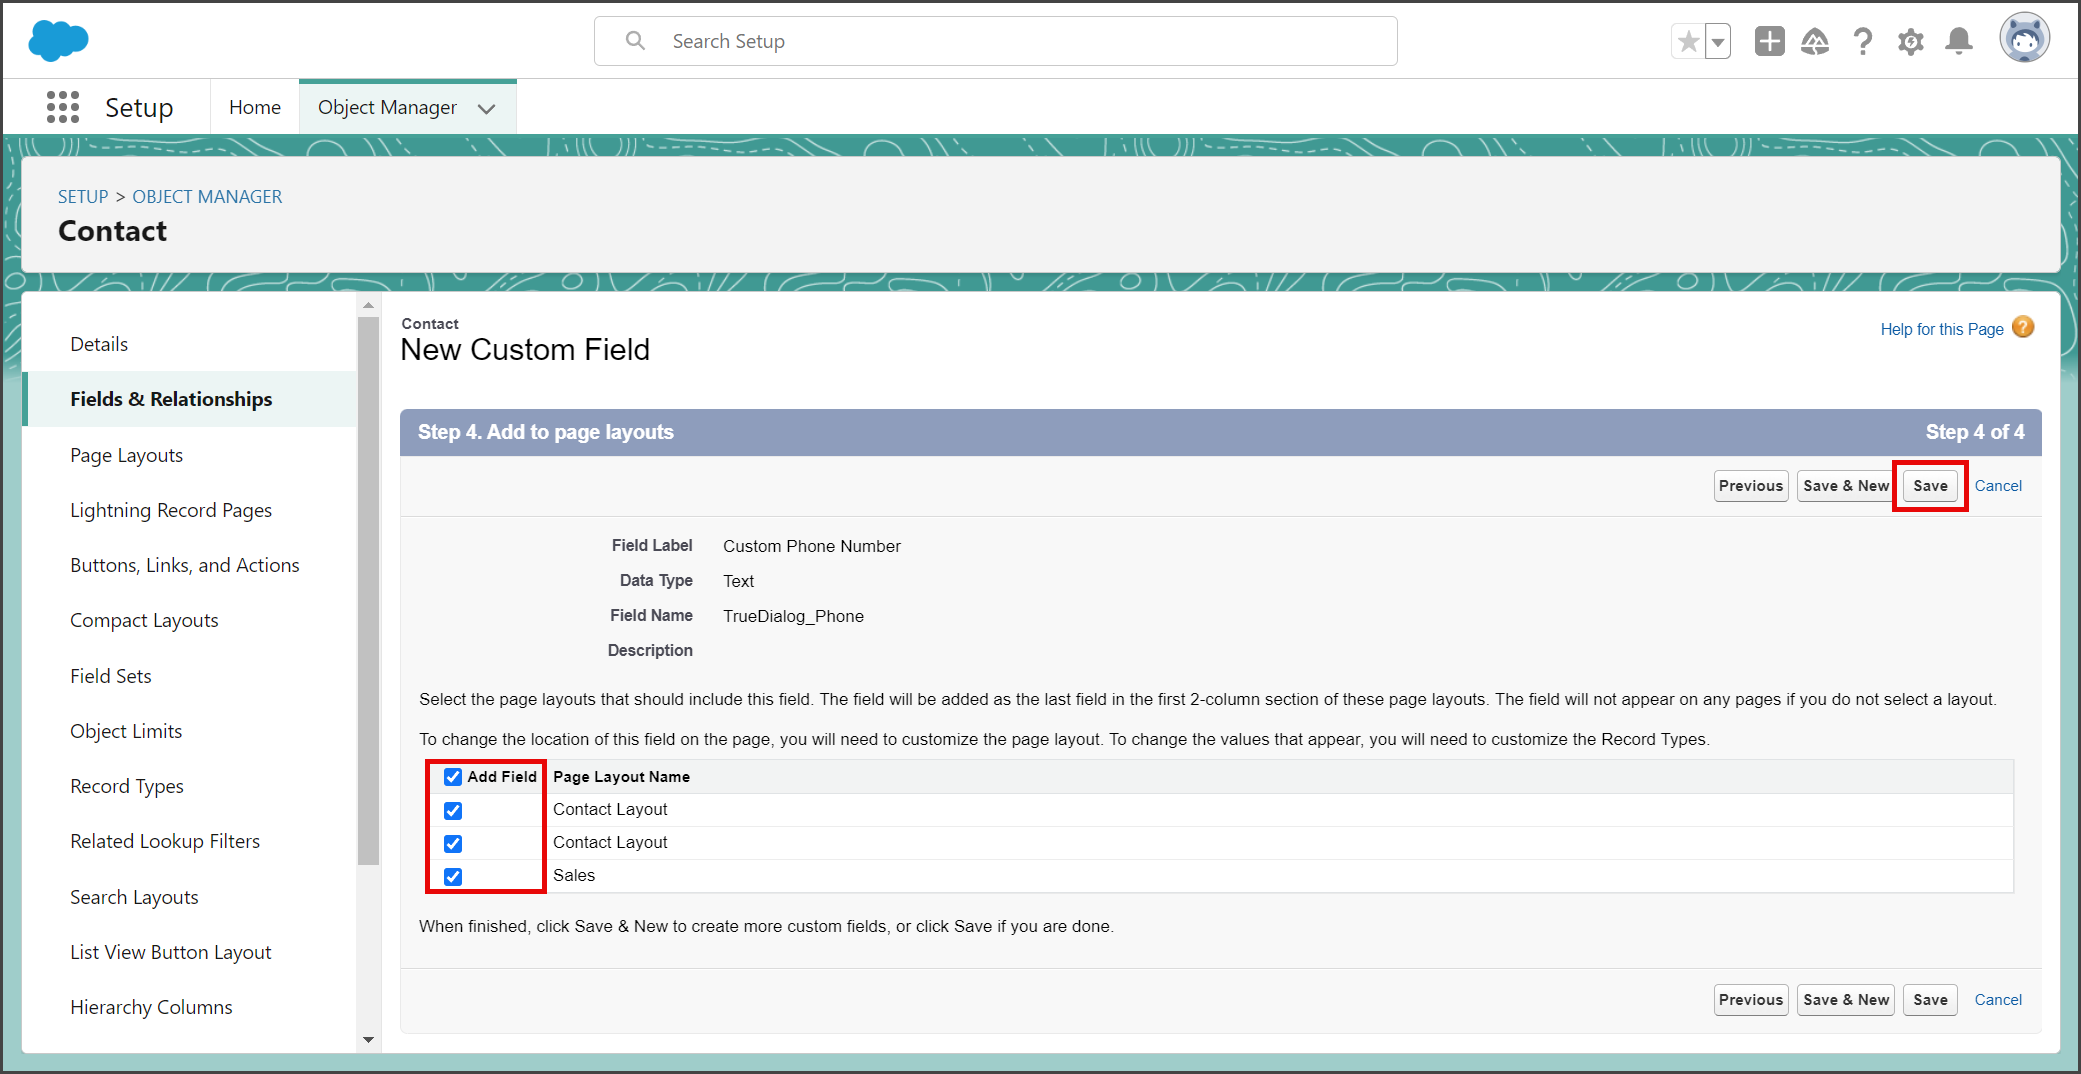
- Check the Add Field checkboxes for the layouts on which you want the field displayed. If you are unsure, check all of the layouts.
- Click Save.

SMS Opt Out Field
If you are using a custom object, the object needs an SMS Opt Out field with the following parameters:
| Parameter | Value |
|---|---|
| Field Label | SMS Opt Out |
| Field Name | SMS_Opt_Out |
| API Name | SMS_Opt_Out__c |
| Data Type | Checkbox |
| Default Value | Unchecked |
You can use a different value for Field Label, but it is recommended that you use SMS Opt Out. This field must be visible to any profiles that send SMS messages with this custom object.
Find Object API Name
When you create the connector and format the phone number, you will need the API name of the object you are connecting. The following instructions show you how to find the API Name in the Object Manager.
- Click the tab for your Object.
- Click the Settings Gear icon to open the settings menu.
- Click Edit Object.

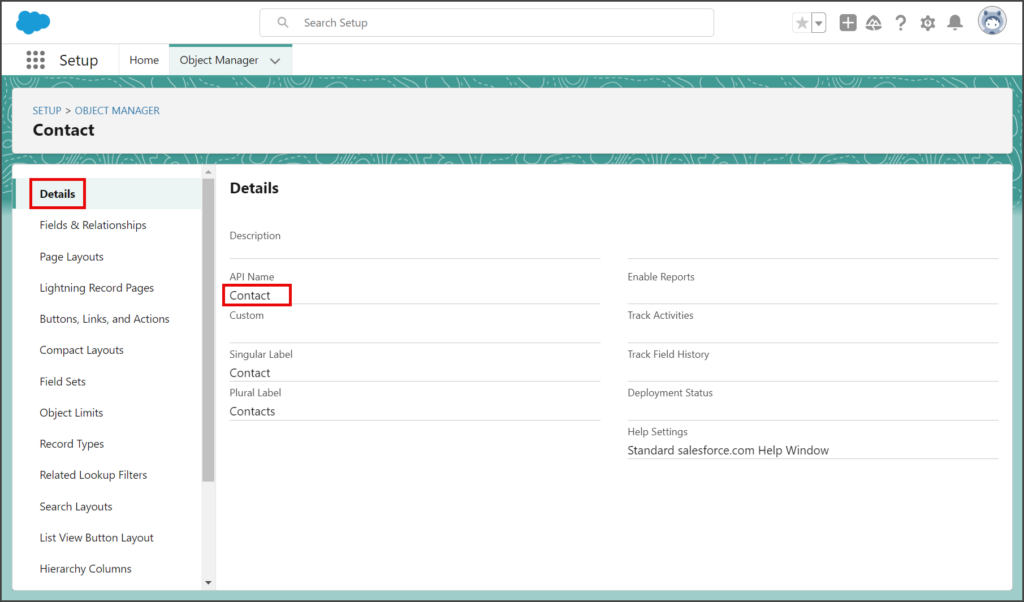
- Click Details on the left sidebar.
- The API Name field has the object’s API Name.

Create Connector
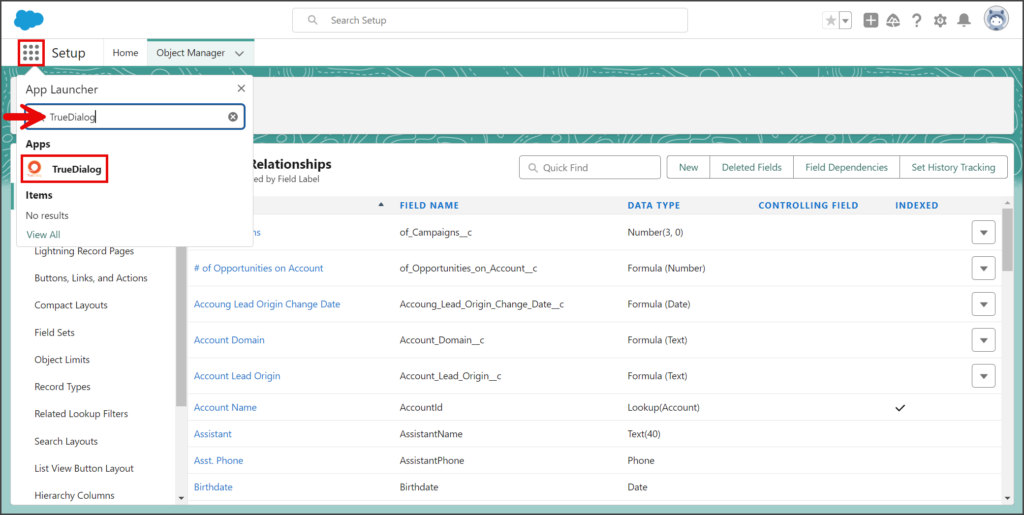
- Click the App Launcher.
- Enter TrueDialog in the search box.
- Click the TrueDialog app.
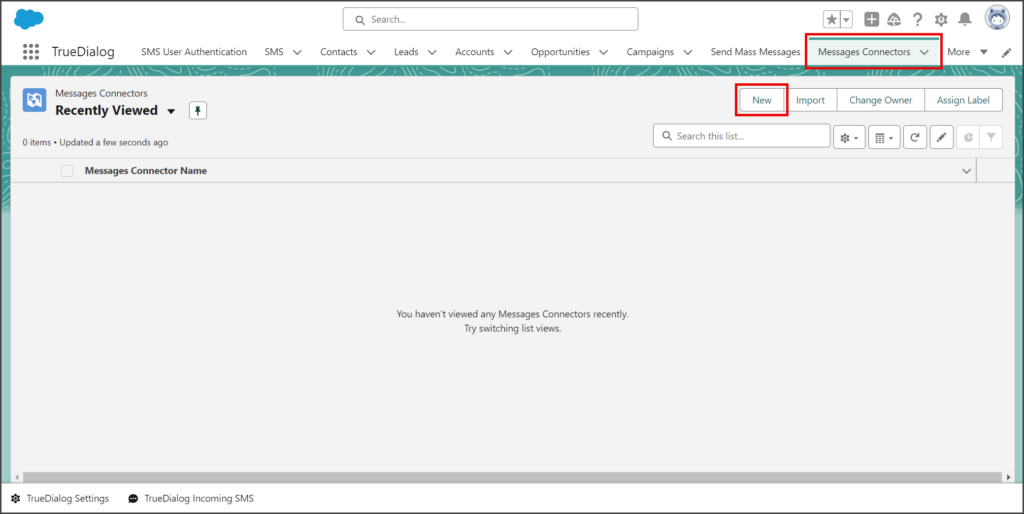
- Select the Messages Connectors tab.
- Click New.
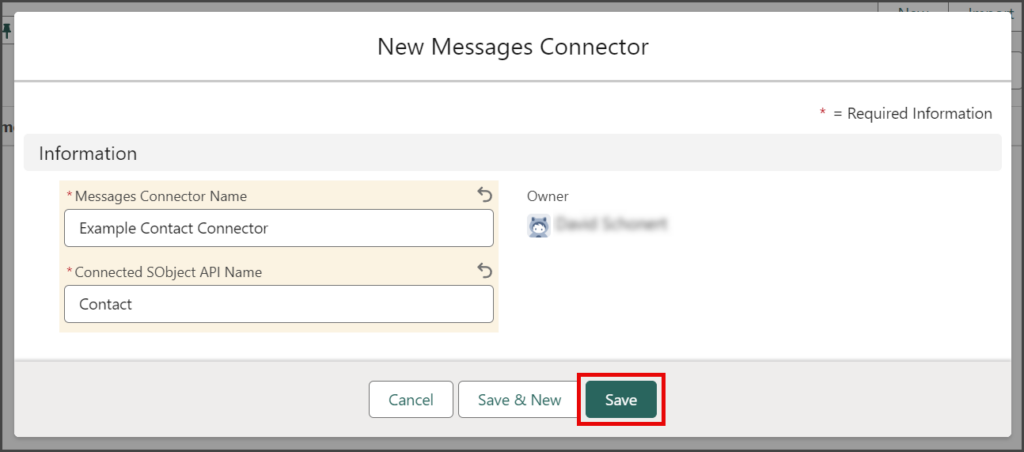
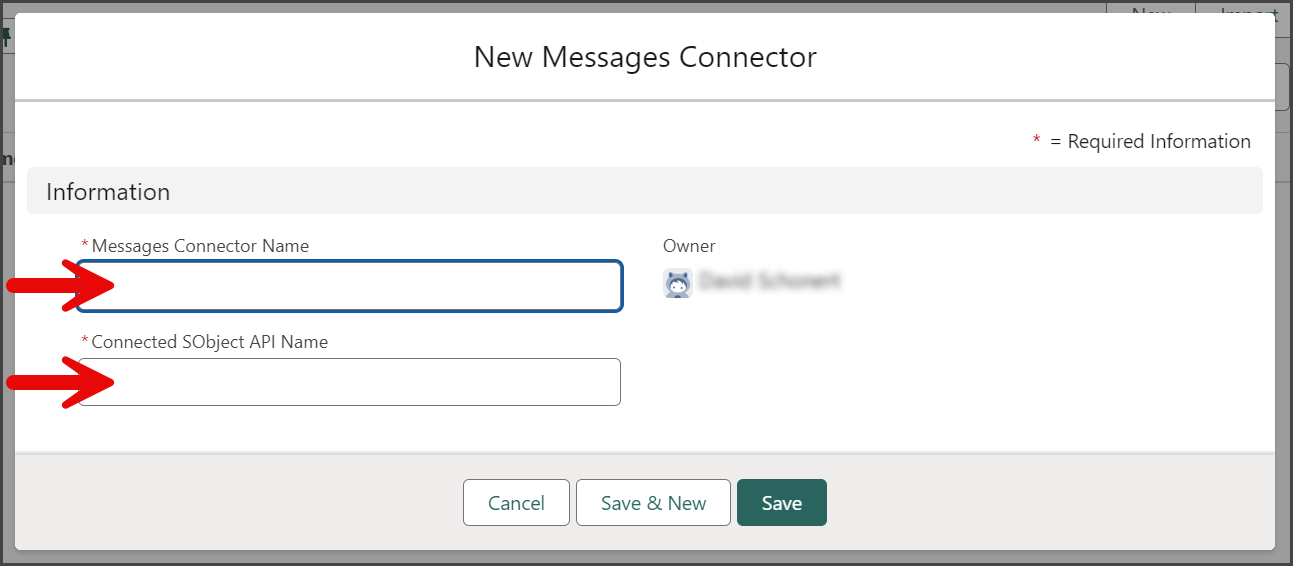
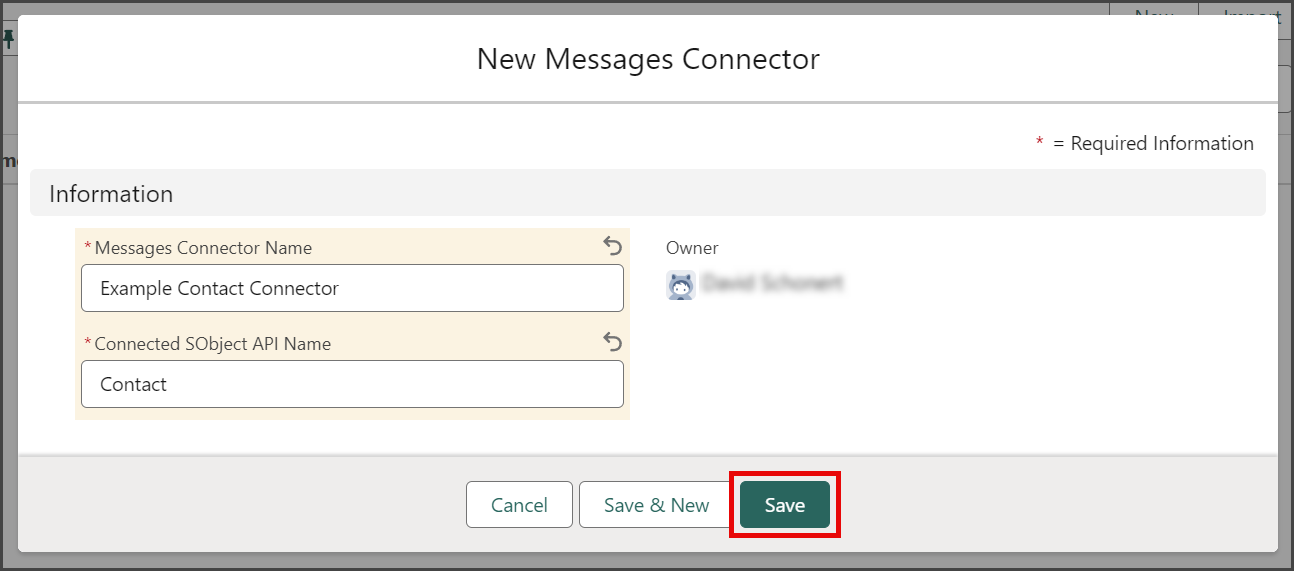
- Enter a name for this connector in the Messages Connector Name.
- In the Connected SObject API Name, enter the API name of the object for which you are creating this connector. This example uses the Contact object.

- Click Save.


Format Phone Number
The TrueDialog integration requires custom phone number fields to be formatted in the +1########## format. You can use the Format Phone Number utility to convert the custom phone number field for all records to the required format.
- Select the Contacts tab.
- Click a contact to add a phone number to the custom field you created above.

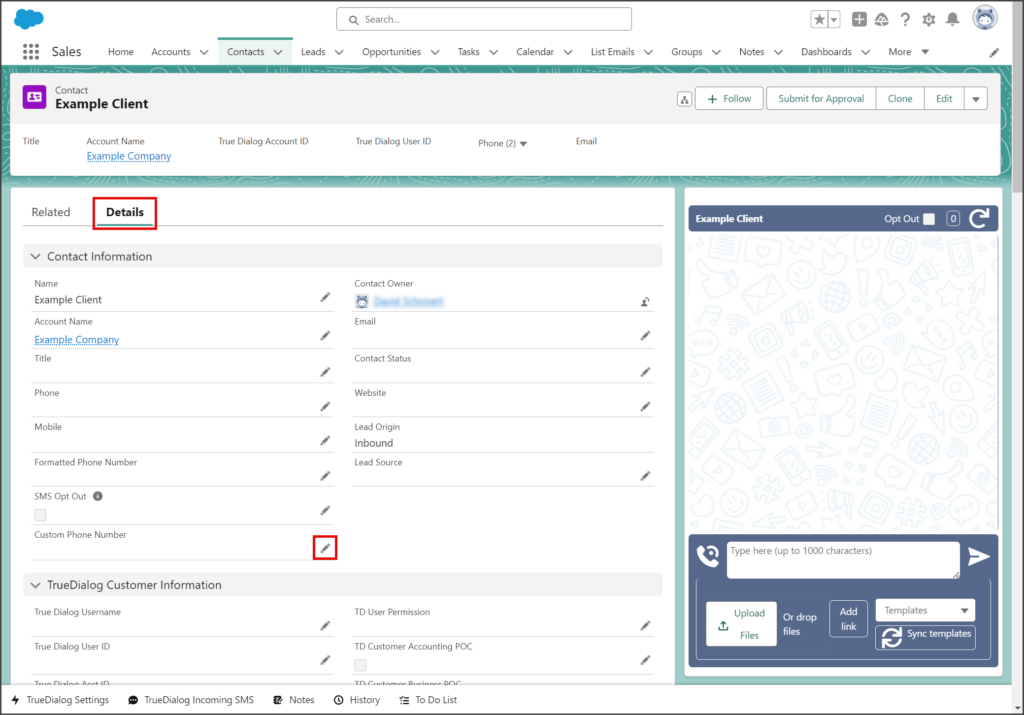
- Click the Details tab.
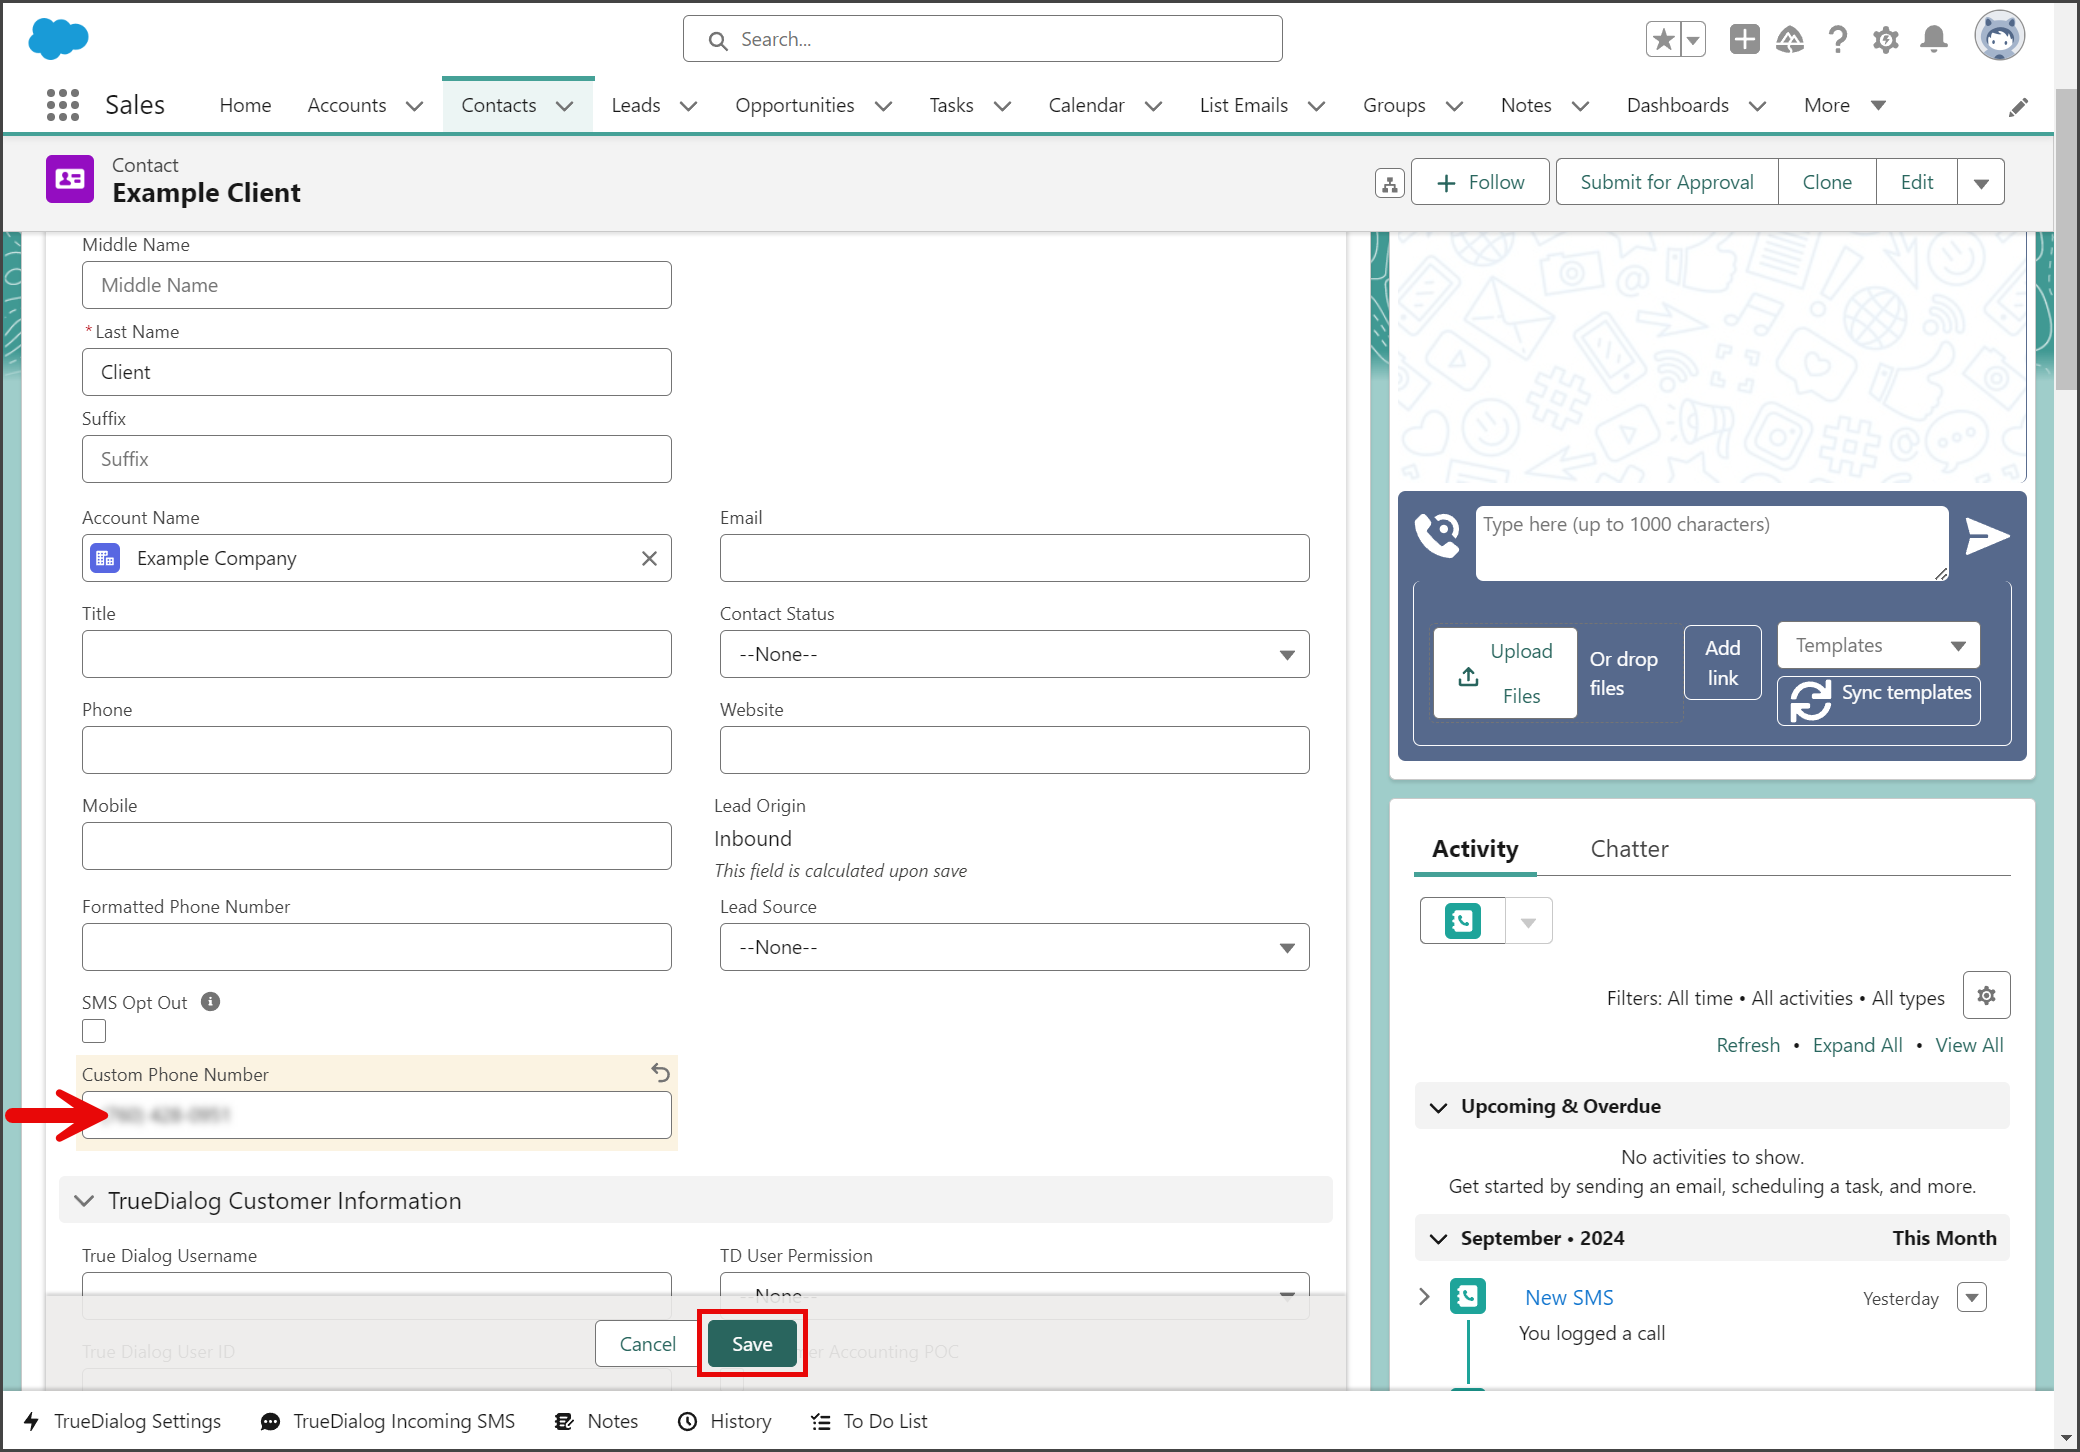
- Click the Pencil icon next to the new custom field, Custom Phone Number.
- Enter a phone number for the contact in the Custom Phone Number textbox.
- Click Save.

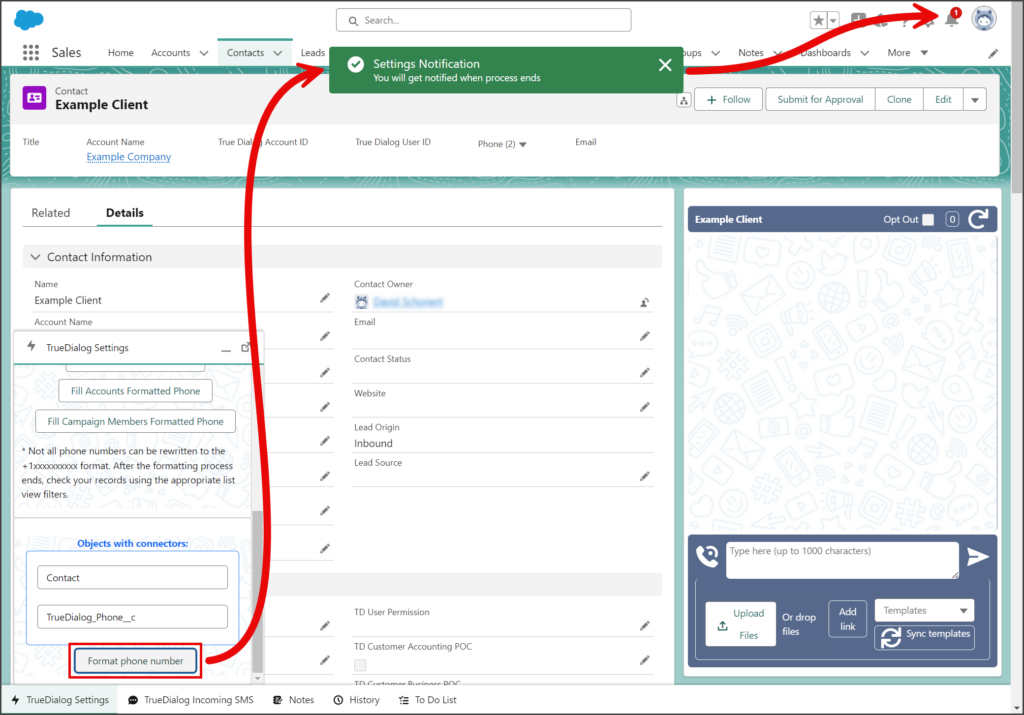
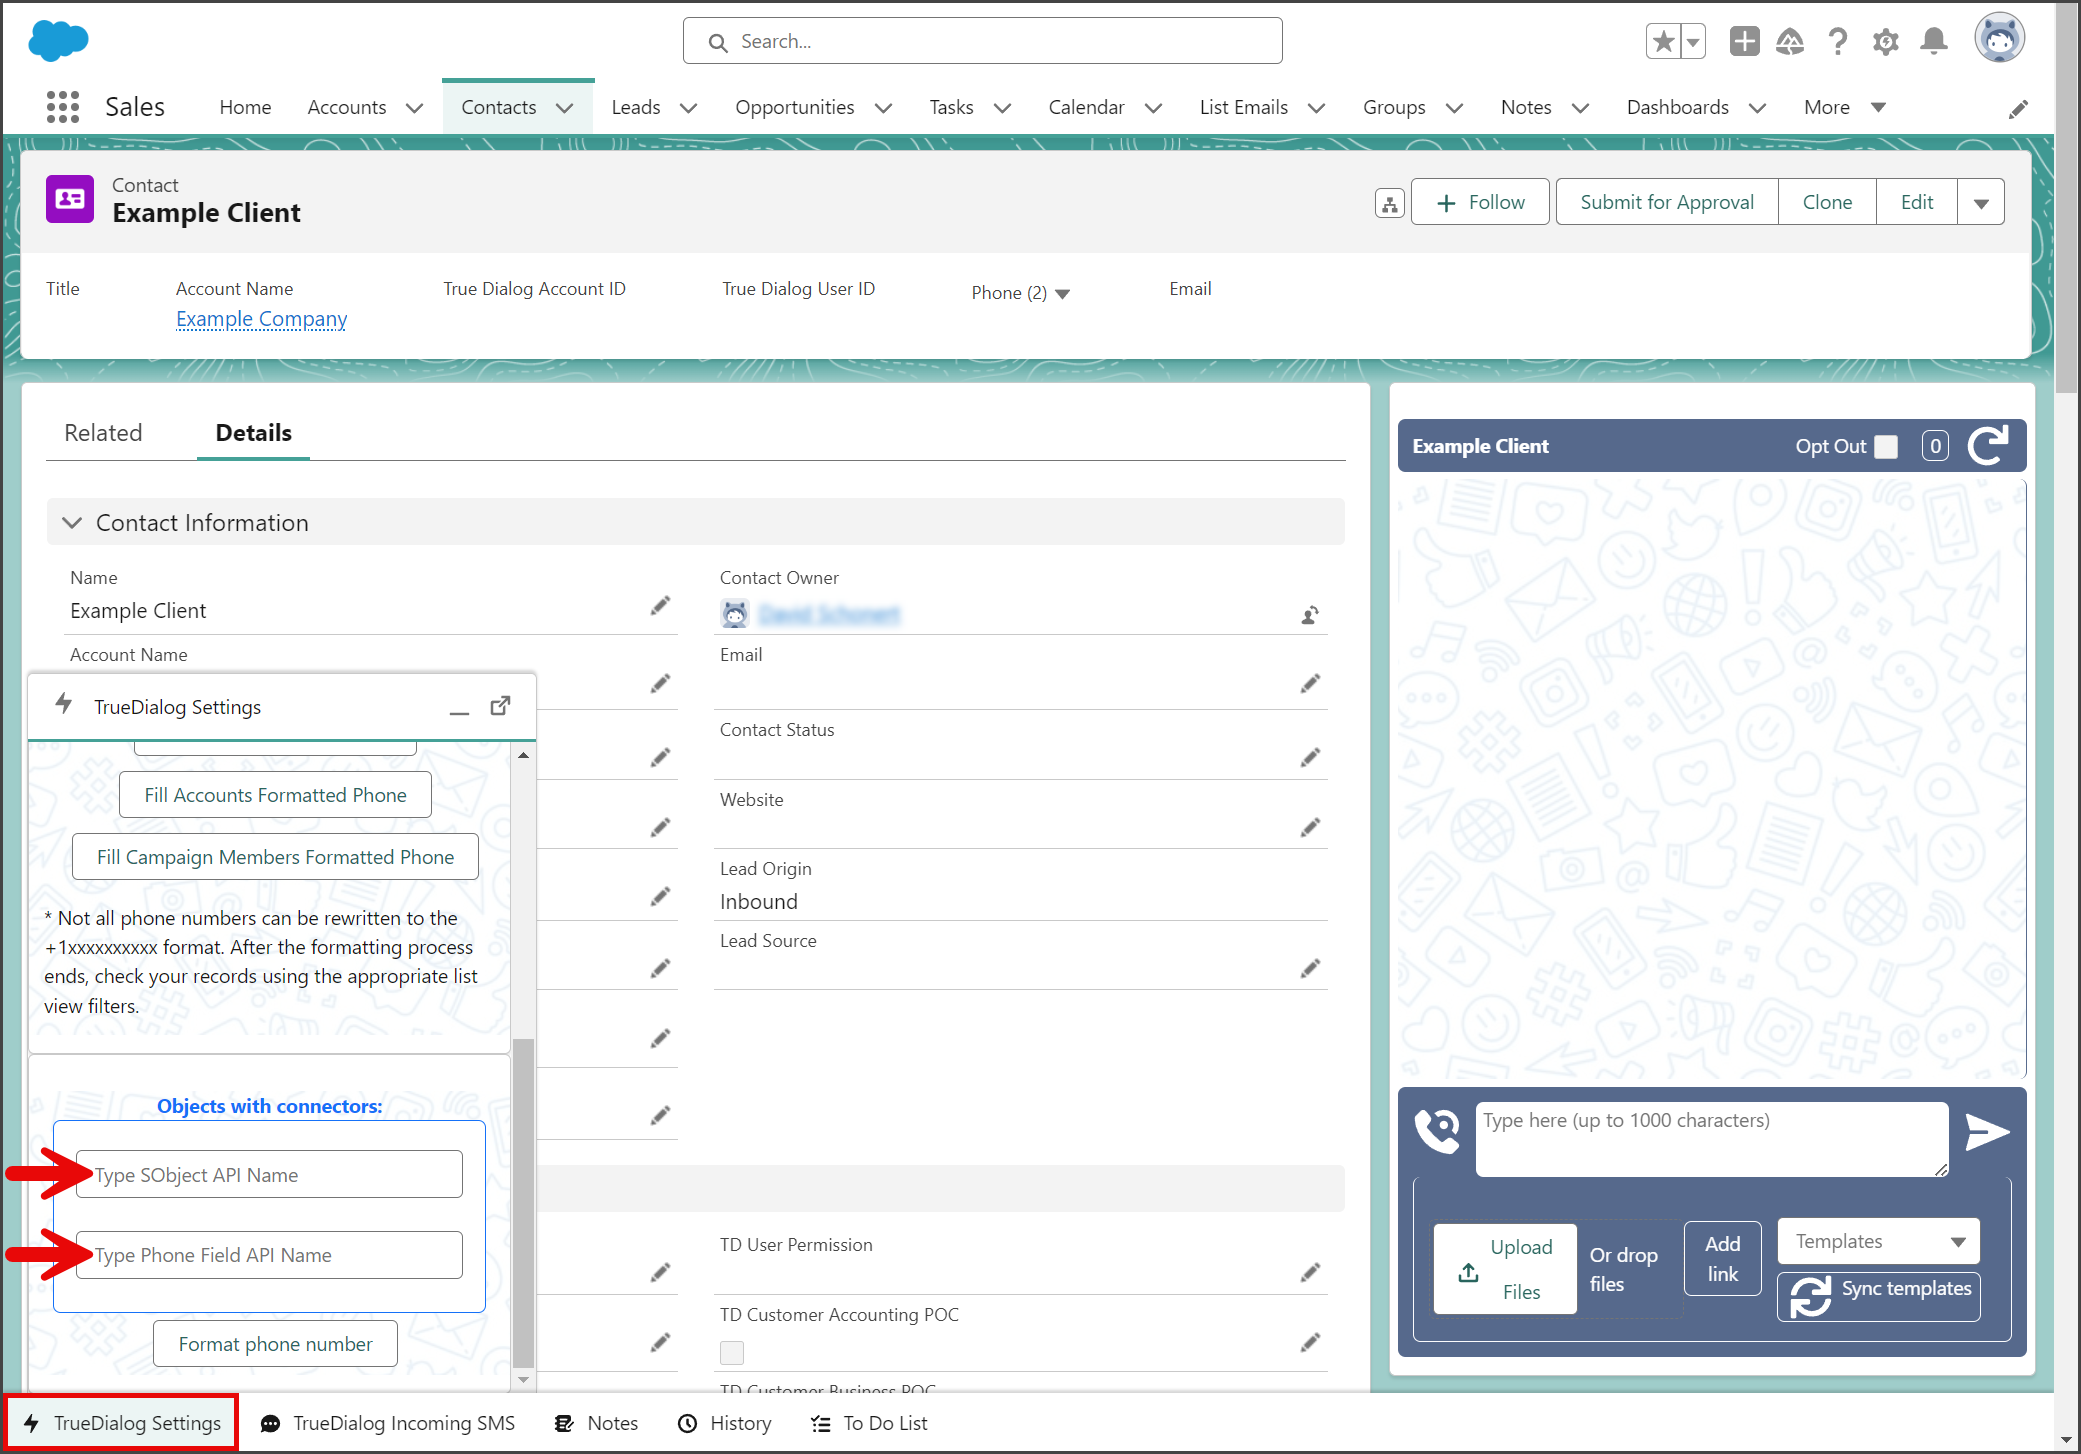
- Click the TrueDailog Settings utility at the bottom of the window.
- Scroll down to the Objects with connectors section.
- In the Type SObject API Name textbox, enter the API name of the object in which the custom field is. This example uses the Contact object.
- In the Type Phone Field API Name, enter the API name of the custom phone number field. This field must be named TrueDialog_Phone.

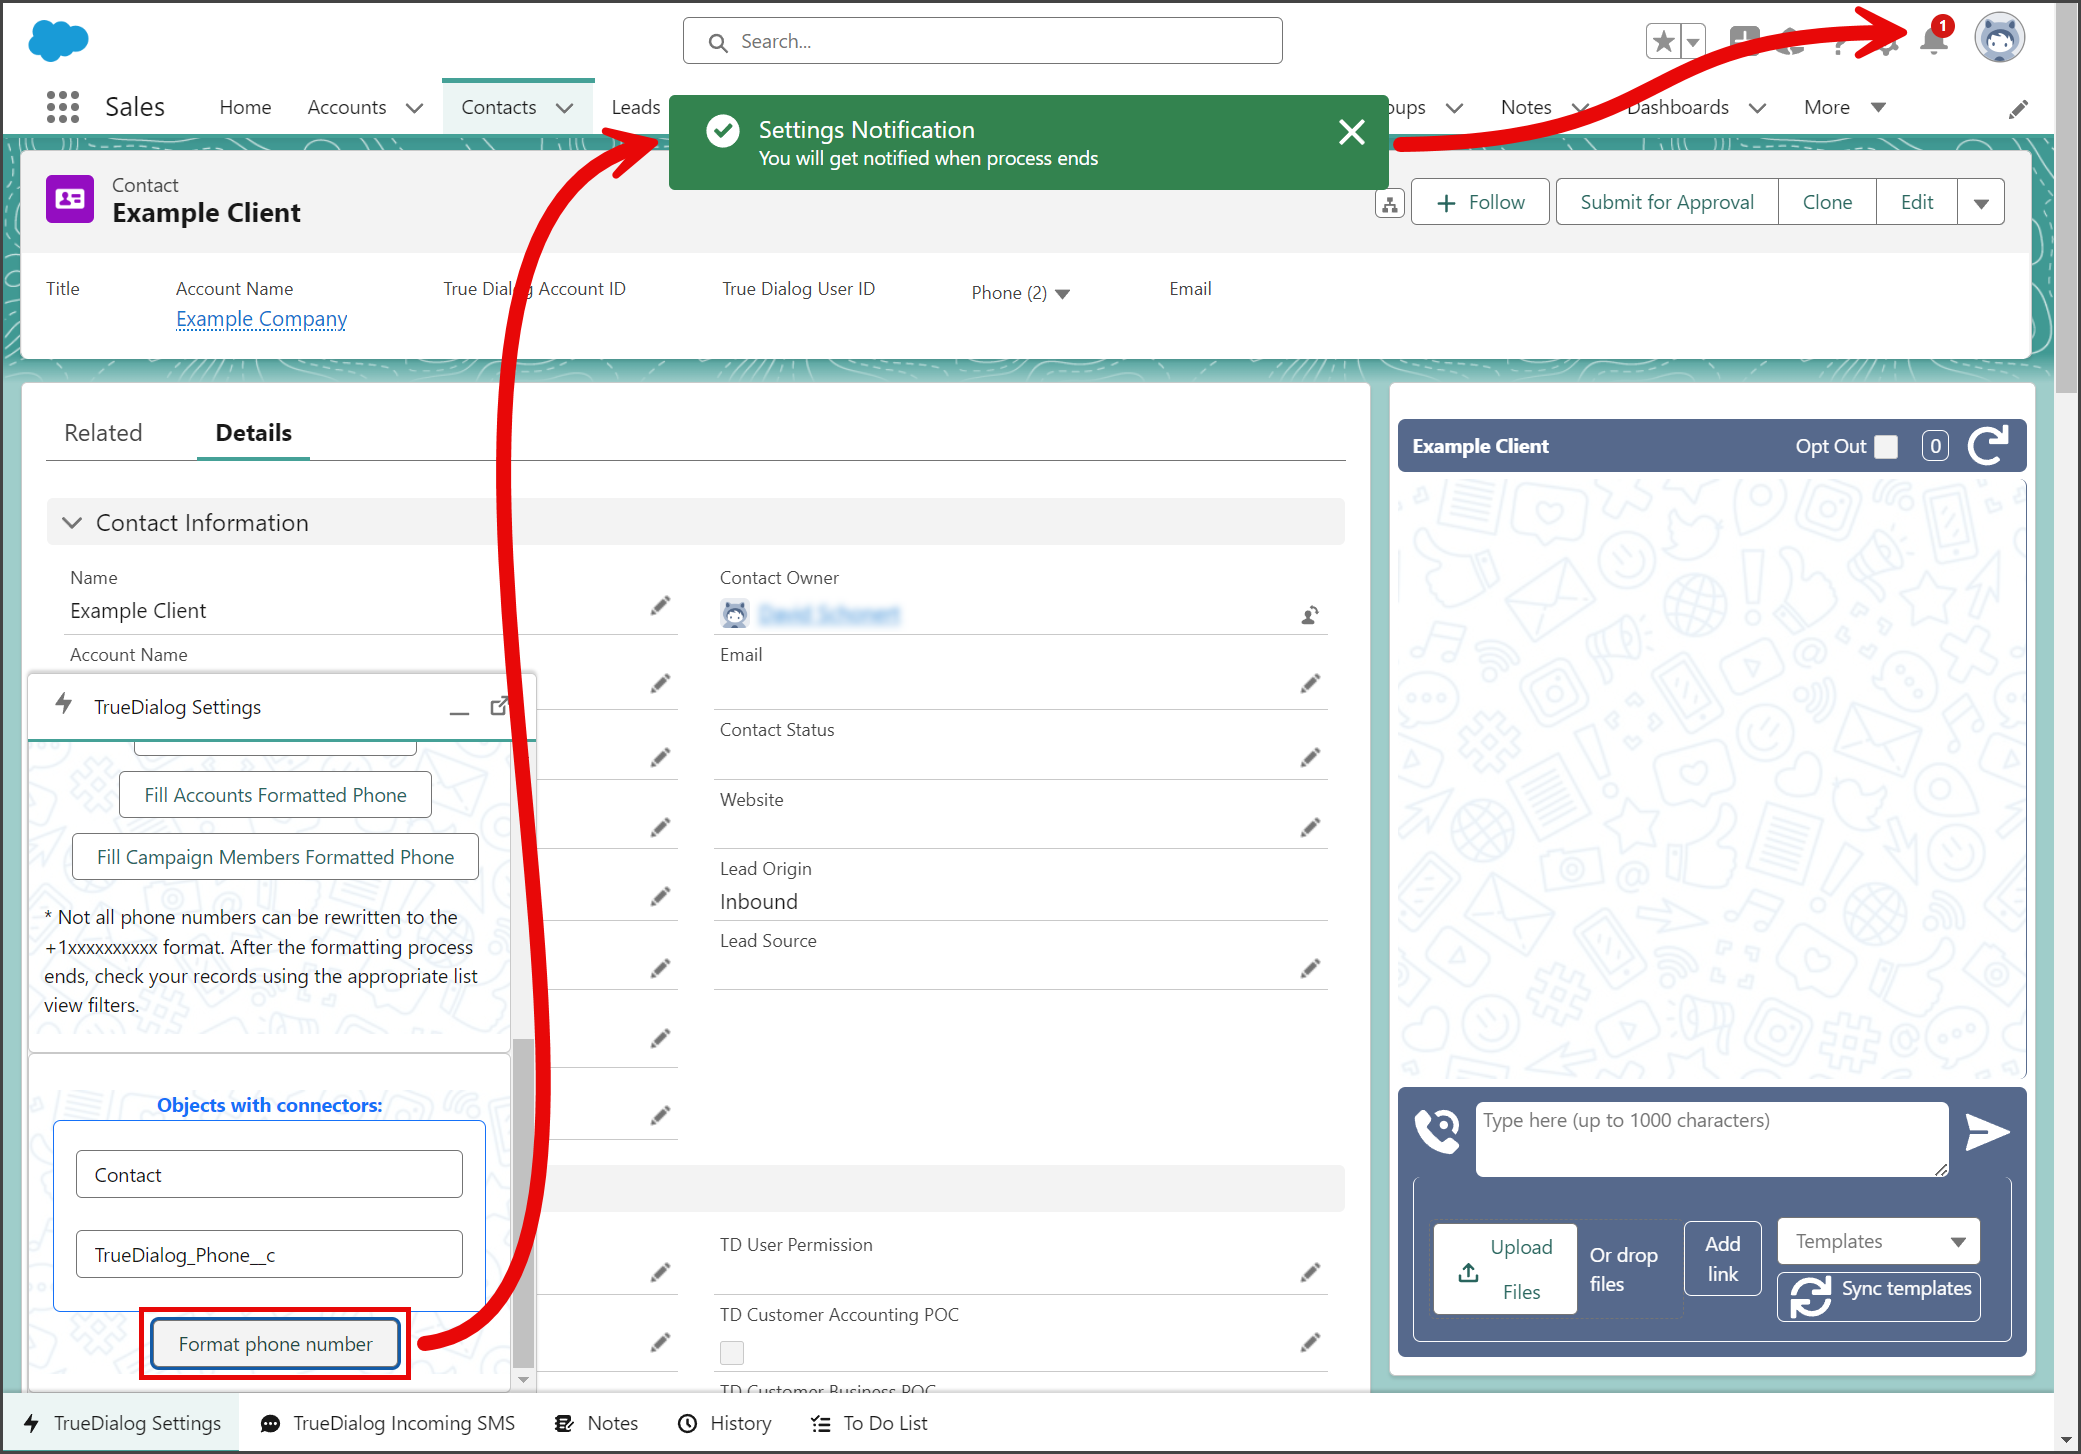
- Click Format phone number.
- You will receive a notification once the format phone number process is complete for all records.
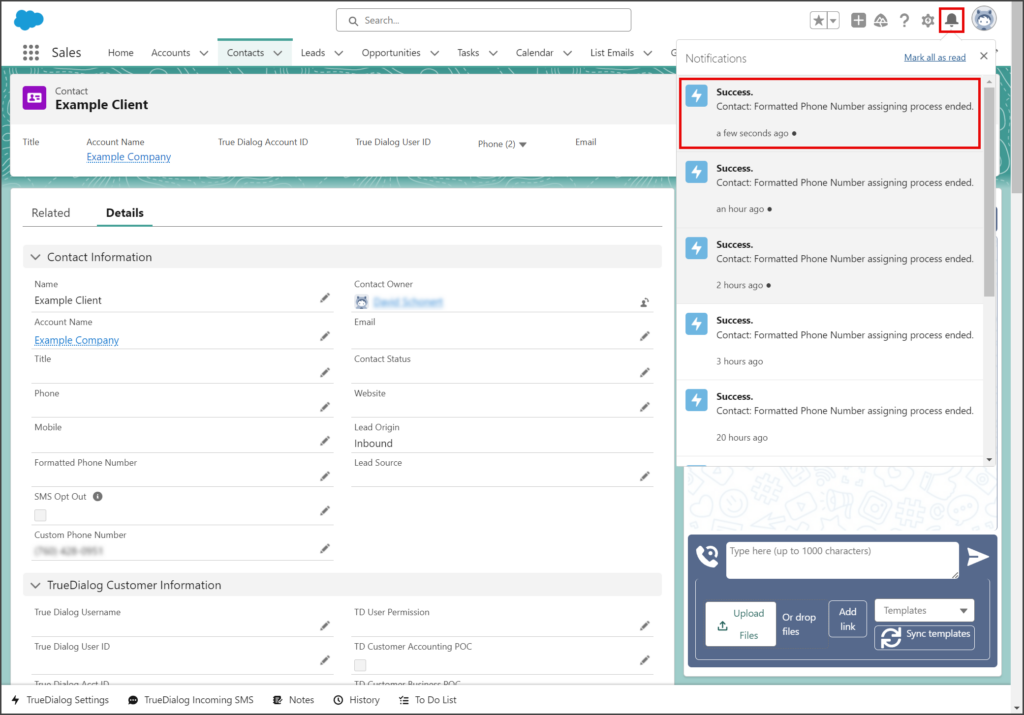
- (Optional) Click the Bell icon to open Notifications and verify that you have received a Success notification that the Formatted Phone Number process ended.
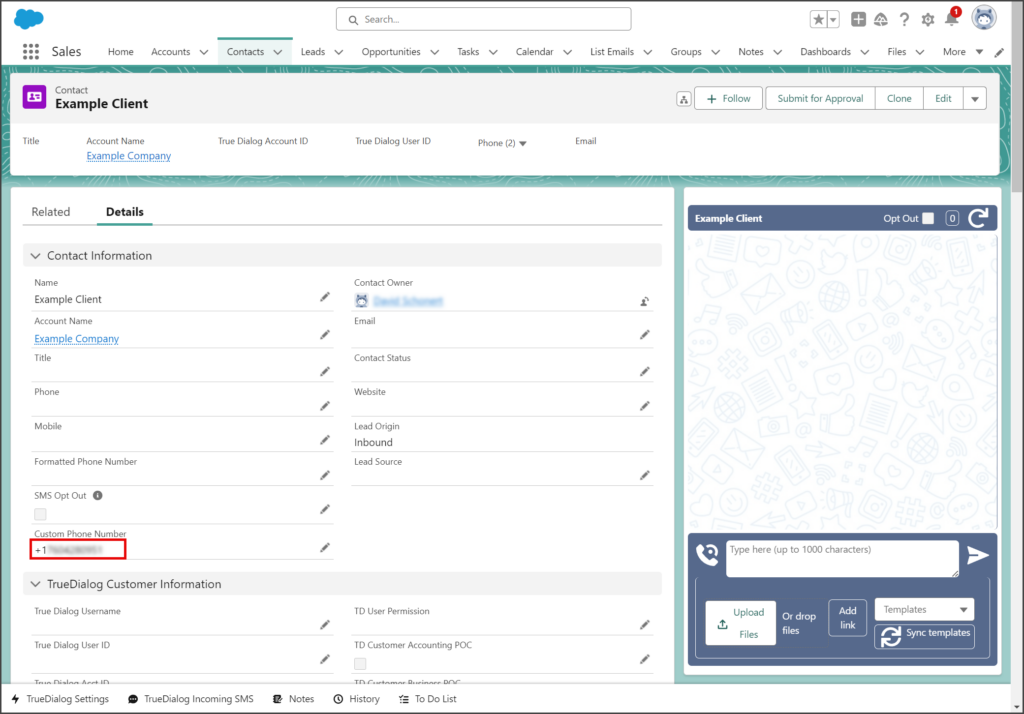
- Refresh the record’s page and verify that the Custom Phone Number field is formatted to be +1##########.


Standard Object Requirements
The sections below explain the unique requirement for using a custom phone field with some of the standard objects.
Opportunity Objects
Campaign Members Objects
Person Account Objects
Lead Objects
The table below explains what fields to map depending on which objects use a custom phone number field. The Custom Phone Number field is used as an example to represent your custom phone number field.
| Mapping | Lead Field | Account/Contact Field |
|---|---|---|
| Lead uses a custom phone field, and Account/Contact uses a standard phone field. | Custom Phone Number | Formatted Phone Number |
| Lead uses a standard phone field, and Account/Contact uses a custom phone field. | Formatted Phone Number | Custom Phone Number |
| Lead uses a custom phone field, and Account/Contact uses a custom phone field. | Lead Custom Phone Number | Account/Contact Custom Phone Number |
The following instructions show you how to use the Map Lead Fields tool.
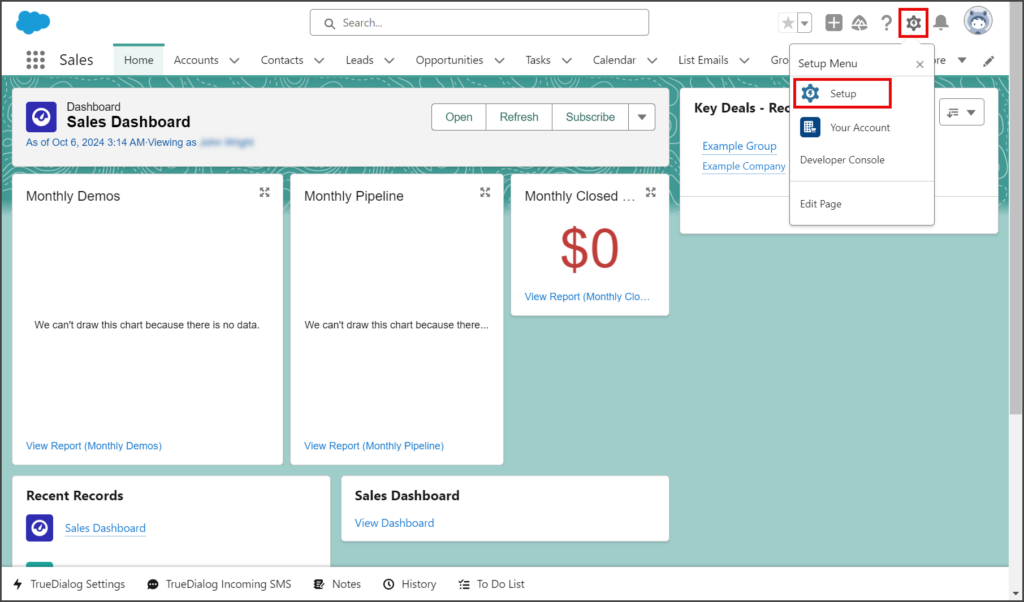
- Click the Settings Gear icon to open the settings menu.
- Click Setup.
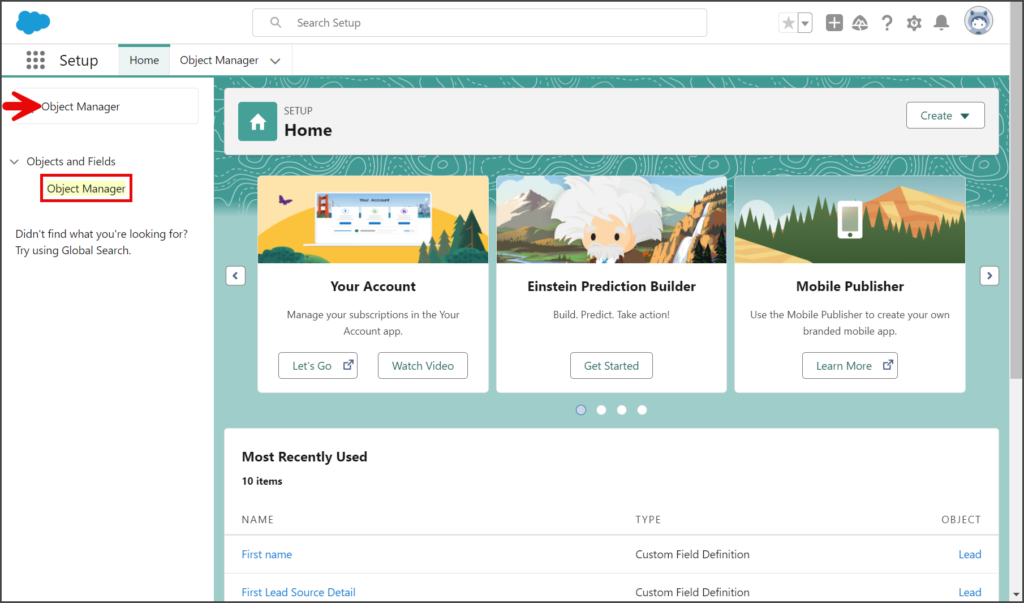
- Enter object manager in the search box.
- Click Object Manager.
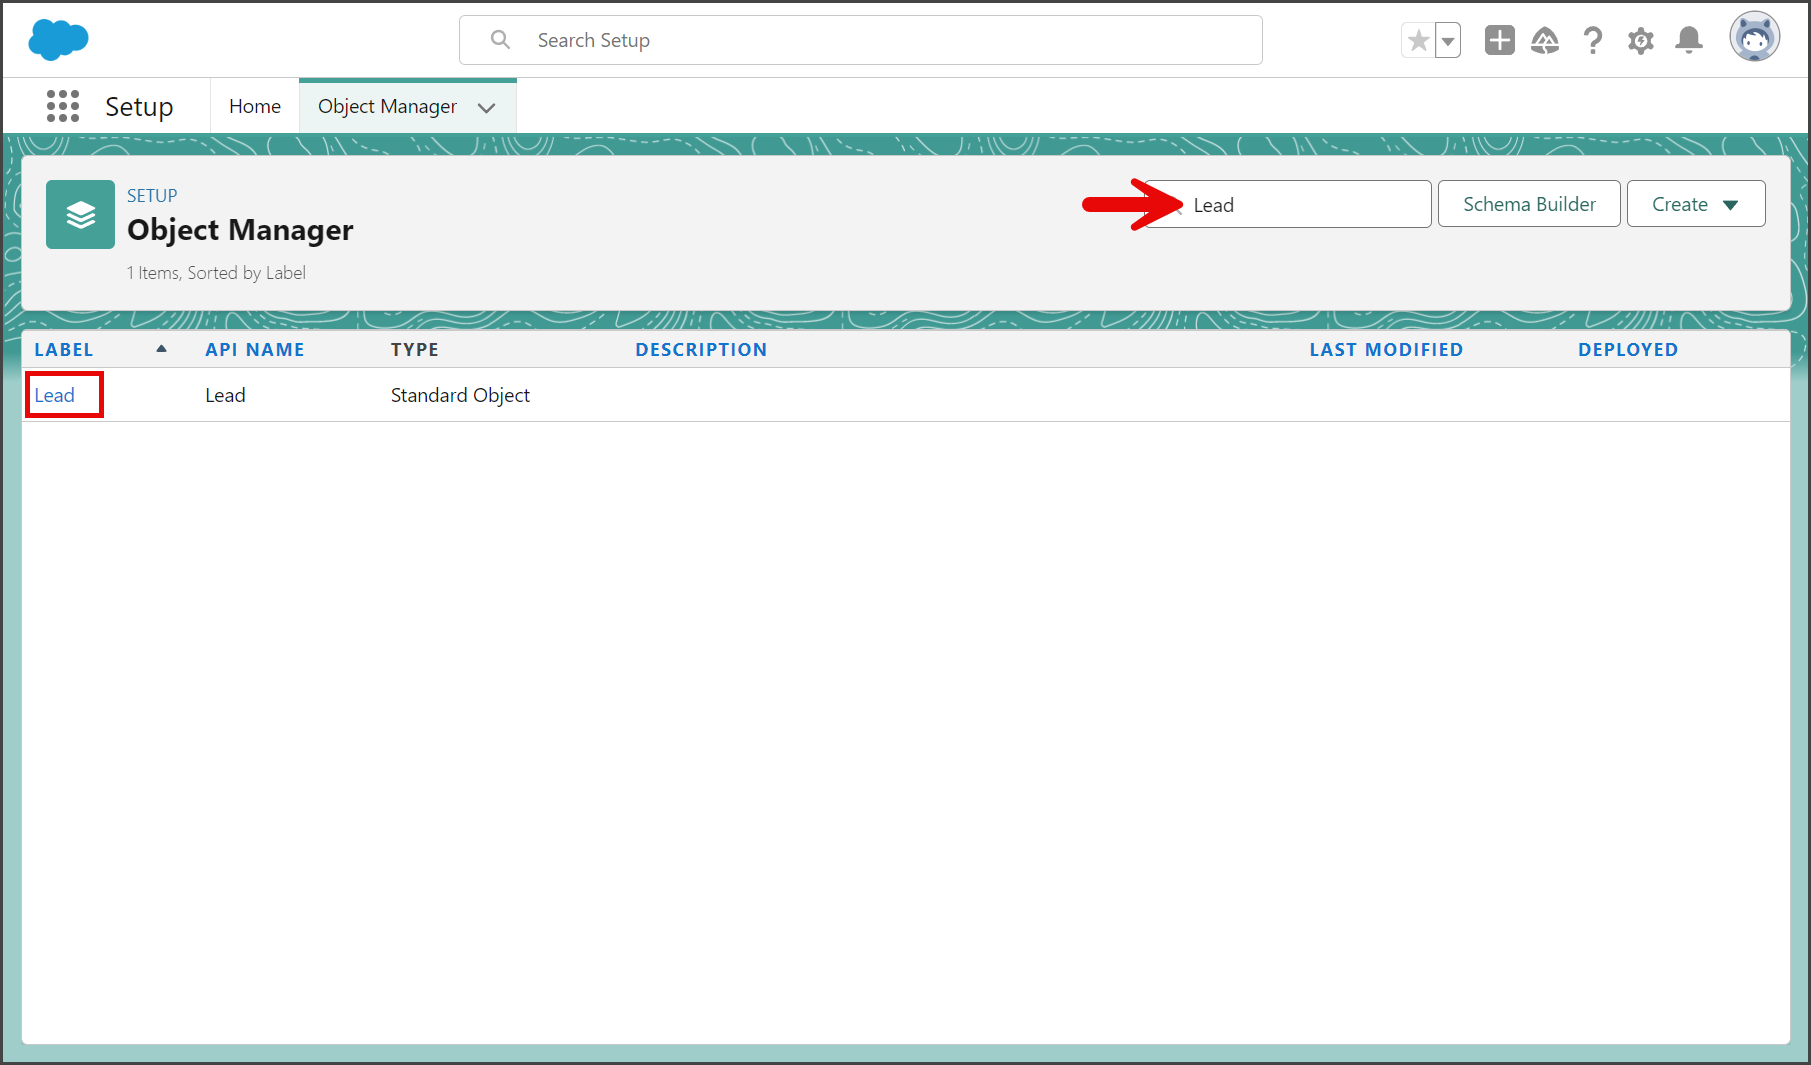
- Enter lead in the search box.
- Click Lead.

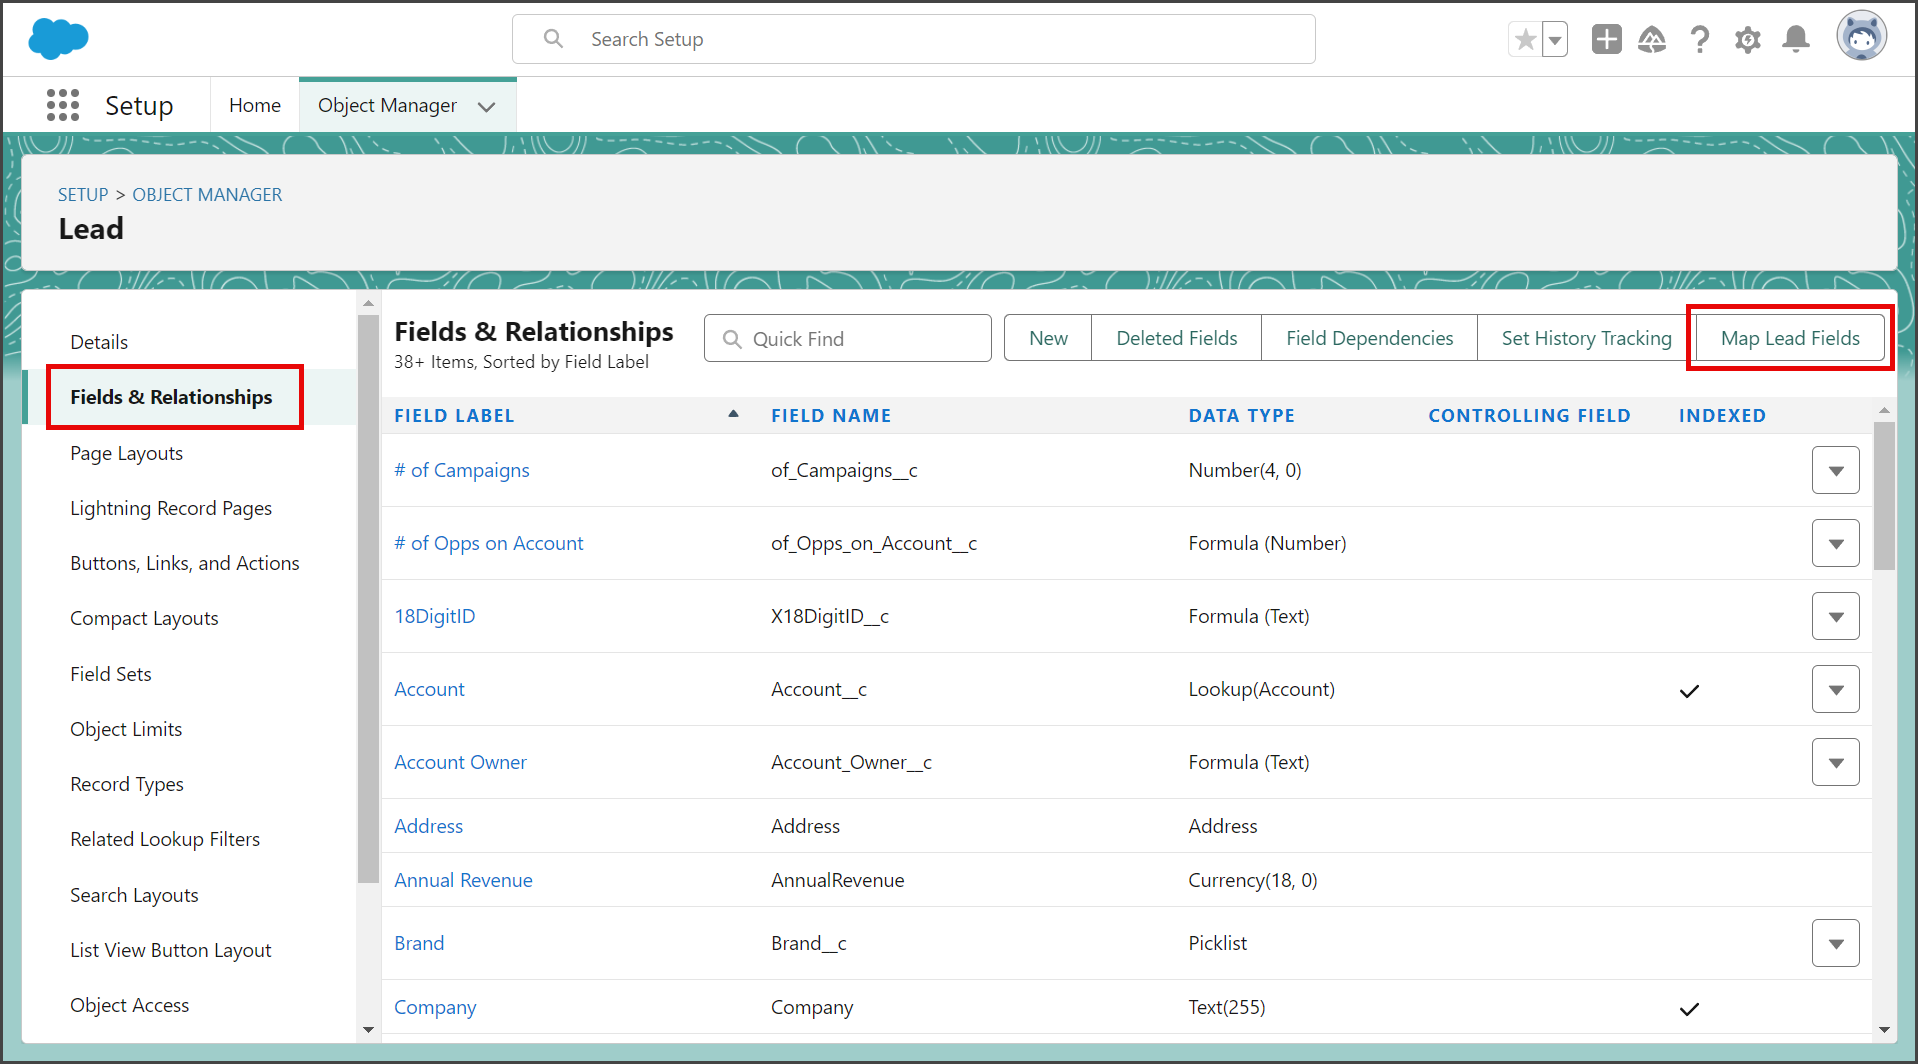
- Click Fields & Relationships in the left sidebar.
- Click Map Lead Fields.

- Select the tab of the Object that Leads will convert to.

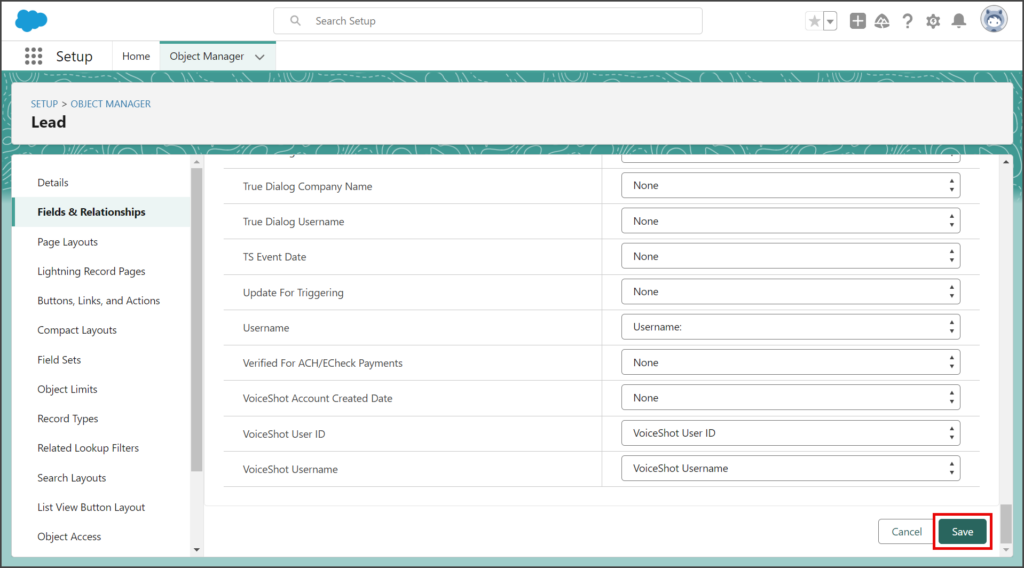
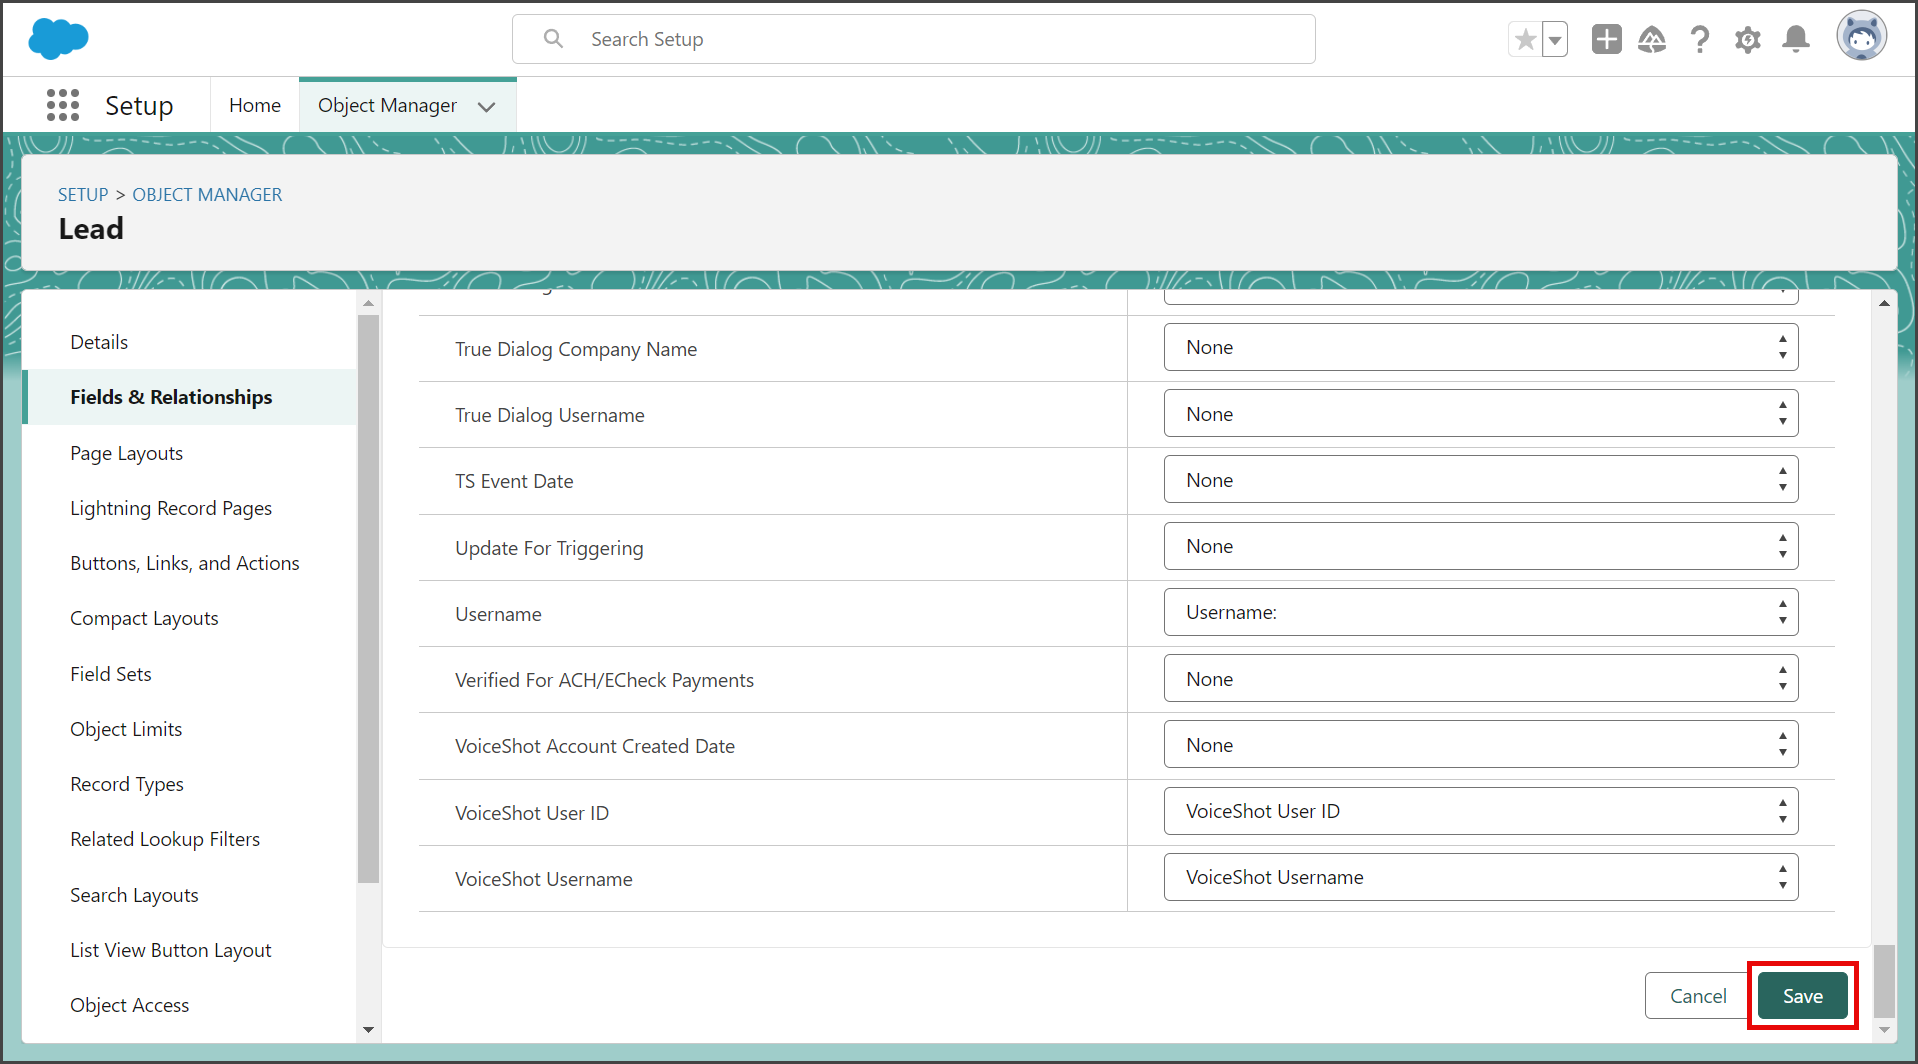
- Complete the field mapping Lead Fields to Account/Contact Fields as outlined in the table above. The screenshot below shows mapping the standard phone field to a custom phone field.
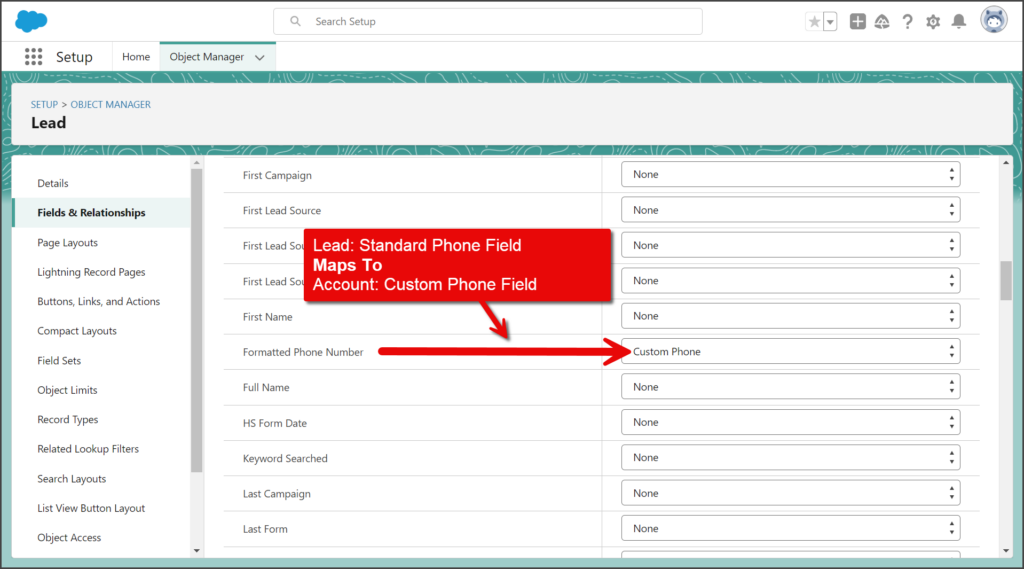
- Click Save.