
TrueDialog Portal
Integrations Hub > Integration Apps
The Integrations Hub and TrueConnect allow you to connect your applications through webhooks to the TrueDialog API. To use a custom application with the Integrations Hub, the App must have an endpoint to receive webhooks with JSON payloads. The instructions below guide you in creating a New App. See the following article for an explanation of each webhook message type and its JSON payload structure.
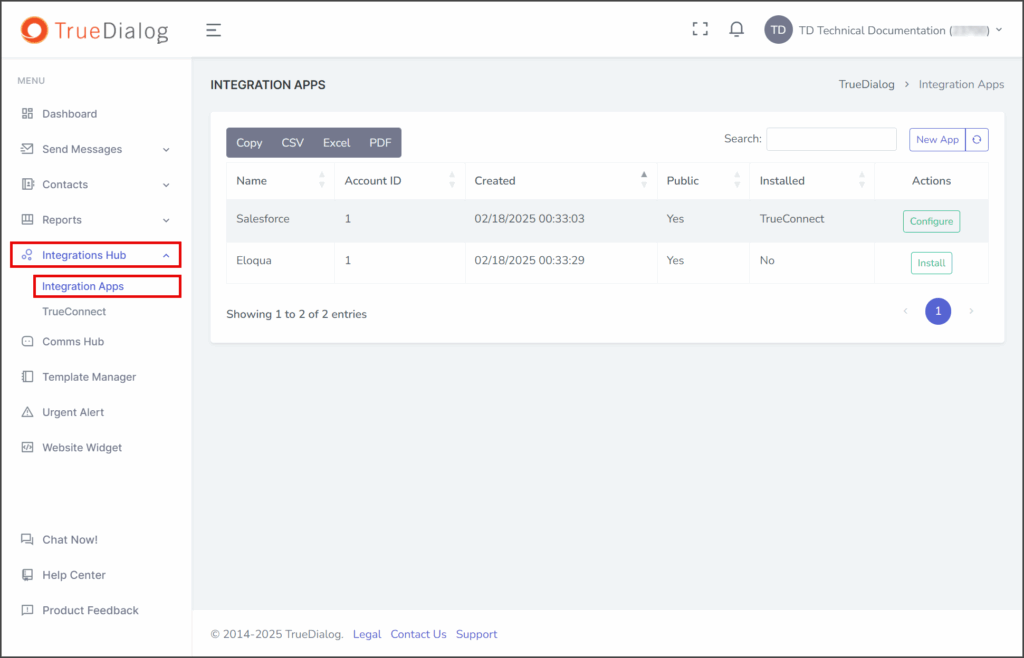
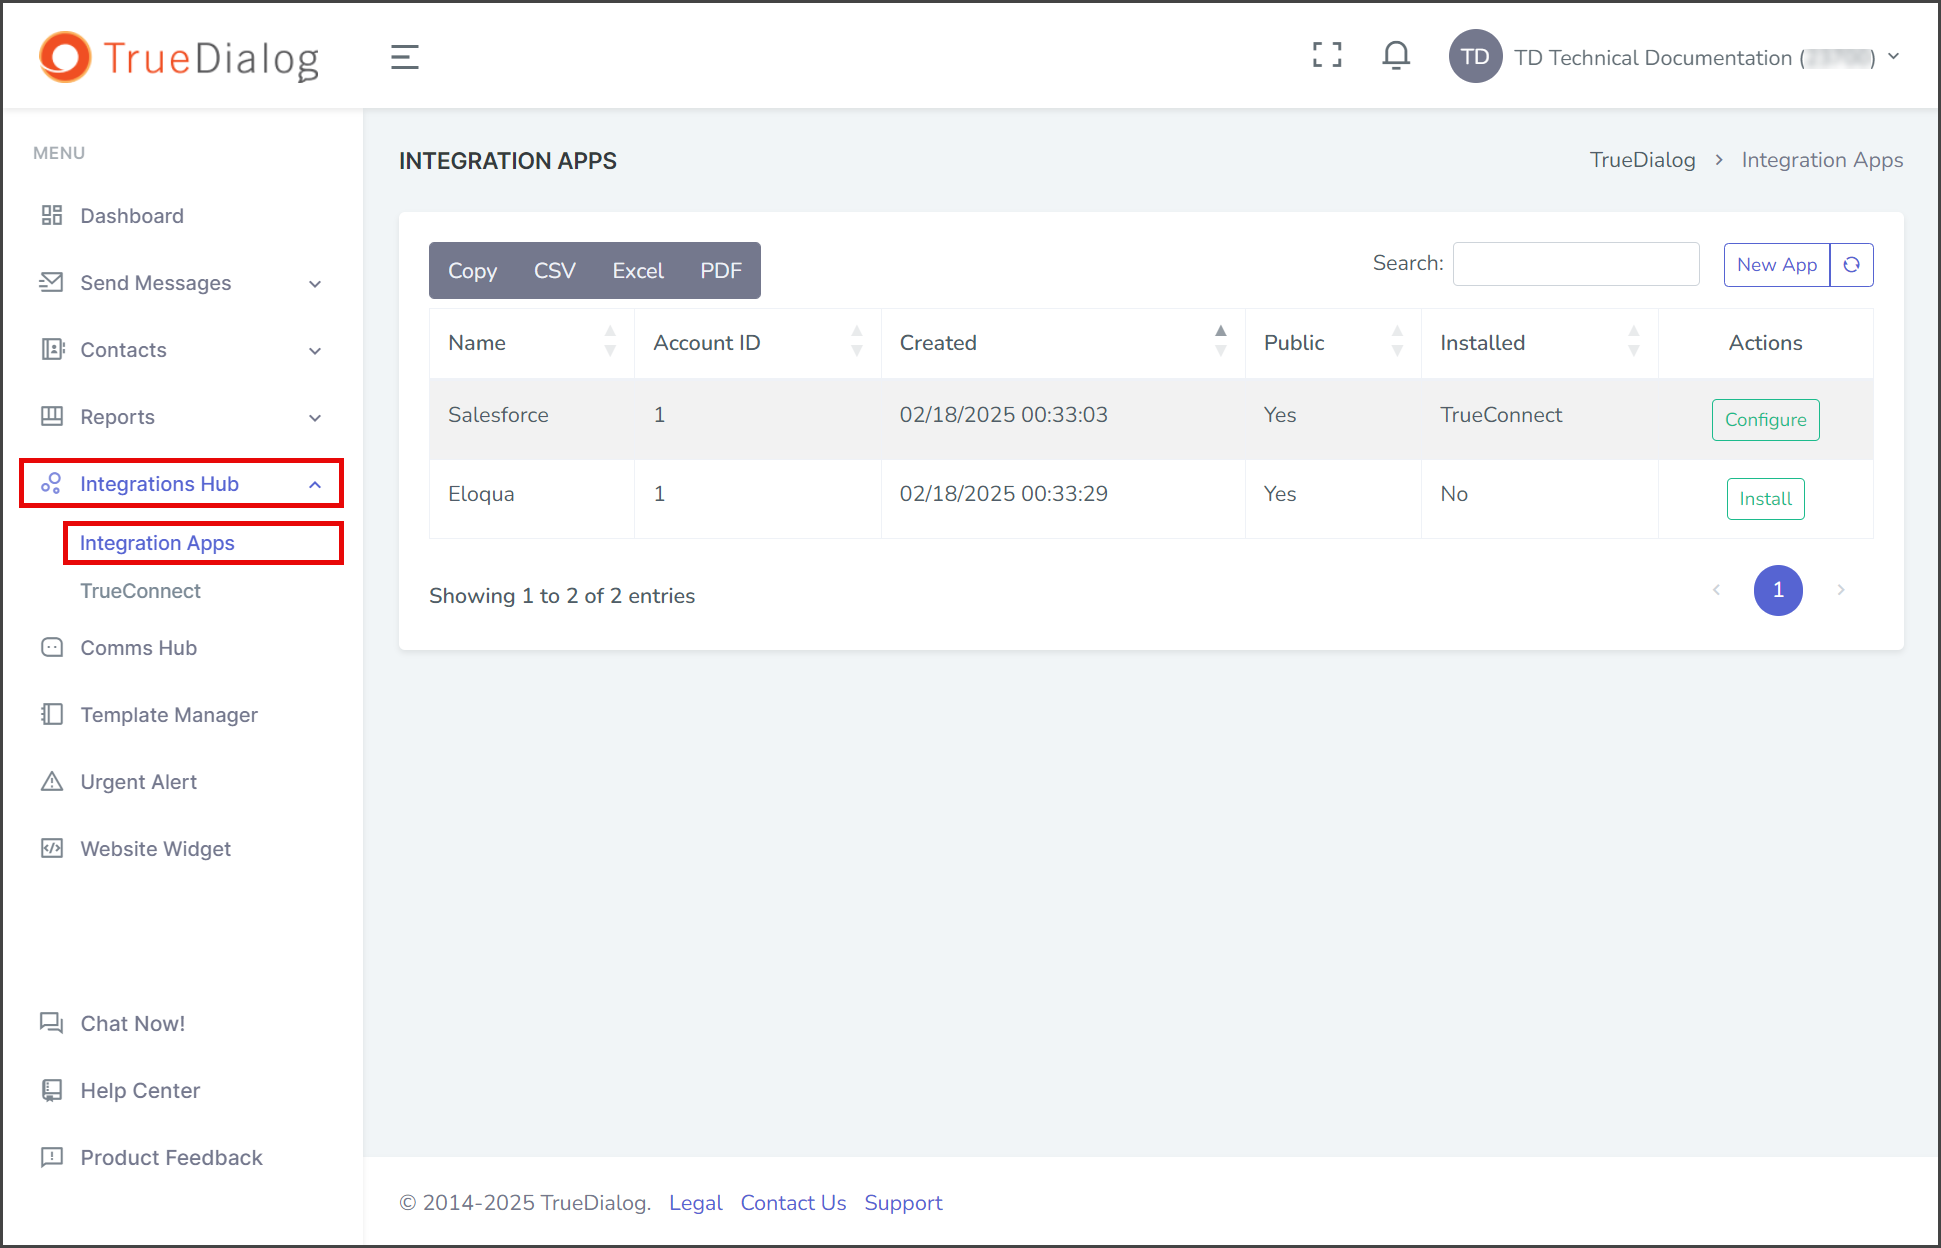
- Access the Integration Apps management page by expanding the Integrations Hub in the left sidebar and clicking Integration Apps.
Create New App
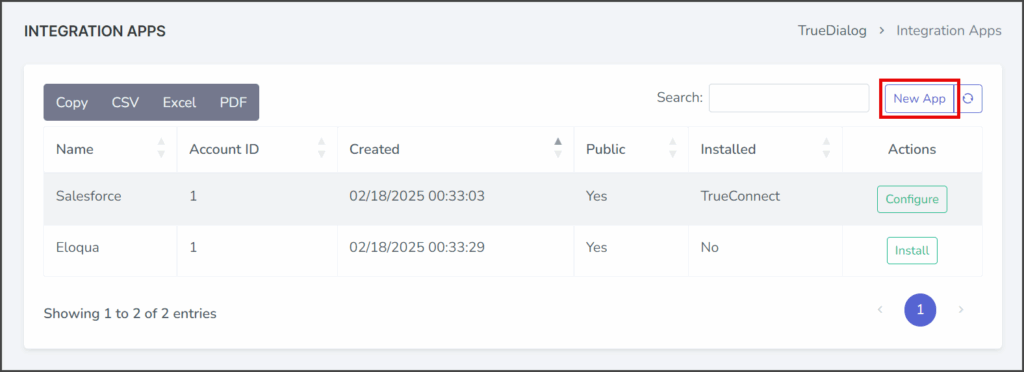
- Click New App.
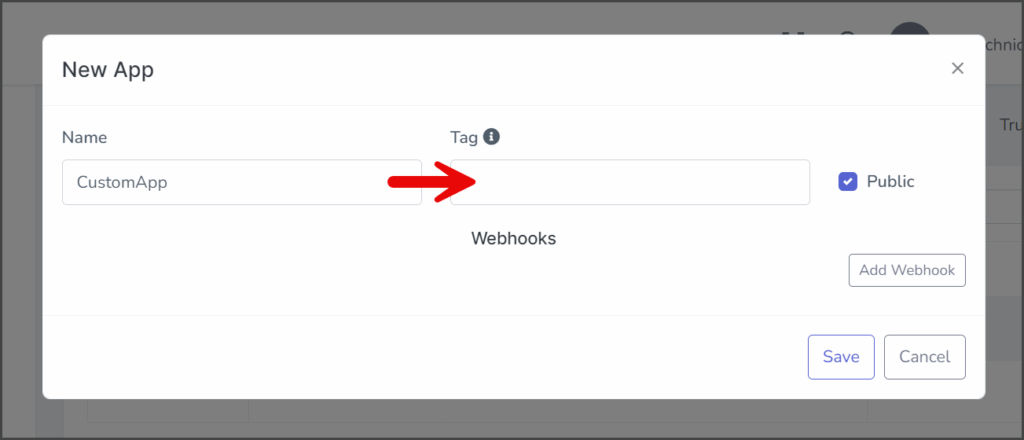
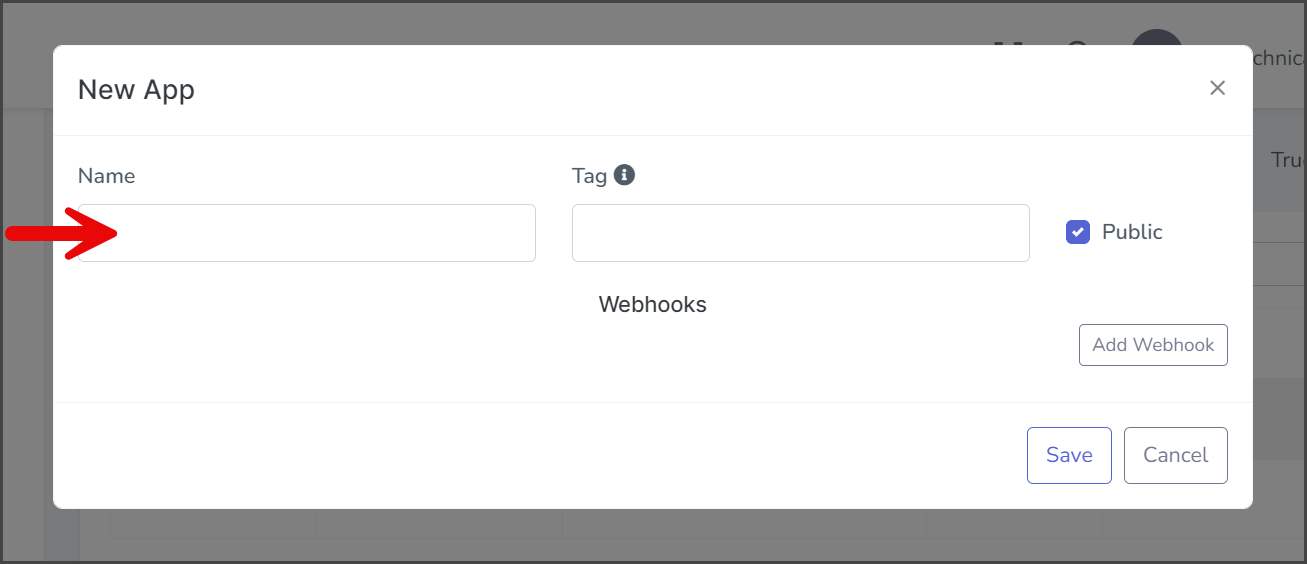
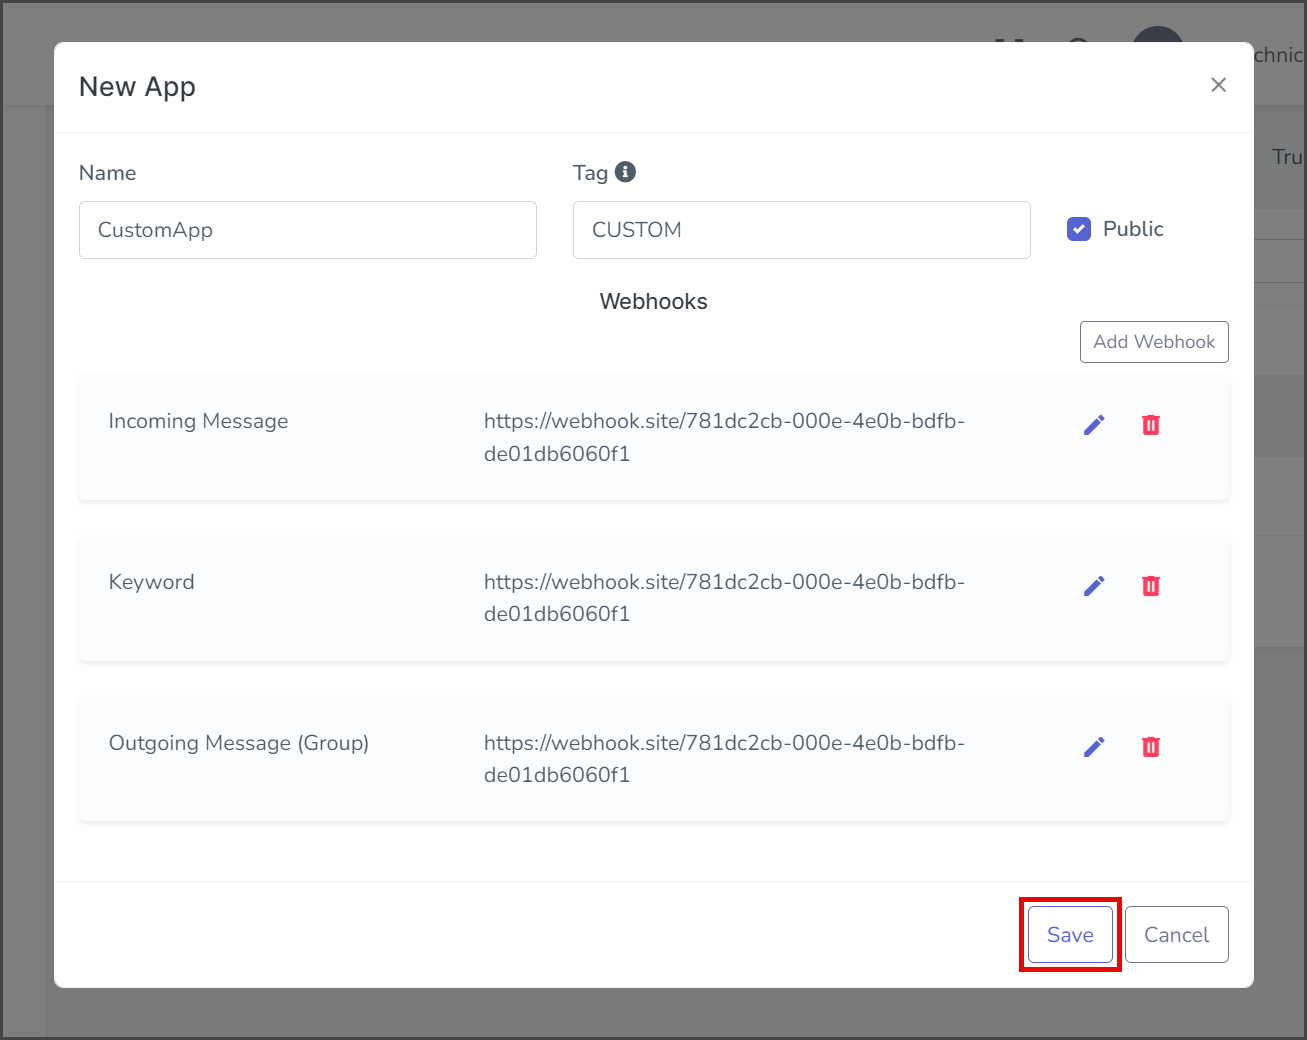
- Enter a name for the App in the Name textbox. The App name must have at least six characters and can include letters, numbers, and special characters (including spaces). You can also rename the App after it is created.
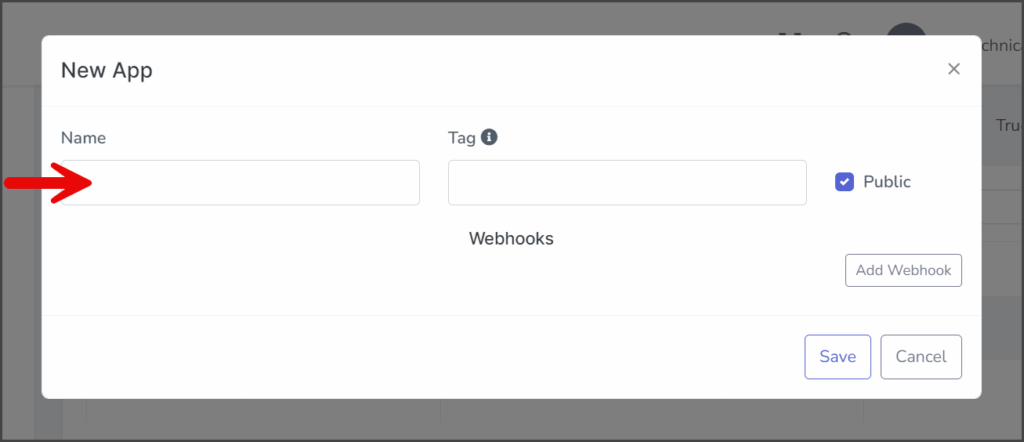
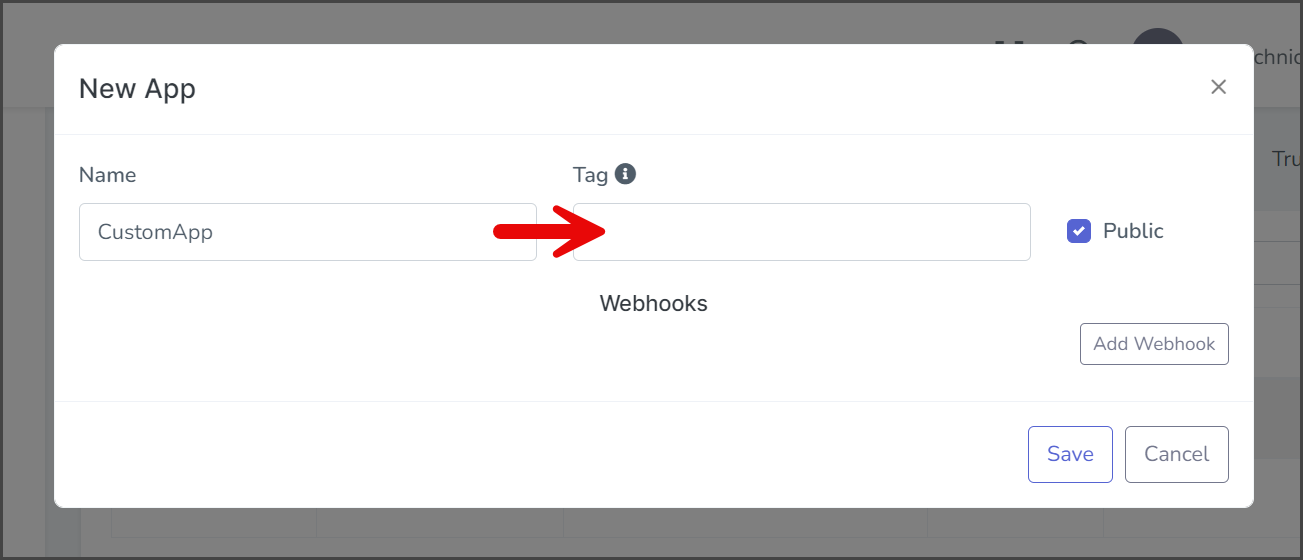
- Enter a tag for the App in the Tag textbox. The App tag must have at least three characters, include only letters, and be unique. An error message will appear when saving if the Tag is not unique (see the Troubleshooting section below).
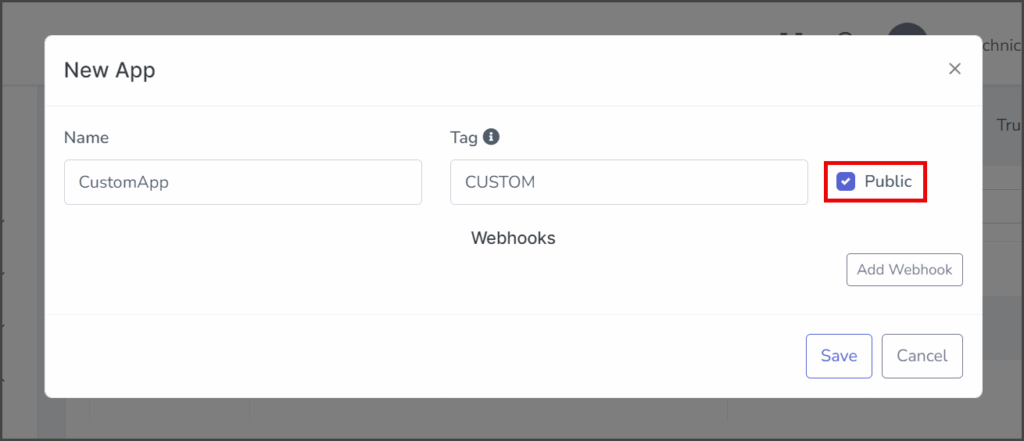
- The Public checkbox controls the App’s availability.
- Checked: The App will be available to all your subaccounts.
- Unchecked: The App is restricted to only the current account.
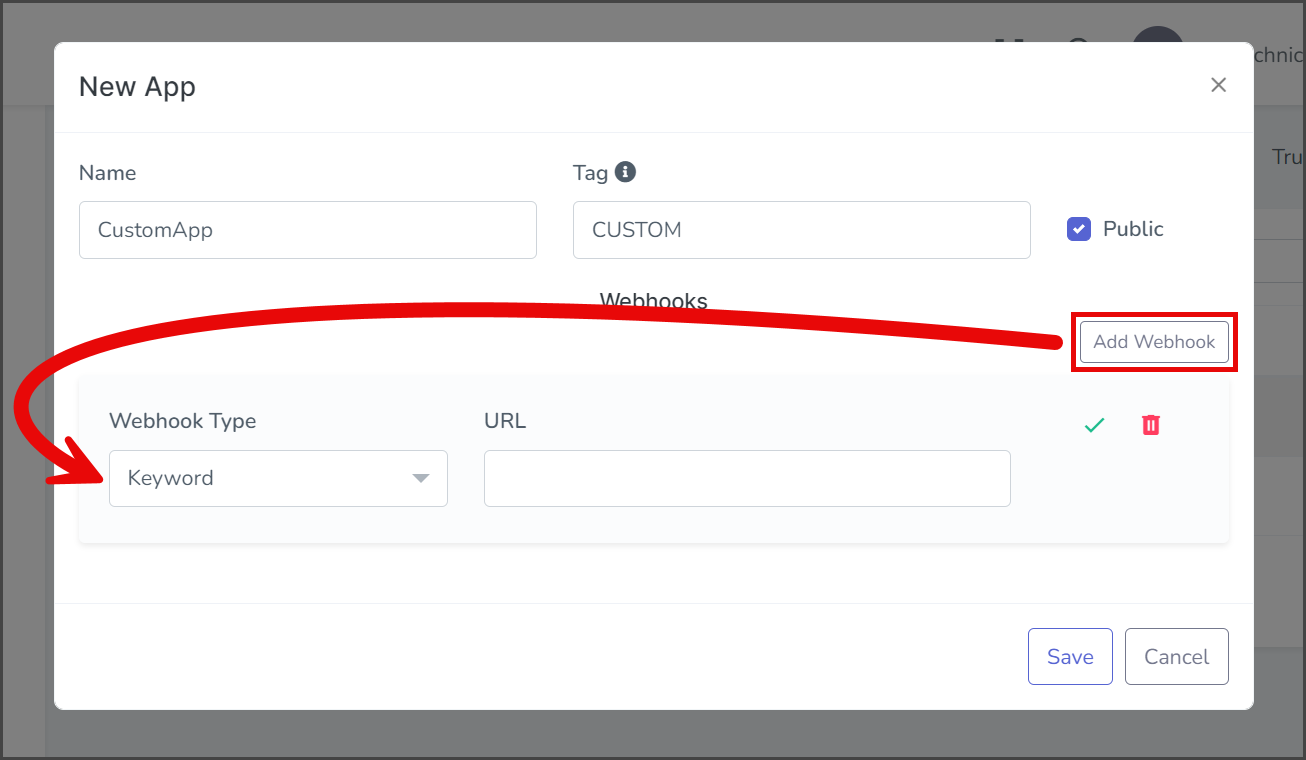
- Click Add Webhook.
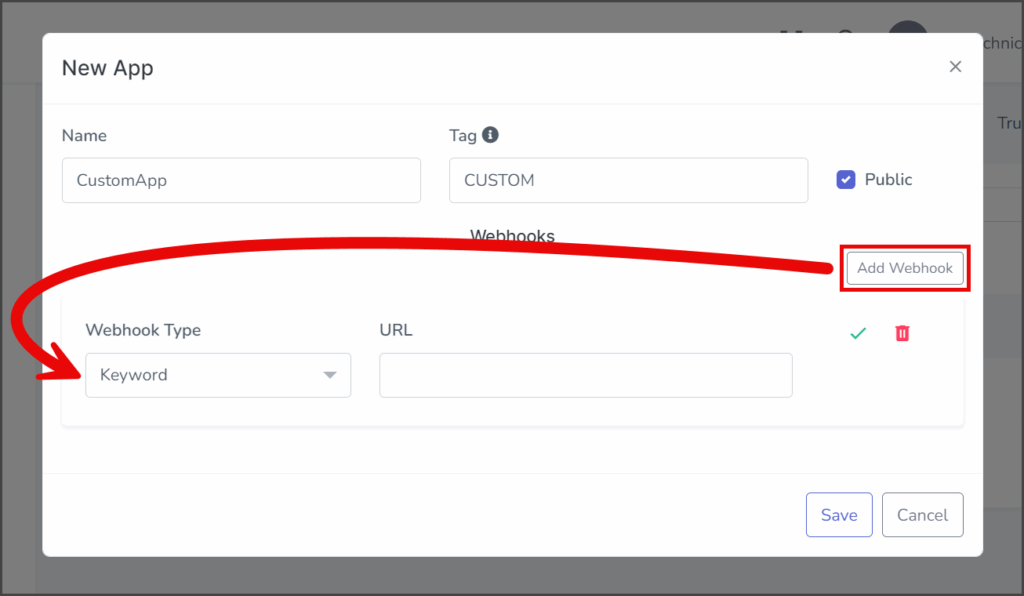
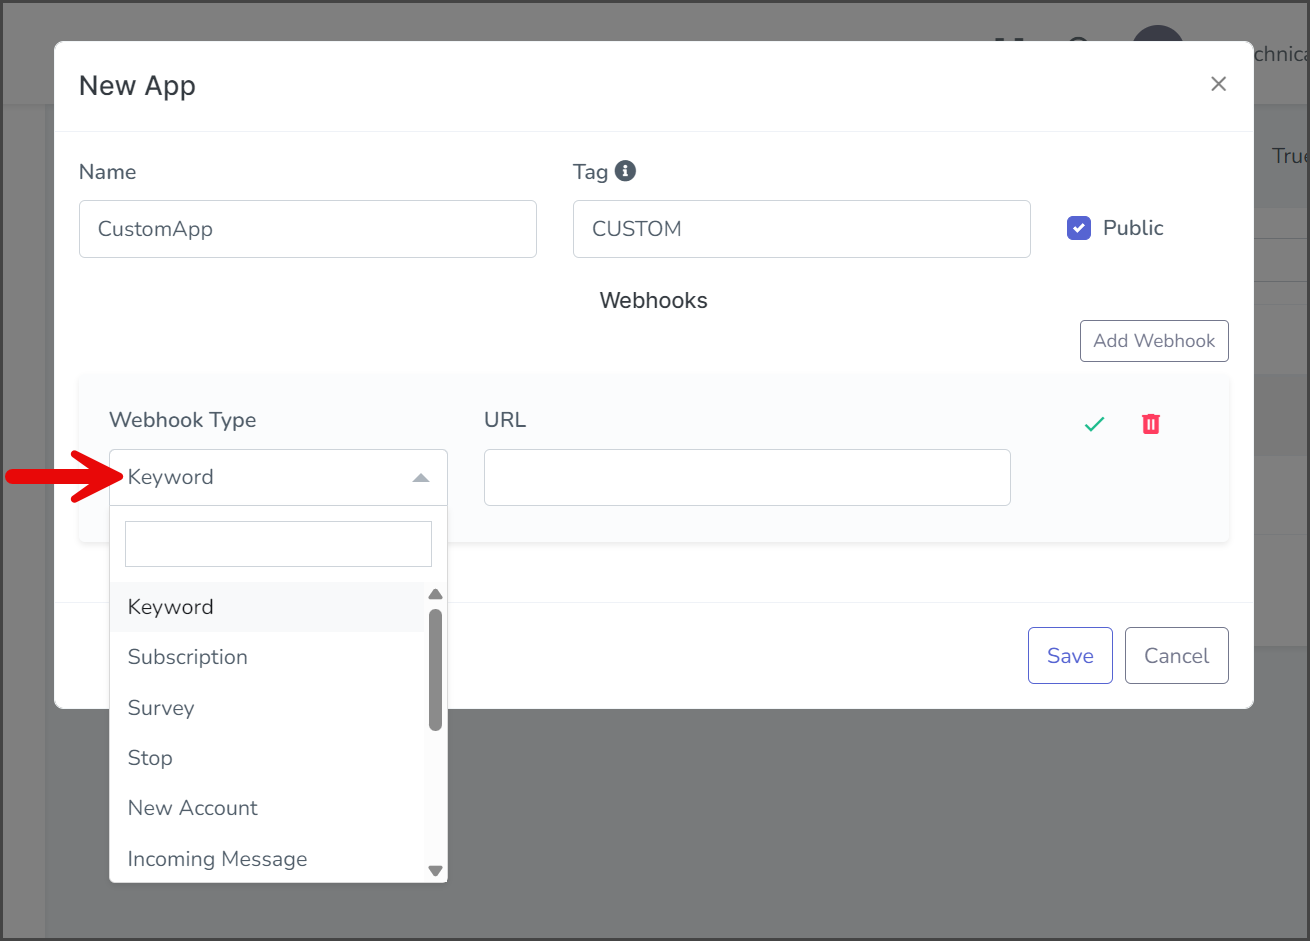
- In the newly added webhook row, click the Type dropdown.
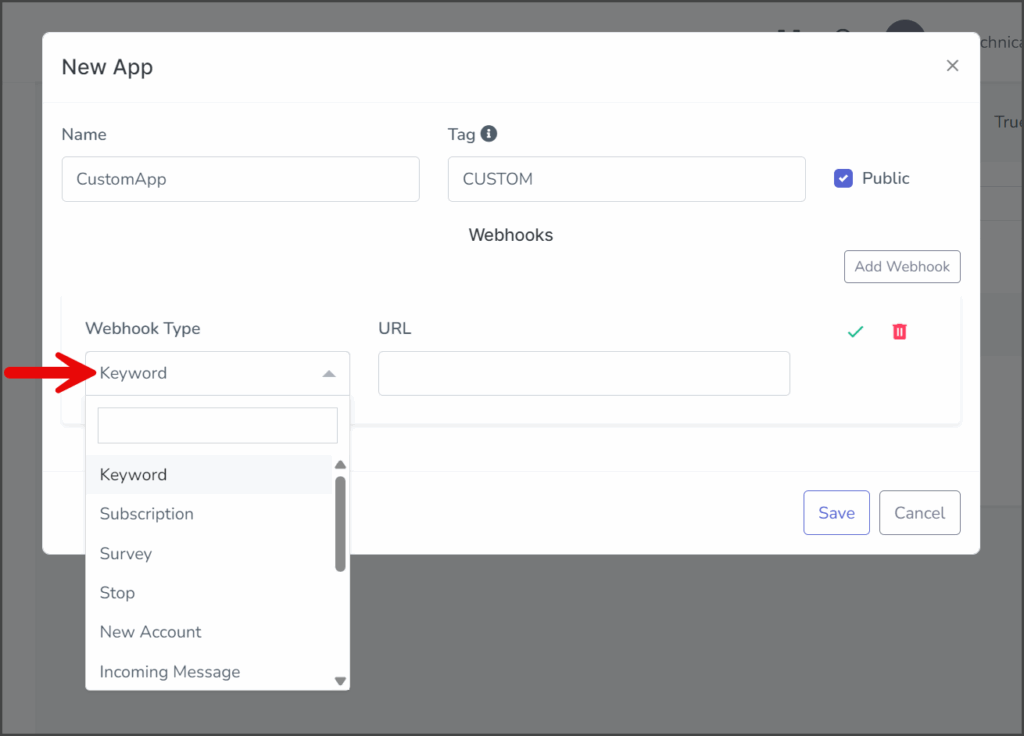
- Select the webhook type from the list. See the following article for an explanation of each webhook type and its corresponding JSON payload.
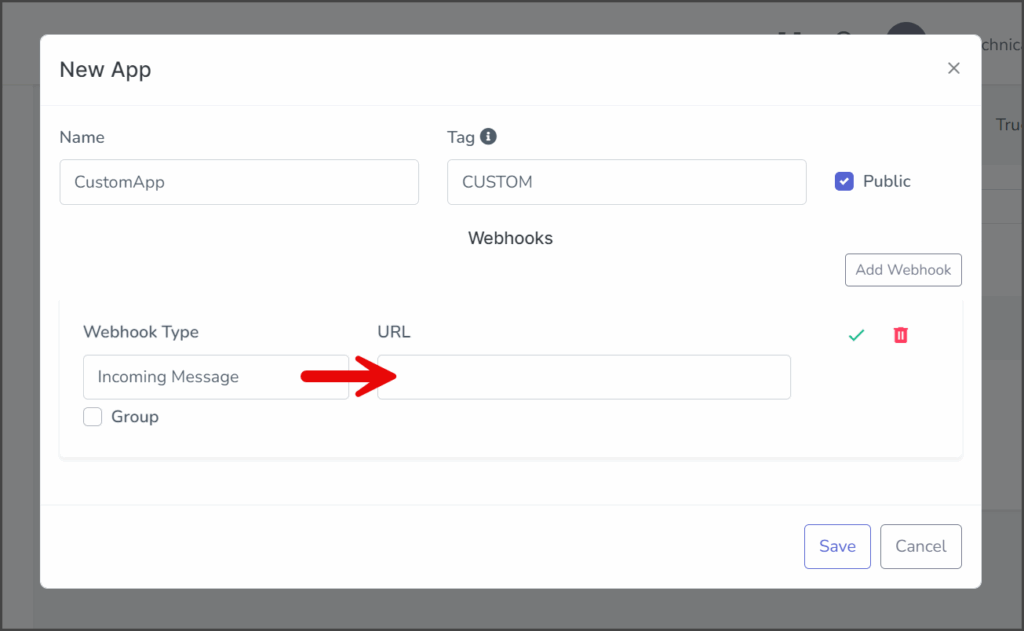
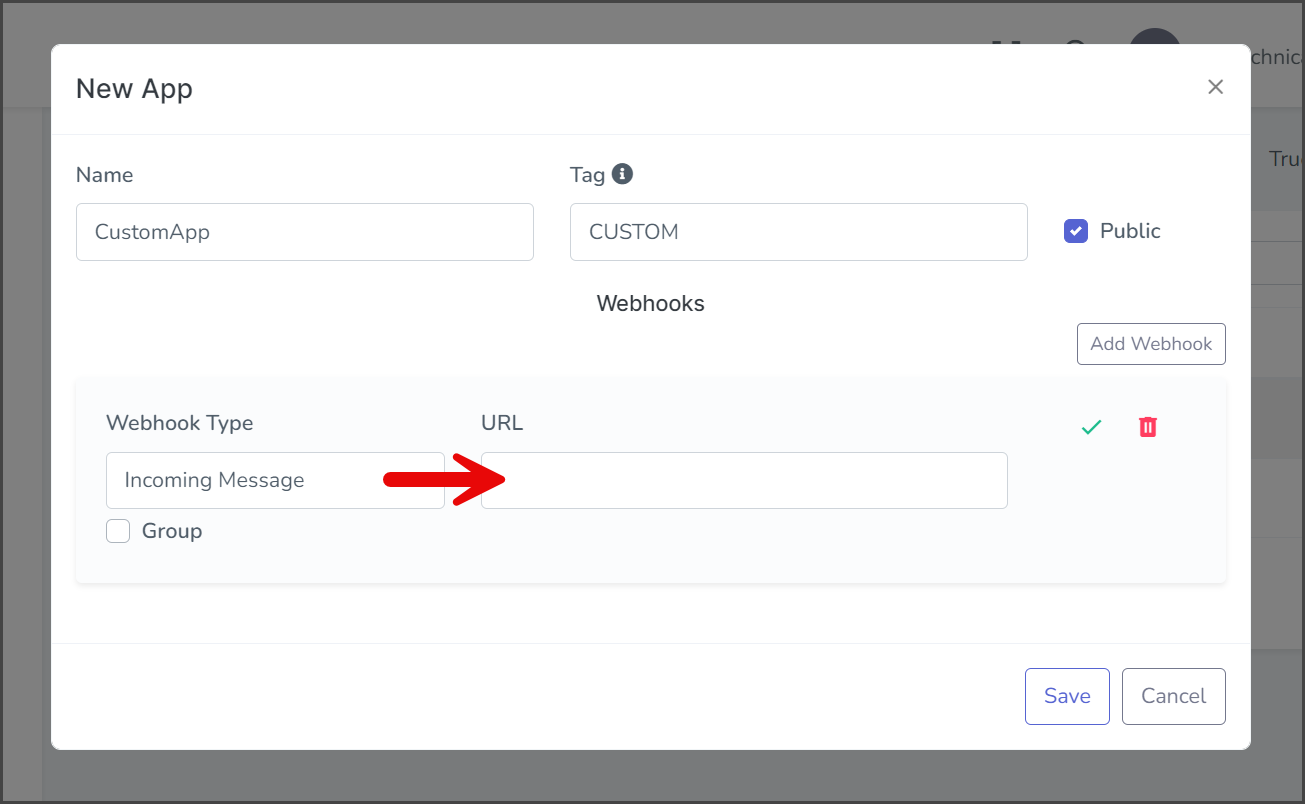
- In the URL textbox, input the URL where your App will receive the webhook payload.
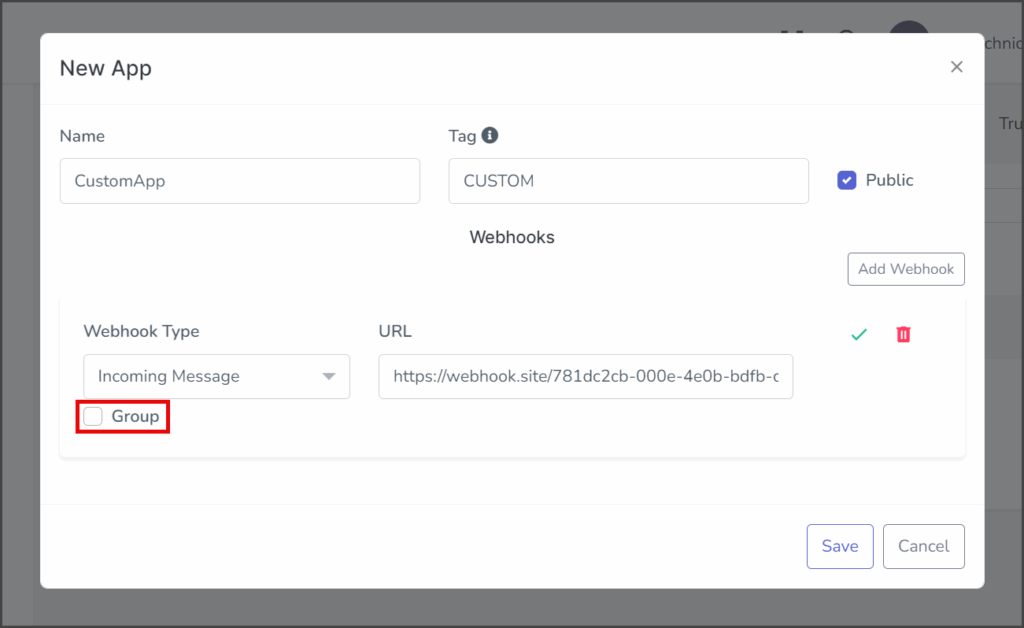
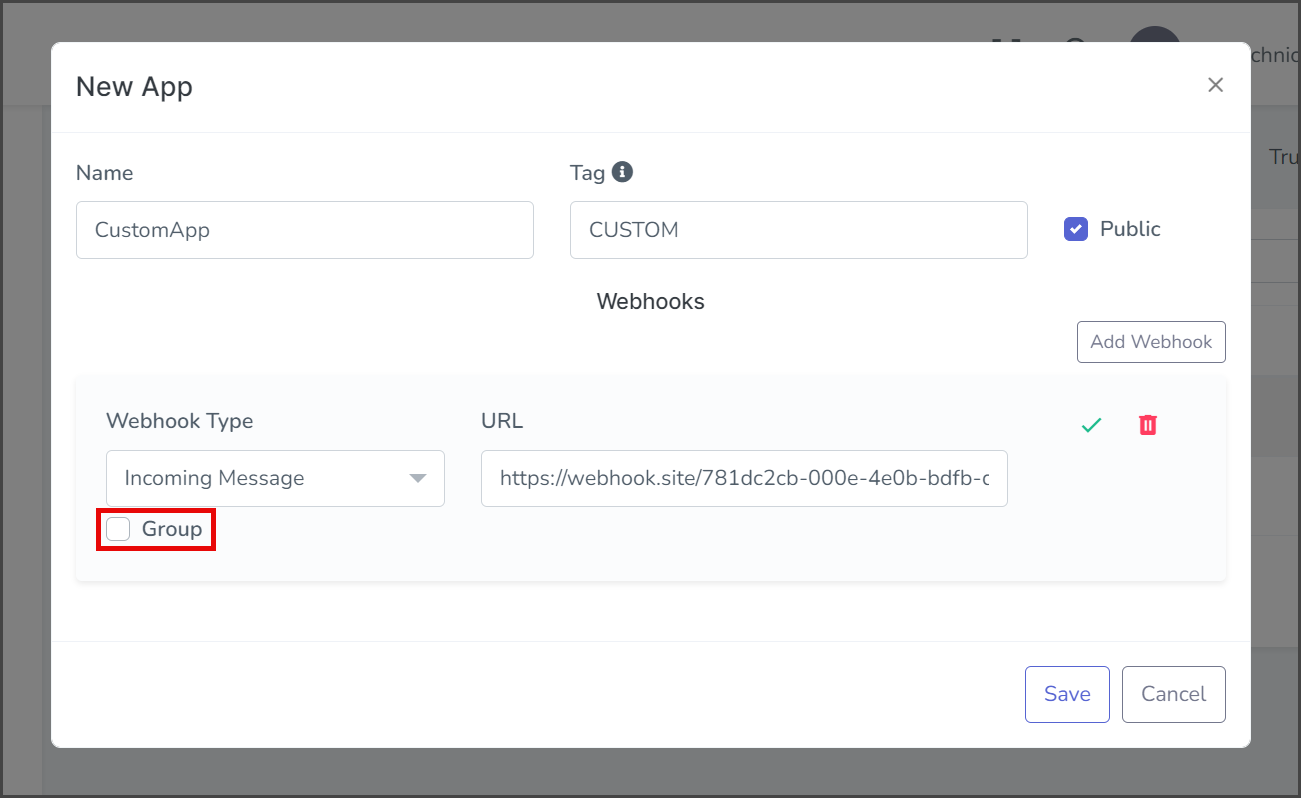
- Check the Group checkbox if you want the events for this webhook type to be grouped.
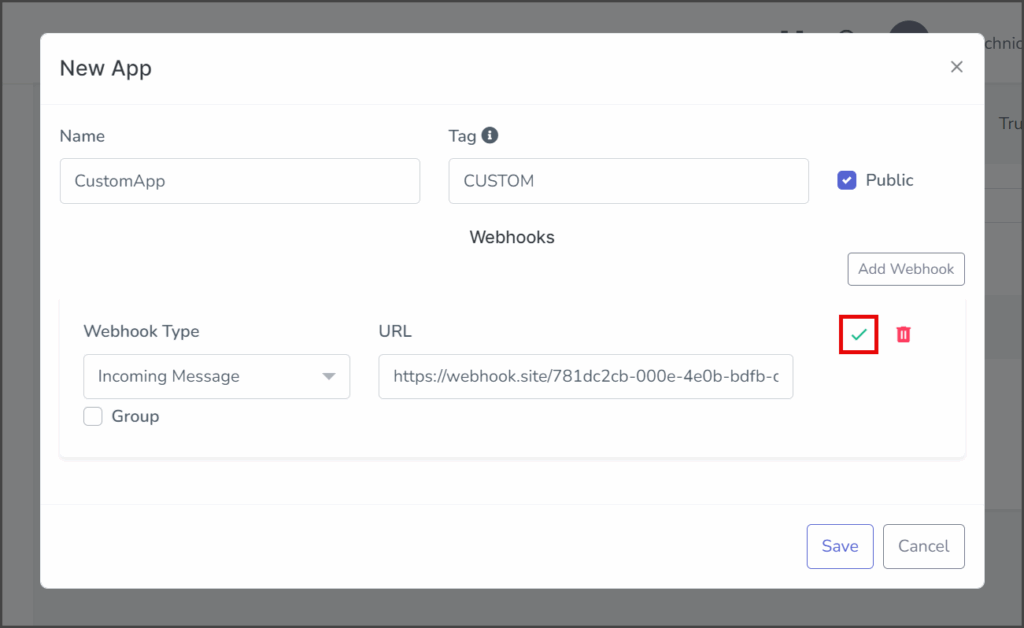
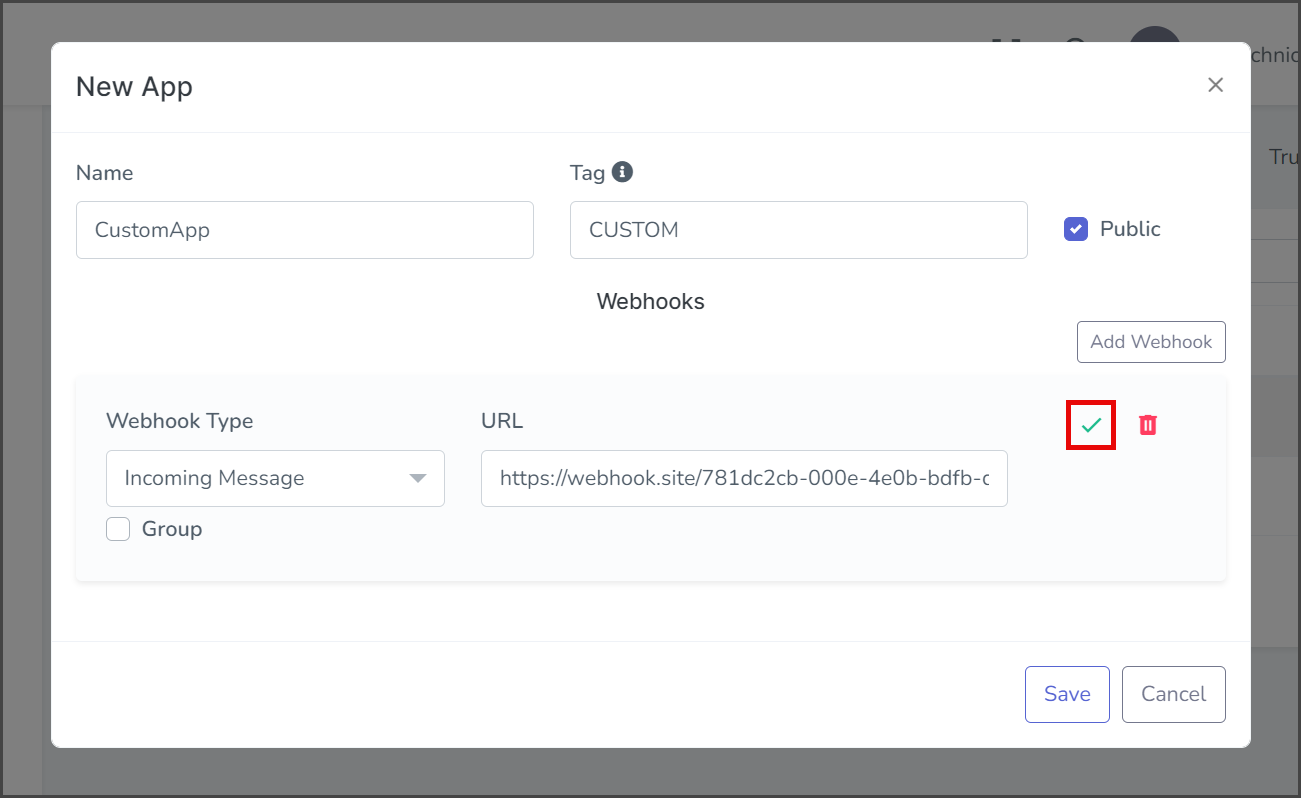
- Click the Check Mark icon in the Action column to finish the webhook.
- (Optional) Click Add Webhook to add more webhooks.
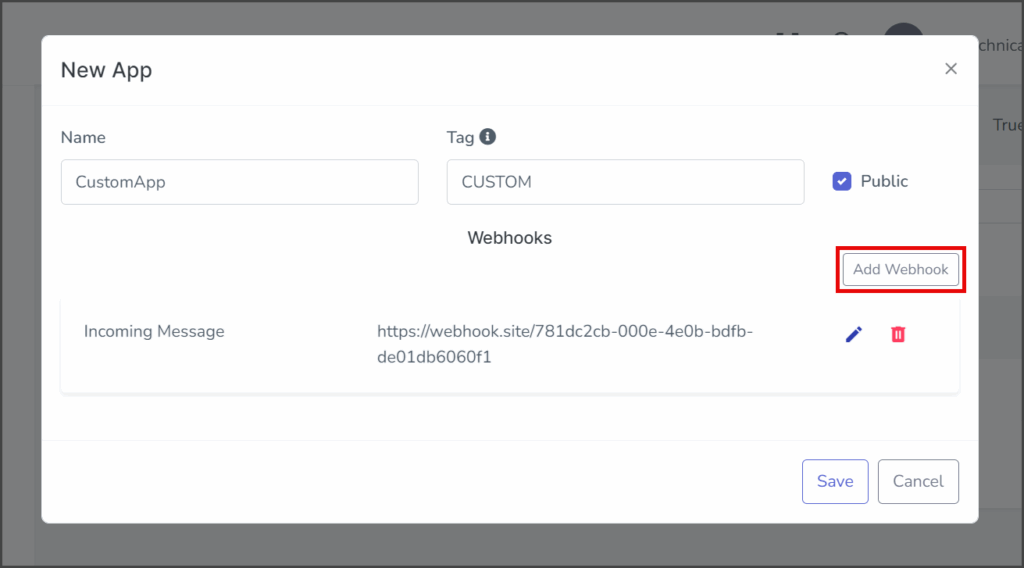
- Once you have added all your webhooks, click Save to create the App.
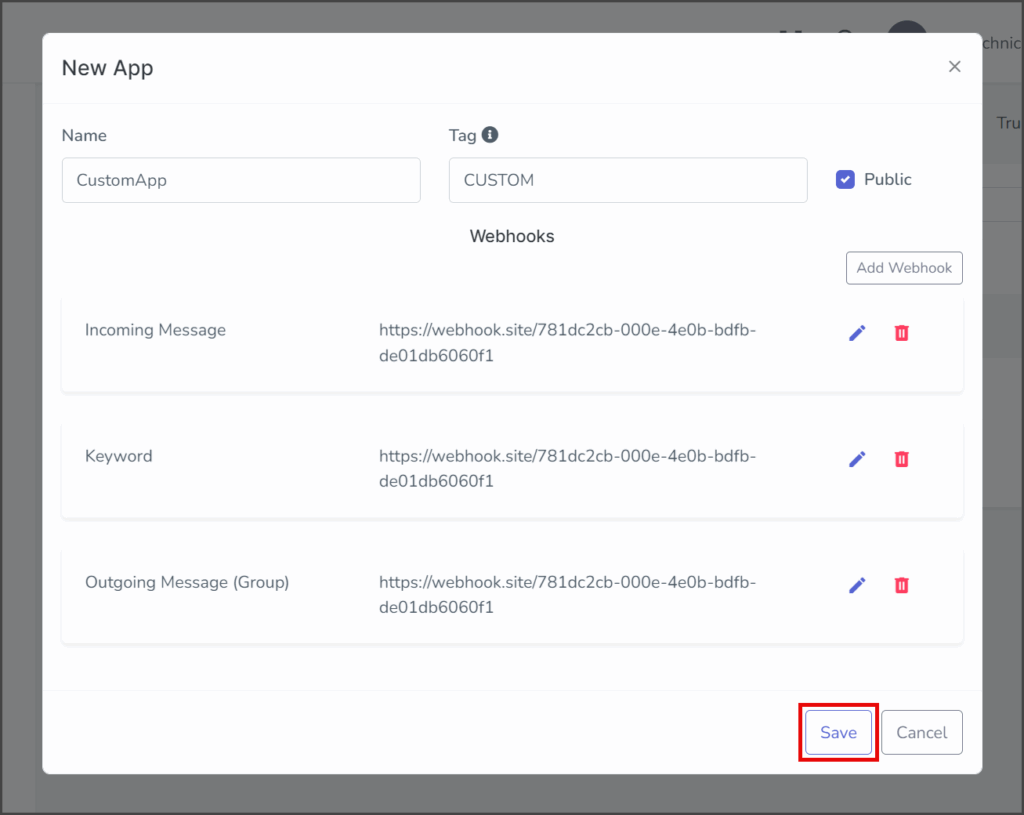
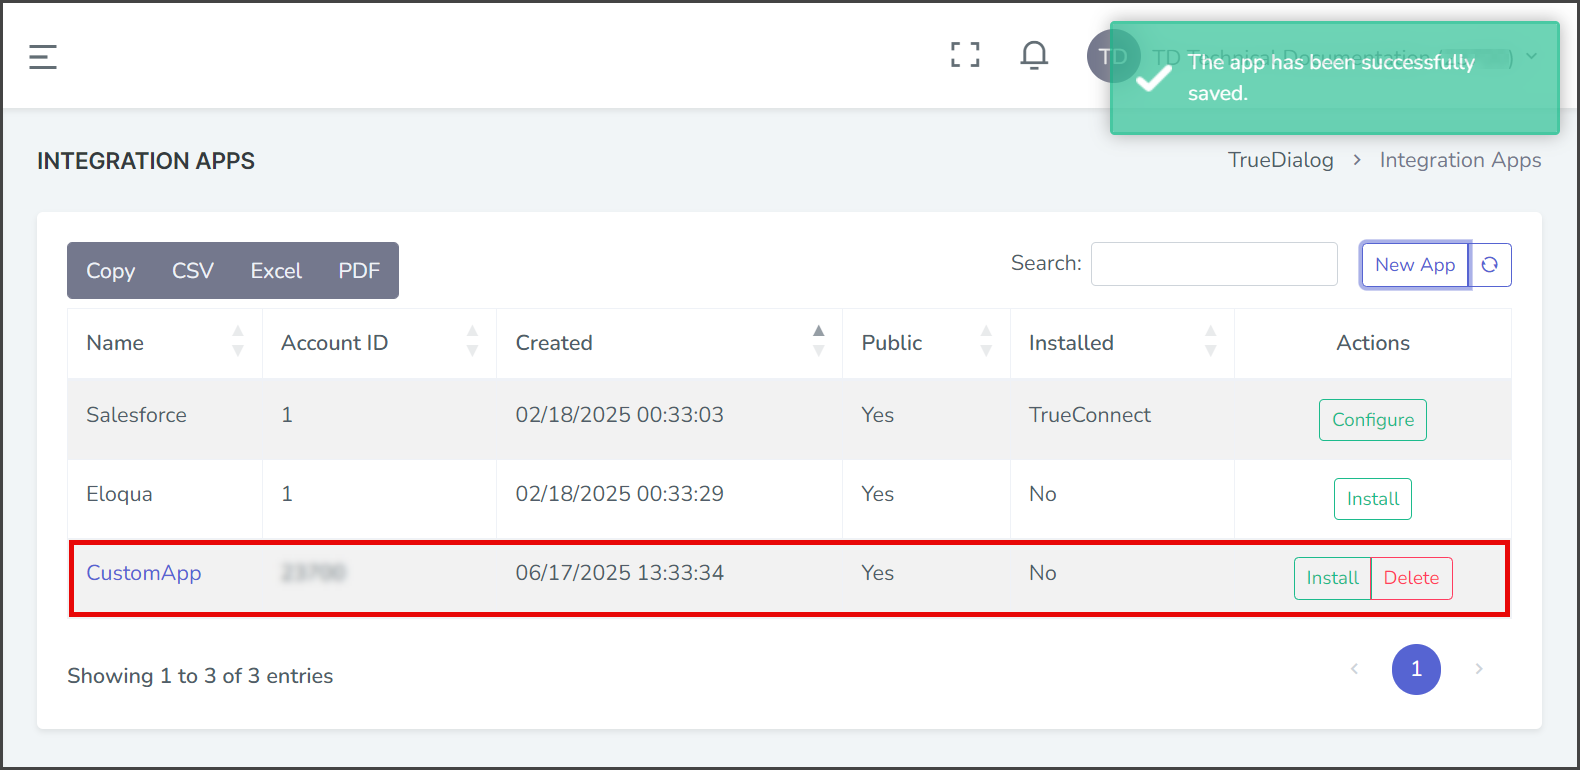
- After creating the App, a success message will appear in the upper right corner, and the App will be listed in the Integration Apps table.


Install New App
After creating a new App, you must install it to begin using it. The steps for installing a new App are the same as installing a built-in App. Follow the installation instructions in the article below:
Integrations Hub – Installing Apps
Troubleshooting
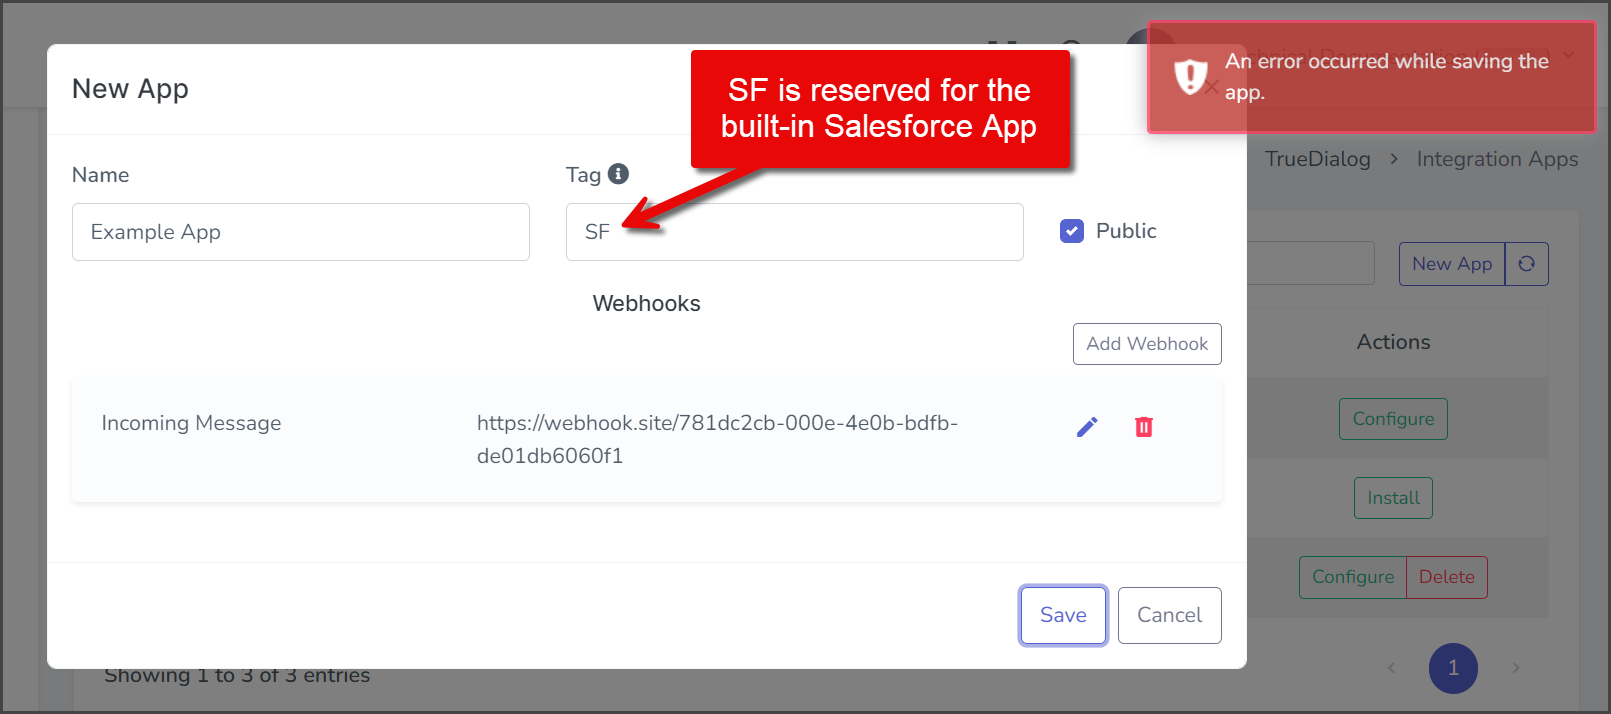
If you receive an error message when saving the new App, the issue may be with the Tag value. The Tag value must be unique for all of your Apps, including the built-in Apps. In the example below, an error occurred because the built-in App Salesforce already uses the SF tag. To resolve this issue, simply choose a different Tag value.
List of Reserved Tags:
| PORTAL | DYN |
| COMMS | HS |
| SF | TEA |
| ELQ | OL |
| SFMC | MKT |