TrueDialog Portal
Contacts > Contact Attributes
This article will show you how to create a contact Attribute. A contact Attribute stores additional information about your contacts not included in the regular contact fields, such as Phone Number, Email, First Name, Last Name, and Assigned ID.
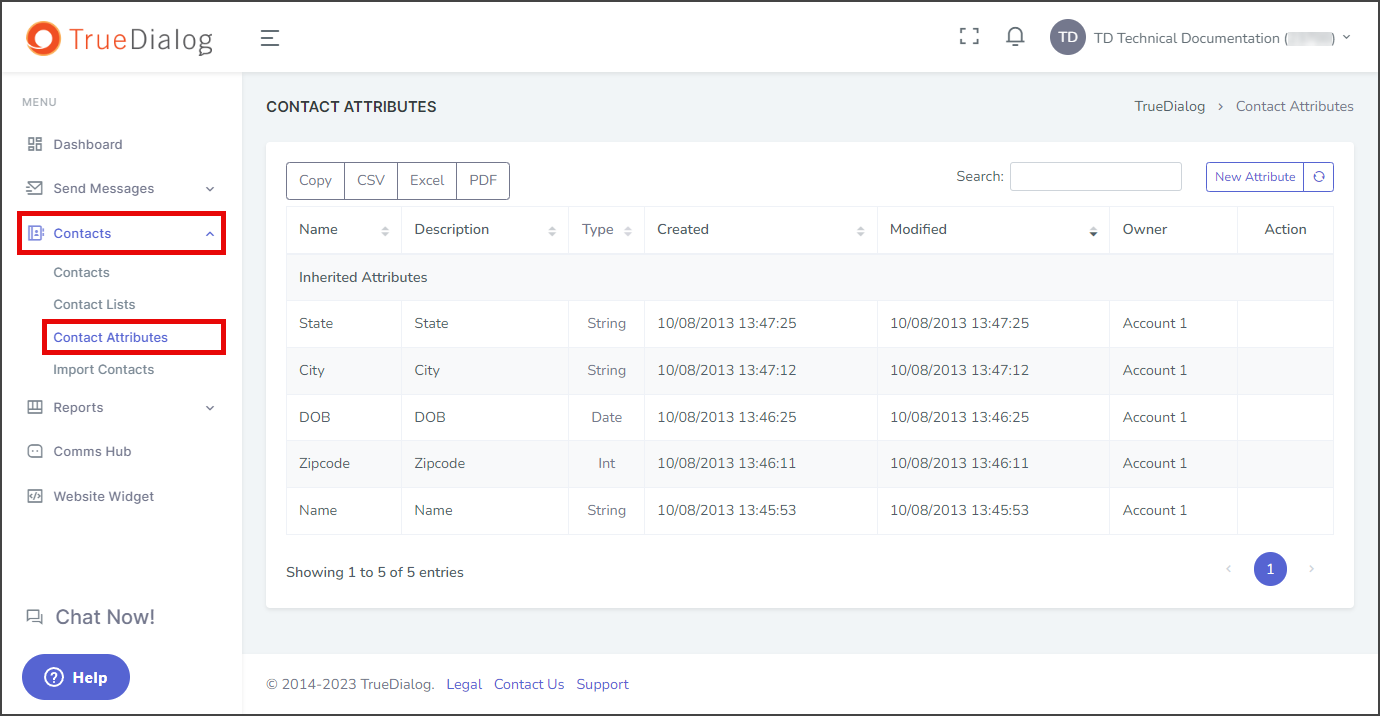
The Attributes table is divided into two sections: My Attributes and Inherited Attributes. Inherited Attributes are passed down from parent accounts and can not be edited or deleted. Attributes are inherited on both Shared and Primary accounts.
- Expand Contacts in the left sidebar and select Contact Attributes.

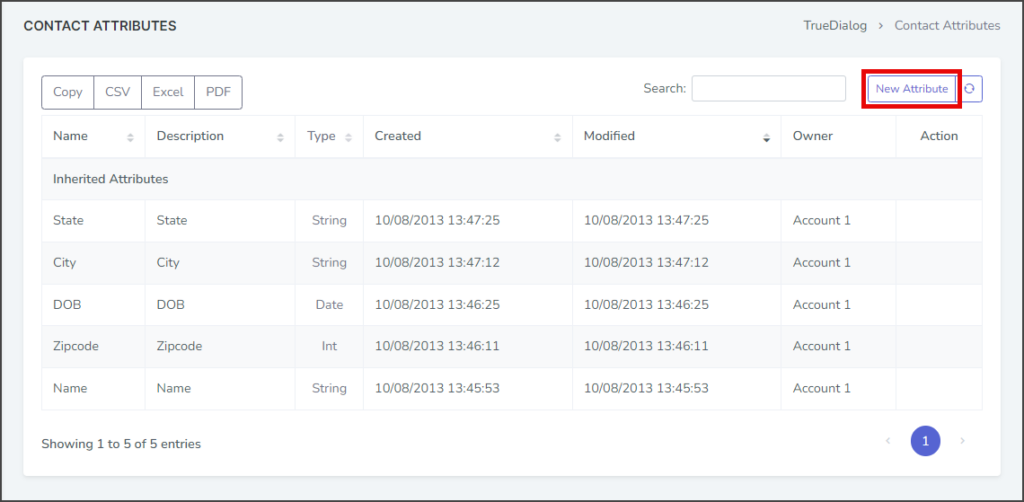
- Click New Attribute to create a new attribute for all contacts.
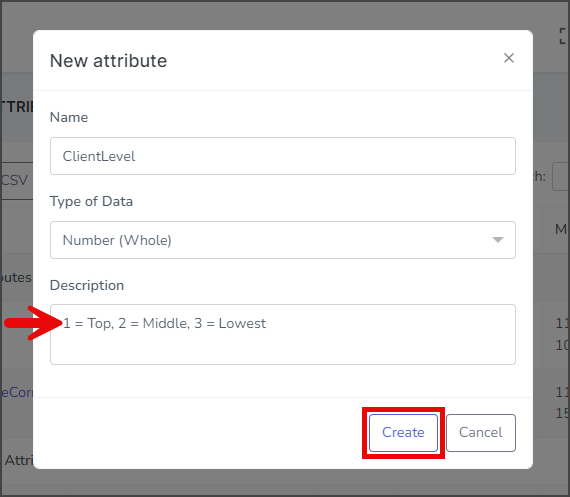
- Enter the name of the Attribute in the Name textbox. Note: The name field must only contain characters, numbers, and underscores. Symbols and spaces are not permitted. Using a uniform naming convention for all of your attributes is recommended.
- Click Type of Data and select the data type for this Attribute. When entering values for an attribute on a contact, the attribute box will validate the results.
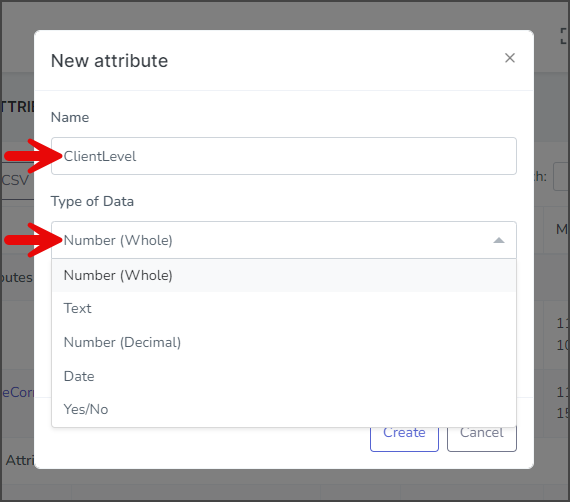
Type of Data Description Number (Whole) Any non-decimal number, including positive, negative, and zero. Text Any character, including letters, numbers, punctuation, and symbols. Number (Decimal) Any decimal number, including positive, negative, and zero. Date Any date in Month/Day/Year Time format, for example, 12/02/2023 06:40 AM. The TrueDailog Portal uses a Calendar/Time widget to enter values in a Date Attribute box. Yes/No Any boolean value (Yes or No). The TrueDialog Portal uses a dropdown box to enter values in a Yes/No Attribute box. - (Optional) Enter a description of what data your Attribute is used to hold in the Description textbox.
- Click Create.
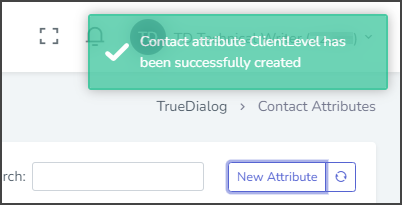
- After creating the Attribute, a success message will appear in the upper right corner.