TrueDialog Portal
Administration > User Profiles
A User Profile refers to a group of permissions assigned to users to control their access to different parts of the TrueDialog Portal. By default, your account will inherit five profiles covering common situations. However, you can create custom profiles tailored to your specific requirements. This guide will show you the steps for creating a custom User Profile. However, due to the many permission options available, we recommend discussing your needs with one of our knowledgeable support team members: email support@truedialog.com or call 1-877-501-4276.
Below is a table of the default profiles and a description of the permissions they grant.
| ID | User Profile | Description |
|---|---|---|
| 1 | Default System Administrator | This profile grants access to all TrueDialog Portal features, including System Administration. This profile can create, manage, and remove any account or user. |
| 2 | Default Basic | This profile grants access to all TrueDialog Portal features, excluding System Administration. This profile can create users. |
| 3 | Default Chat Agent | This profile only grants access to the Comms Hub. This profile can create contacts through the Comms Hub. |
| 4 | Default Chat Agent (No Contact) | This profile only grants access to the Comms Hub. This profile can NOT create contacts through the Comms Hub. |
| 5 | Default Report Only | This profile only grants access to Reports. |
| 6 | Default Integration User | This profile grants access to the TrueDialog features required for Users of one of the TrueDialog Integrations. |
Below is a table of all the permissions selected for each default profile. The profiles are referenced by their ID.
| Permission | 1 | 2 | 3 | 4 | 5 | 6 |
|---|---|---|---|---|---|---|
| Accounts – List | ||||||
| Accounts – Manage | ||||||
| Campaigns- List | ||||||
| Campaigns – Manage | ||||||
| Campaigns – Push | ||||||
| Api Key – List | ||||||
| Api Key – Manage | ||||||
| Contacts – List | ||||||
| Contacts – Manage | ||||||
| Contacts – Create | ||||||
| Urgent Alerts | ||||||
| Billing – List Details | ||||||
| Billing – Manage | ||||||
| Billing – Manage Credit Cards | ||||||
| Billing – Payment Log | ||||||
| Callback – List | ||||||
| Callback – Manage | ||||||
| Callback – Report | ||||||
| Integration Apps – List | ||||||
| Integration Apps – Manage | ||||||
| Integration Apps – Report | ||||||
| TrueConnect | ||||||
| Report – Dashboard | ||||||
| Report – Subscriptions | ||||||
| Report – Campaigns | ||||||
| Report – Campaign Detailed | ||||||
| Report – Messaging Activity | ||||||
| Report – Campaign Status | ||||||
| Report – Scheduled Campaigns | ||||||
| Report – Voice Log | ||||||
| Report – Message Log | ||||||
| Requested Reports | ||||||
| Comms Hub | ||||||
| Comms Hub – Channels | ||||||
| Comms Hub – Widgets | ||||||
| Subscription – List | ||||||
| Subscription – Manage | ||||||
| Campaign Registry | ||||||
| Notice | ||||||
| Keywords – List | ||||||
| Keywords – Manage | ||||||
| Quick Template – List | ||||||
| Quick Template – Manage | ||||||
| Contact List – List | ||||||
| Contact List – Manage | ||||||
| Import Contacts | ||||||
| Website Widget | ||||||
| Impersonate | ||||||
| Users – List | ||||||
| Users – Manage | ||||||
| Users – Access Profile | ||||||
| Numbers – Manage | ||||||
| Numbers – Request | ||||||
| Notification | ||||||
| AI Builder | ||||||
| Carrier Lookup | ||||||
| Link Shortener Request – List | ||||||
| Link Shortener Request – Manage |
Create User Profile
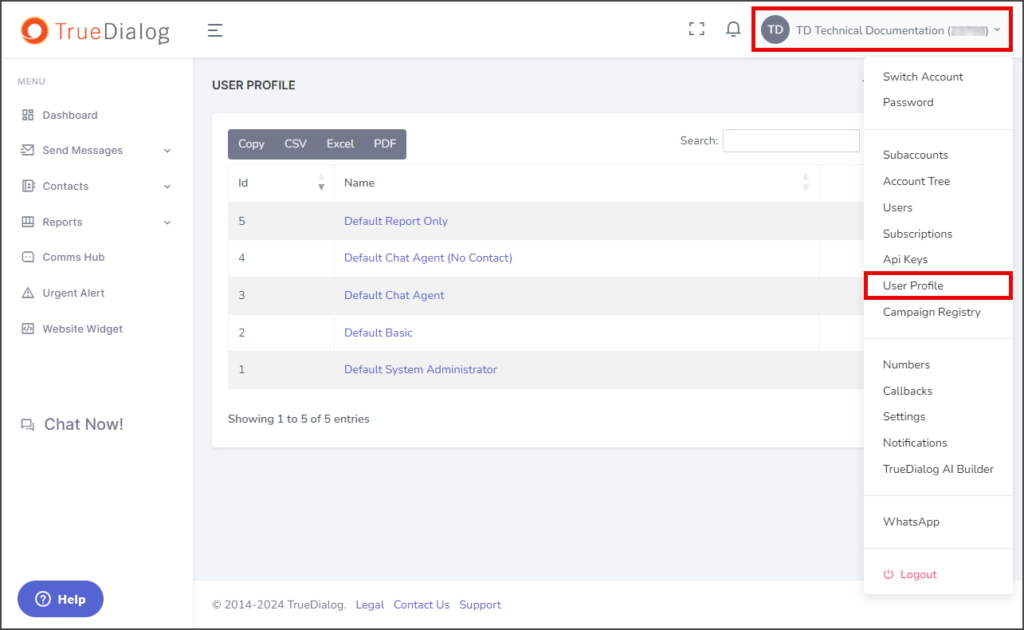
- Click your Account Name in the upper right corner.
- In the dropdown, select User Profile.
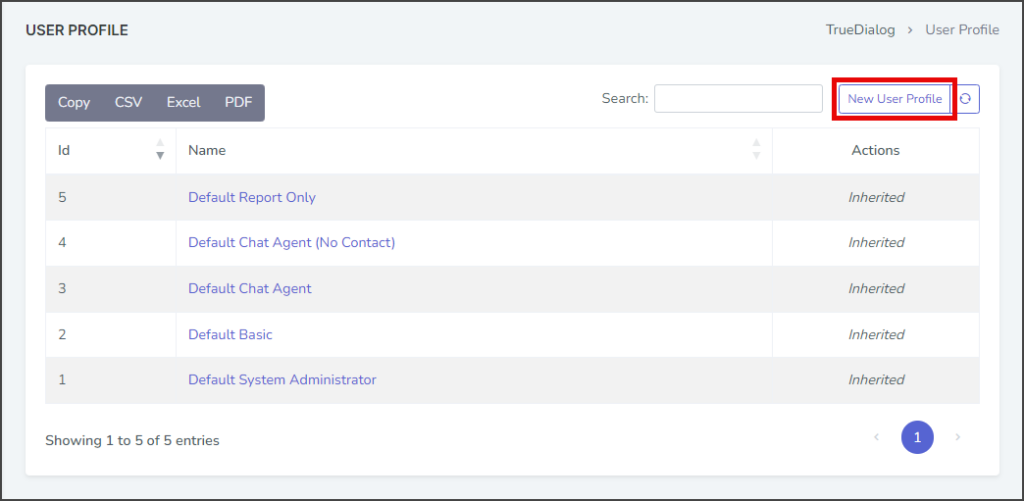
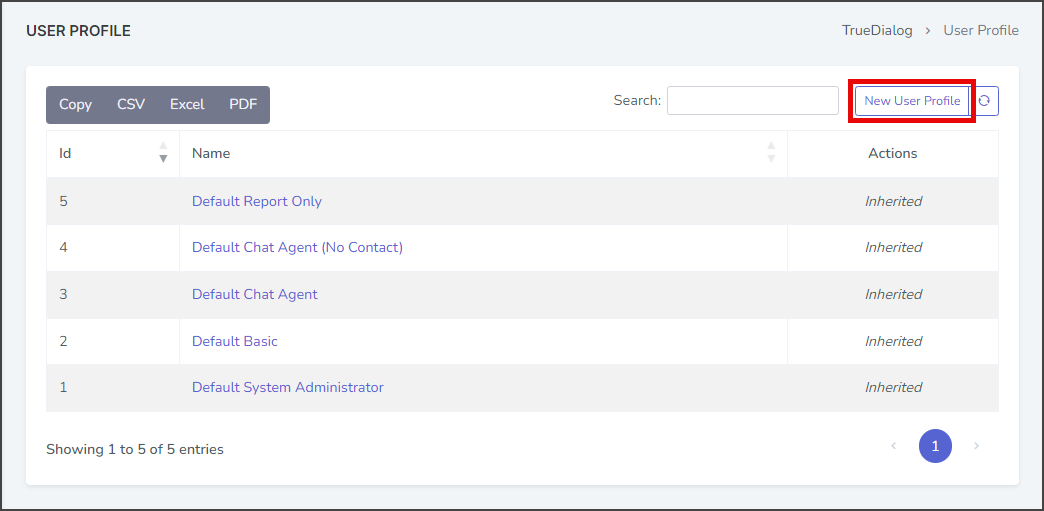
- Click New User Profile.
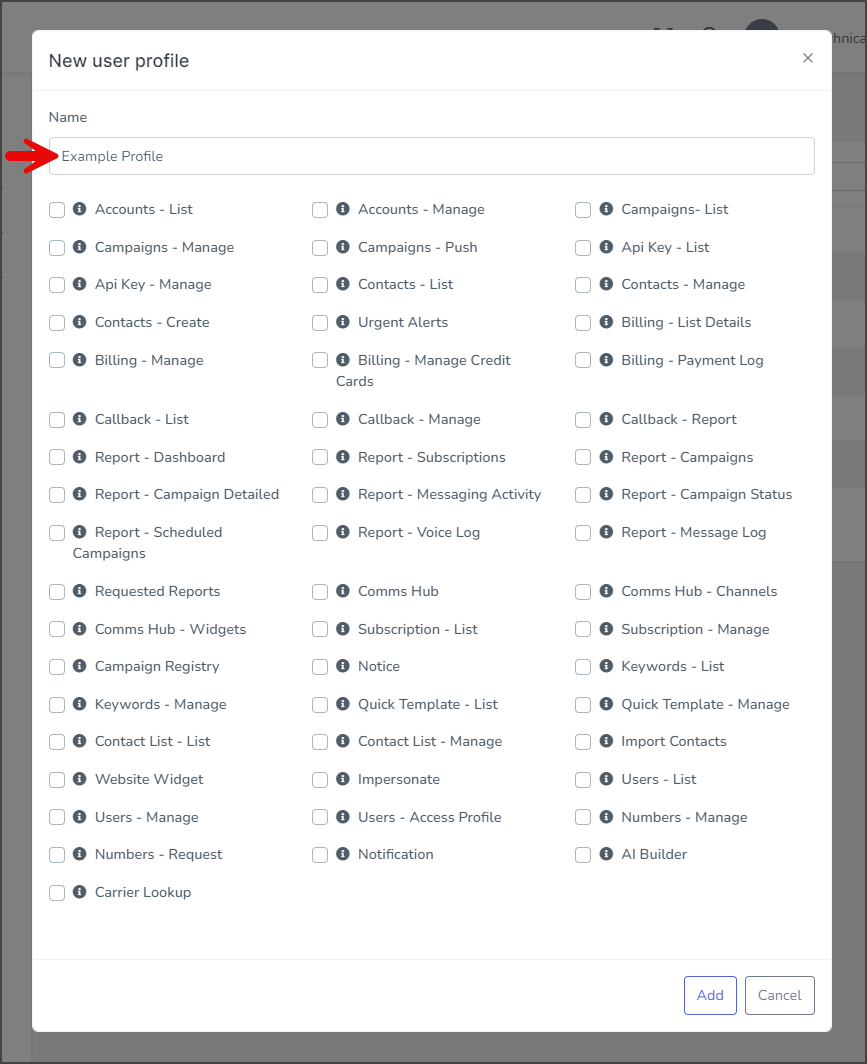
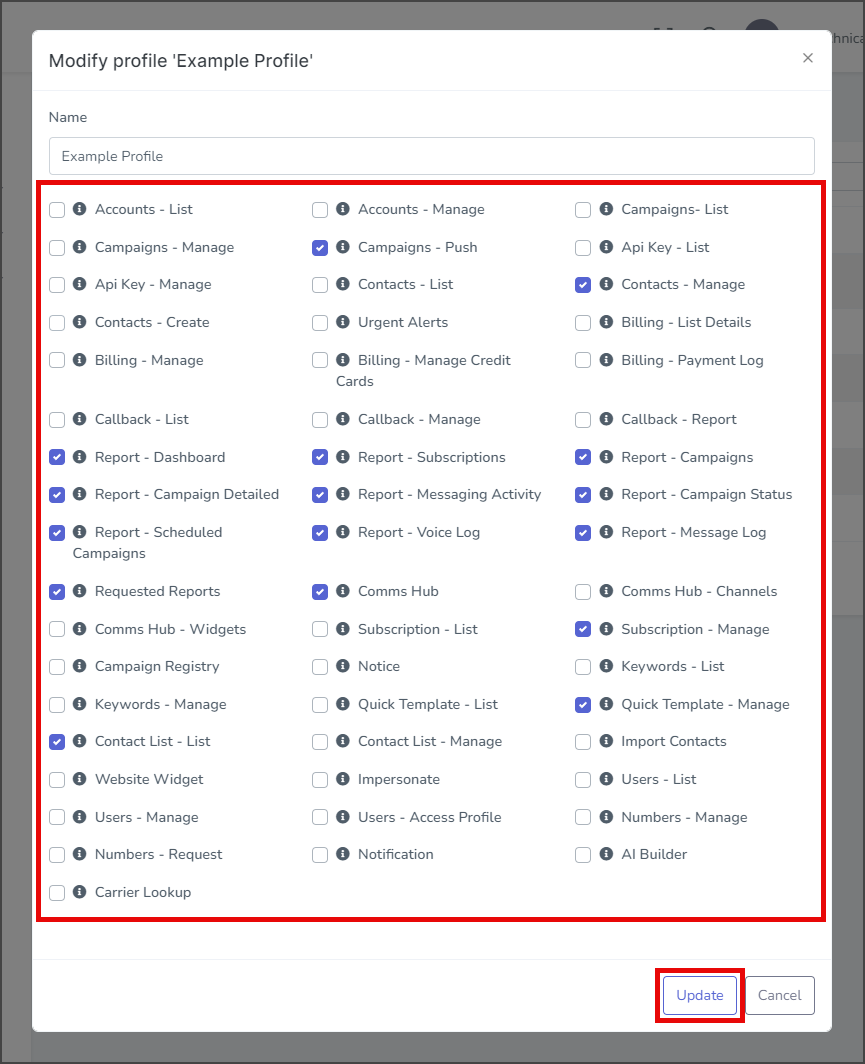
- Enter a name for your profile in the Name textbox.

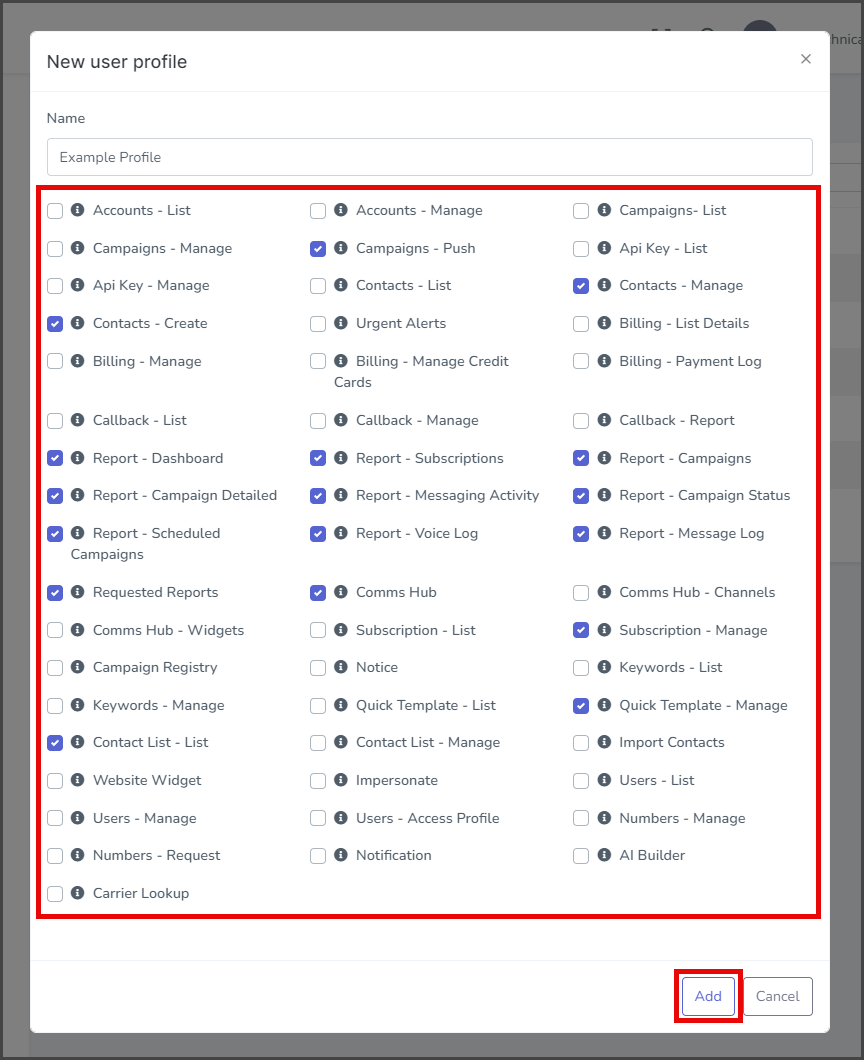
- Check any of the permissions you want to grant users with this profile.
- This Example Profile combines the Chat Agent and Report Only profiles.
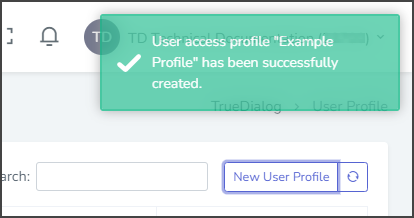
- Click Add.

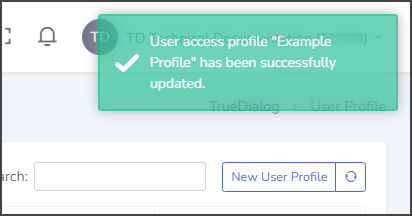
- After creating the profile, a success message will appear in the upper right corner.

Edit User Profile
You can only edit the profiles you created; any inherited profiles can’t be edited.
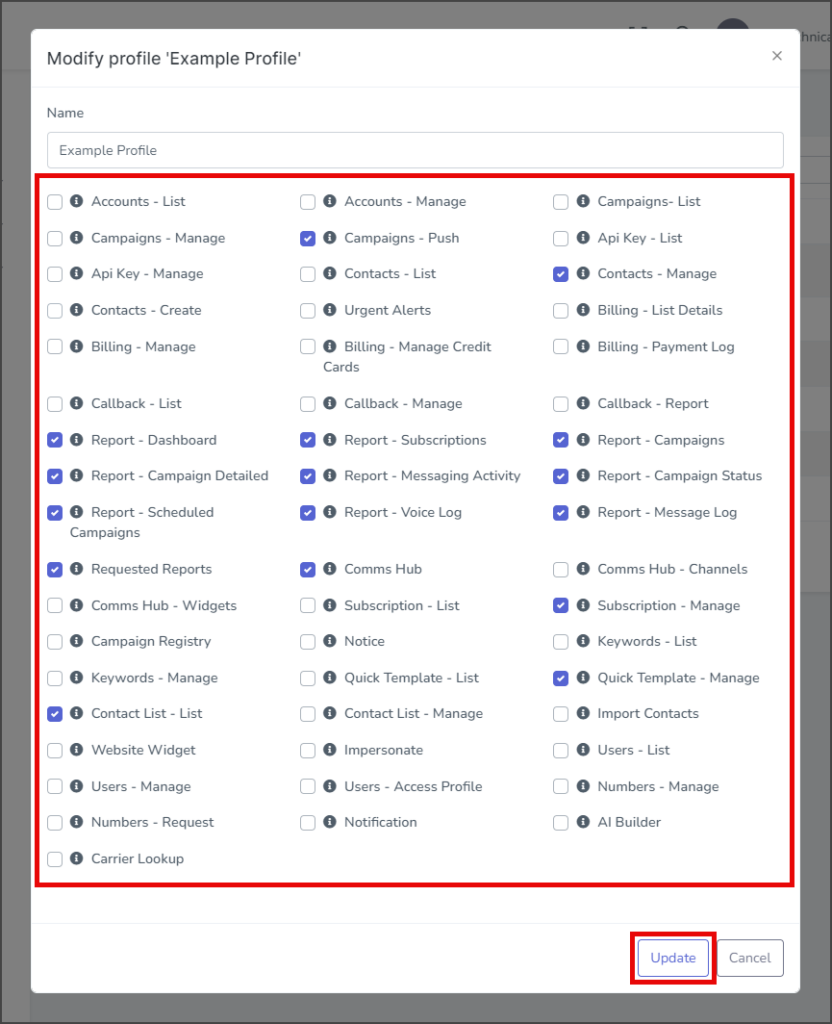
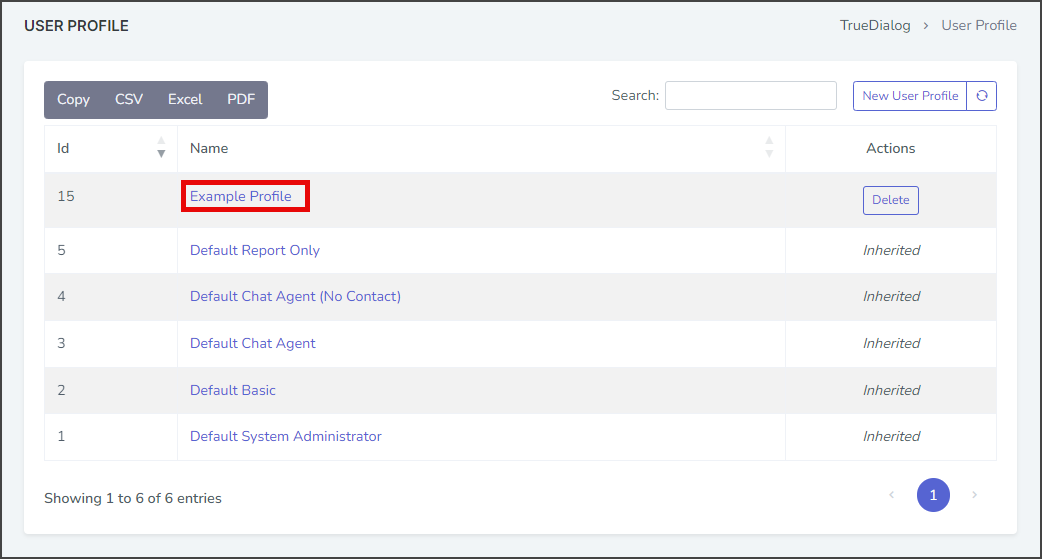
- Click the Name of the profile to edit.

- Check or uncheck the permissions you wish to change.
- Click Update.
- After updating the profile, a success message will appear in the upper right corner.
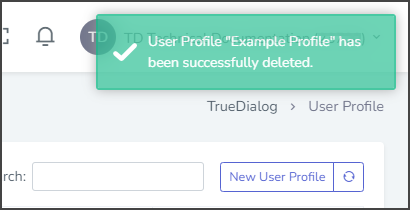
Delete User Profile
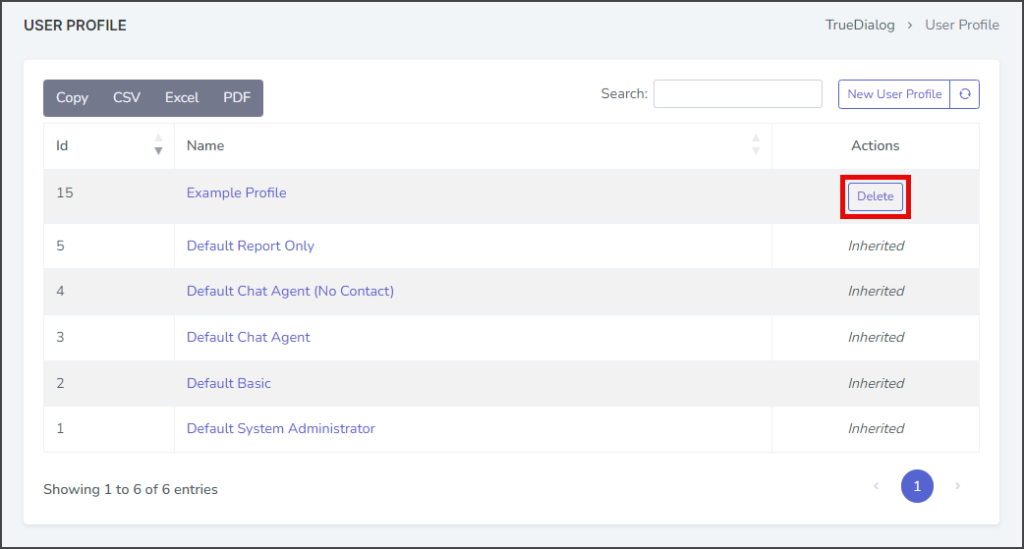
You can only delete profiles you created; any inherited profiles can’t be deleted.
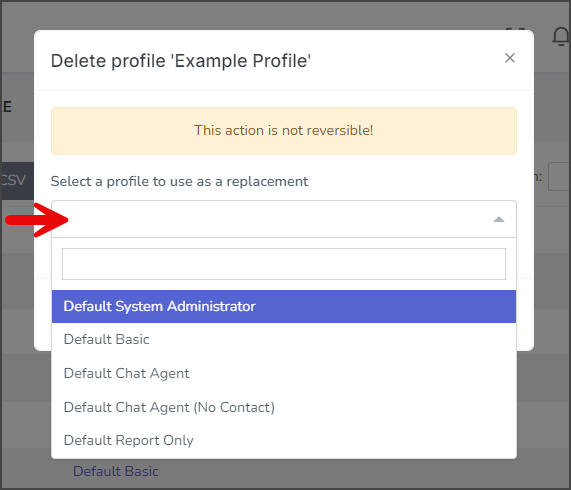
- Click Delete for the profile to delete.
- Select a replacement profile from the Select a profile to use as a replacement dropdown.
- Click Delete.
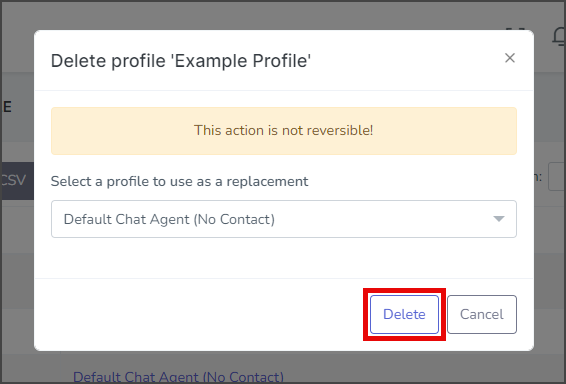
- After deleting the profile, a success message will appear in the upper right corner.