
TrueDialog Portal
Quick Start
This guide will walk you through the steps necessary to send a basic SMS message to a single contact with the TrueDialog Portal. The guide is divided into four sections, each covering a different aspect of the process. Each section contains a link to an article that provides more details on the topic, but reading those articles is not mandatory to complete this guide.
Create a Contact
A contact holds information about a client, including their name and phone number. For more details about creating a contact, see the Creating a Contact article.
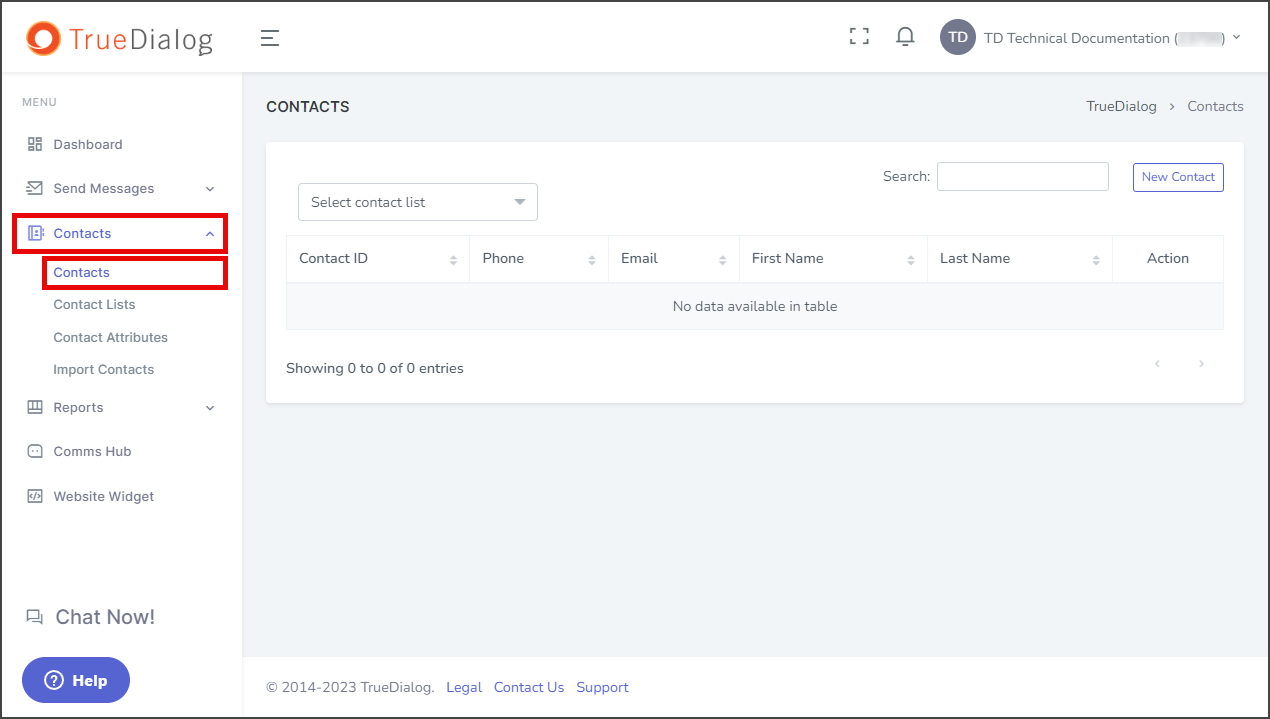
- Expand Contacts in the left sidebar and select Contacts.
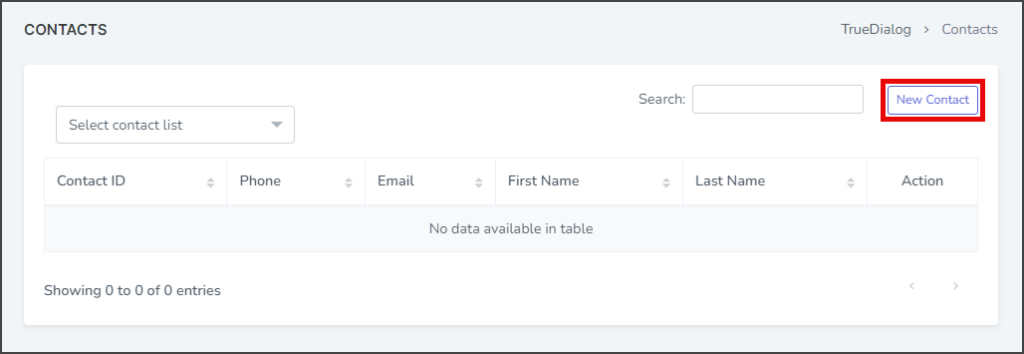
- Click New Contact.
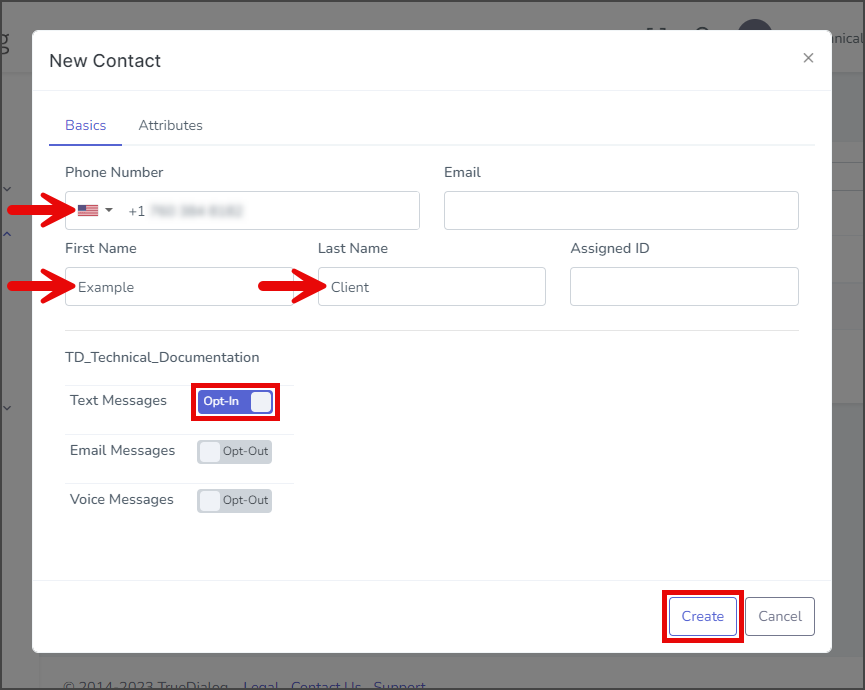
- Fill out the Basics section for Phone Number, First Name, and Last Name. The other fields are not necessary for this example.
- Switch the Text Messages toggle to Opt-In so the contact will receive text messages from campaigns. Note: If your account subscription is set to Double Opt-In, the contact will receive an opt-in message that must be accepted before receiving text messages from your campaign. See the [Edit Subscriptions] article for more information about subscription opt-in types.
- Click Create.
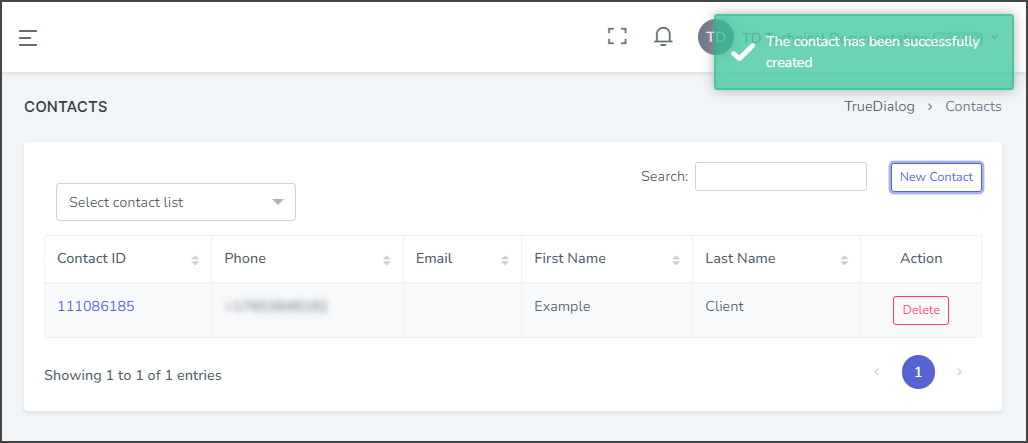
- Once complete, a successfully created notification will be displayed in the upper right corner.


Create a Contact List
A contact list is a method of grouping contacts together to allow for campaign messaging. In this guide, we will create a contact list that only contains a single contact that was created in the last section. There are various ways to do this, but for simplicity, we will make a contact list that includes only contacts with a phone number that matches the contact we made earlier. For more details about creating a contact list, see the Creating a Contact List article.
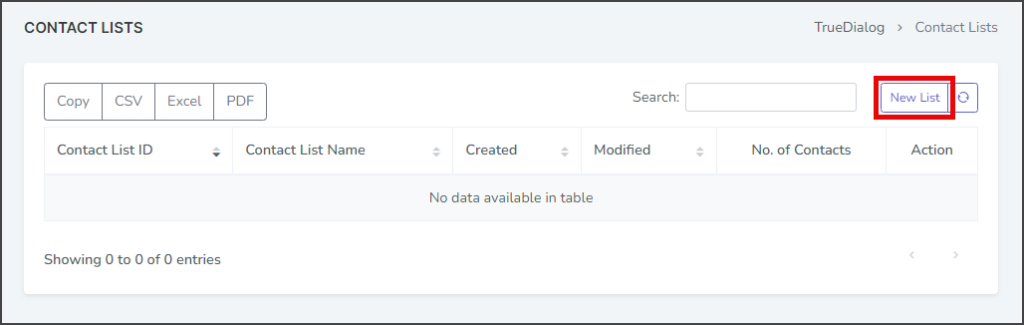
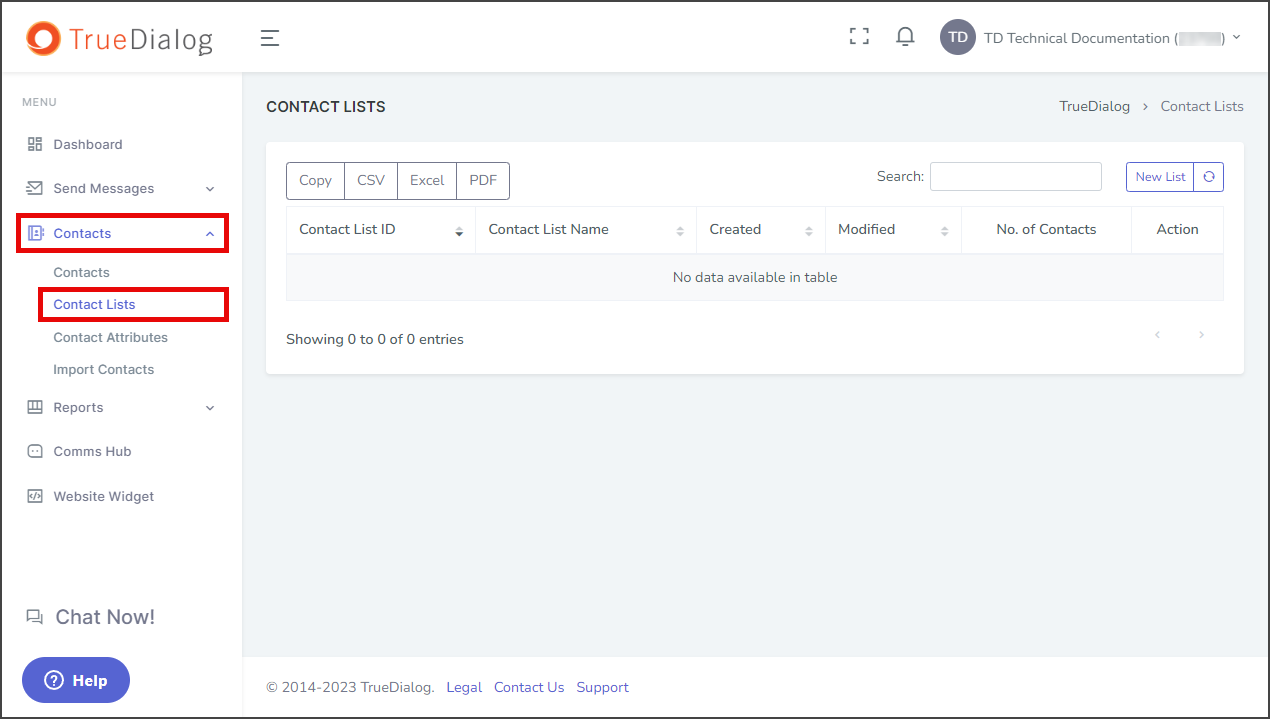
- Expand Contacts in the left sidebar and select Contact Lists.

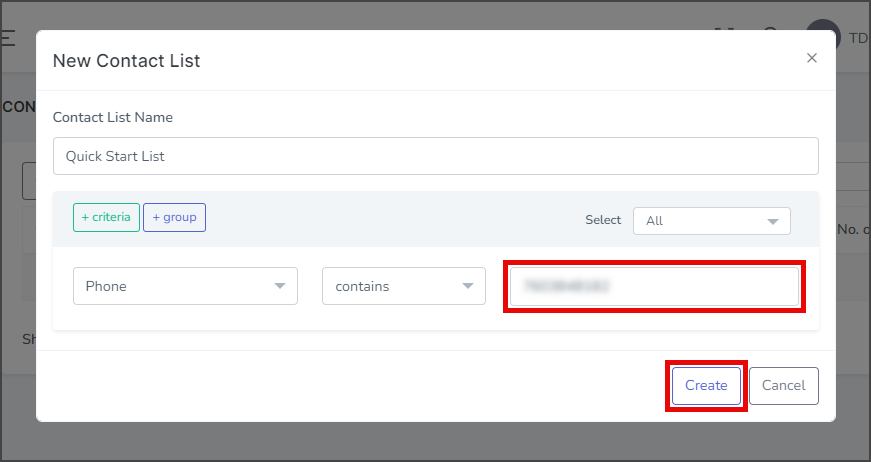
- Click New List to open a form for creating a new contact list.
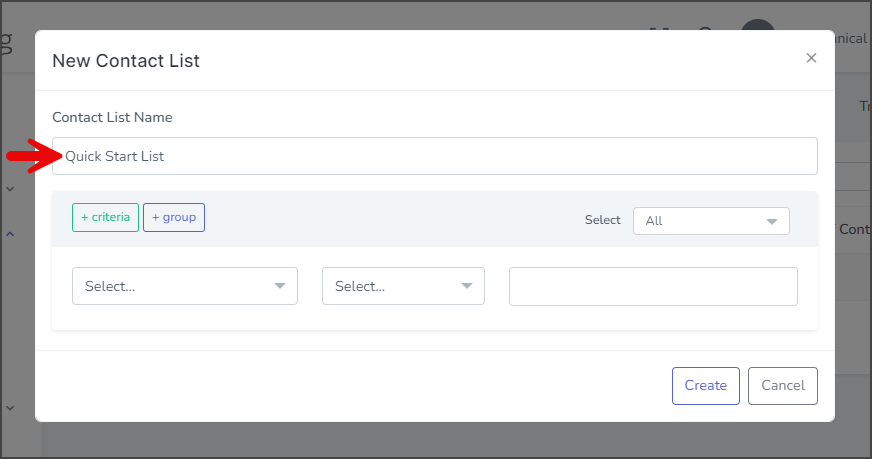
- Enter a name for your contact list in the Contact List Name.
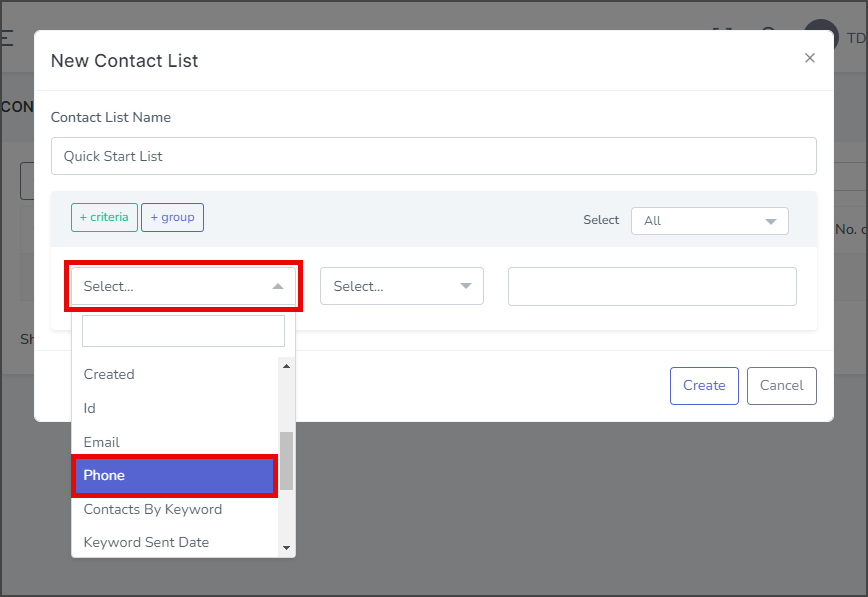
- Click the first dropdown and select Phone.
- Click the second dropdown and select contains.
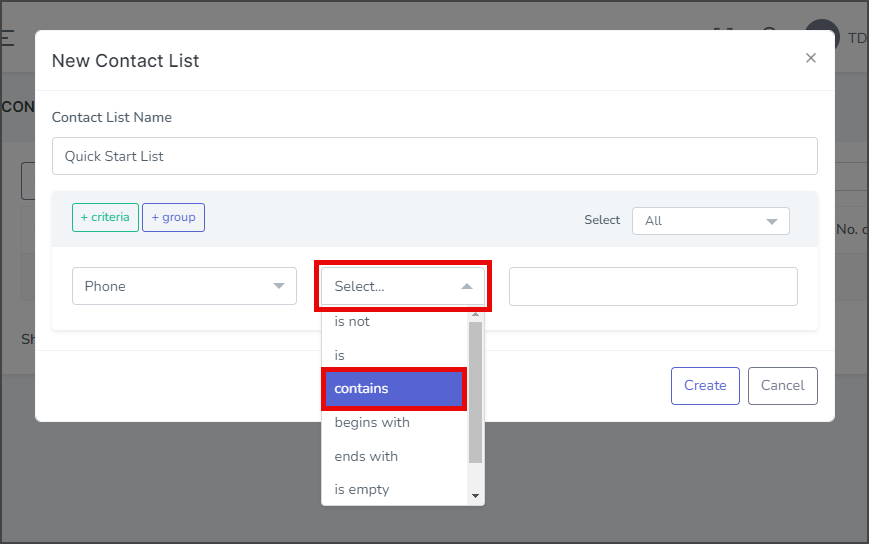
- In the text box at the end of the row, enter the phone number of your contact as ten digits. Note: When matching a contact’s phone number, it is important to know that the number is stored with the country code prefix and its ten digits (+1##########). Because of this, using the contains operator allows us to enter the phone number as just ten digits without the +1 country code prefix. On the other hand, the is operator requires an exact match and must include the country code prefix.
- Click Create.
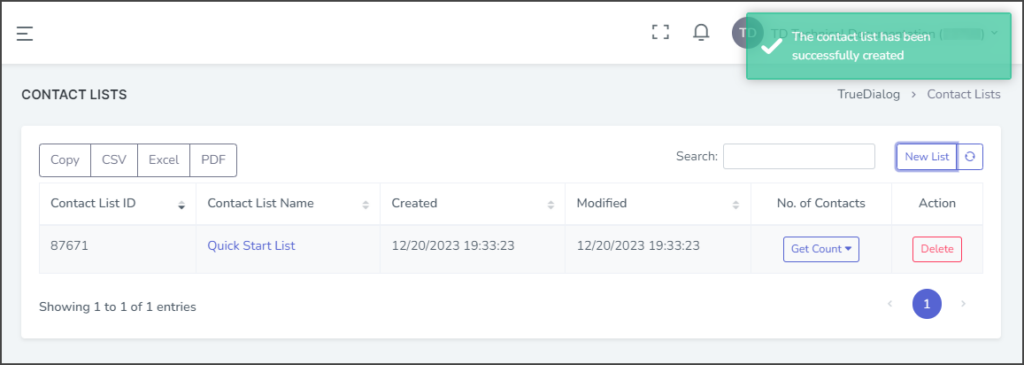
- Once created, a successfully created message will be displayed in the upper right of the window, and the new contact list will appear in the table.
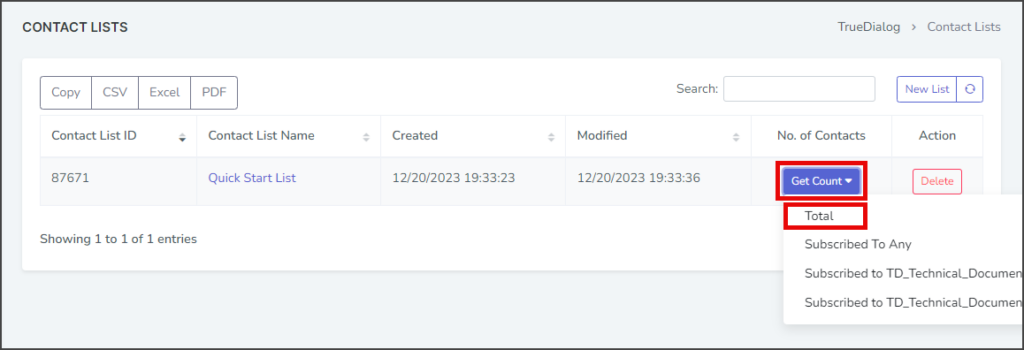
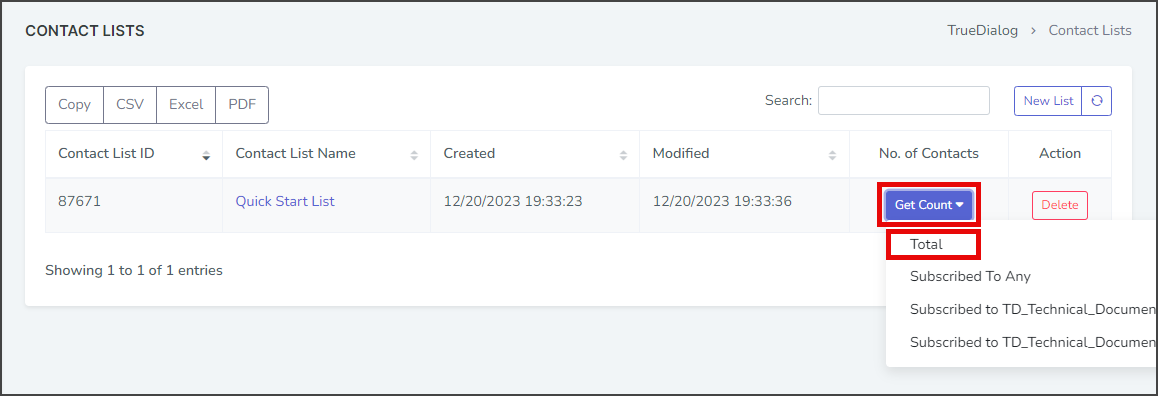
- Verify that the newly created contact list includes your contact by:
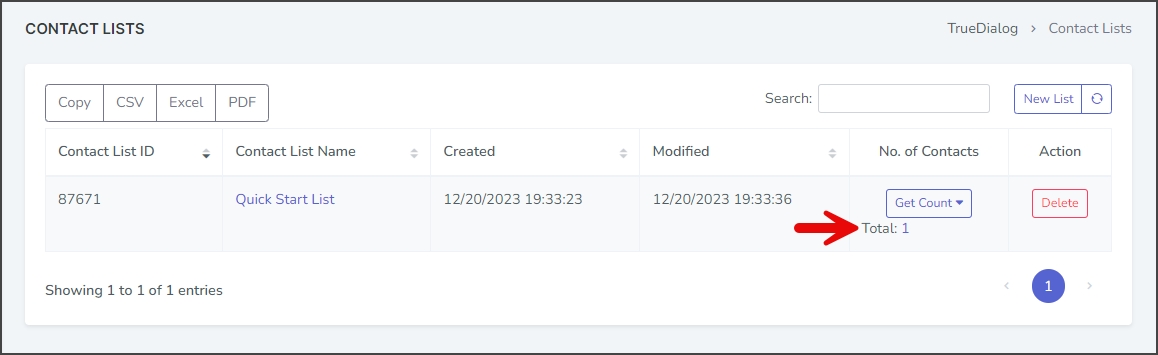
- Click the Get Count dropdown and select Total.
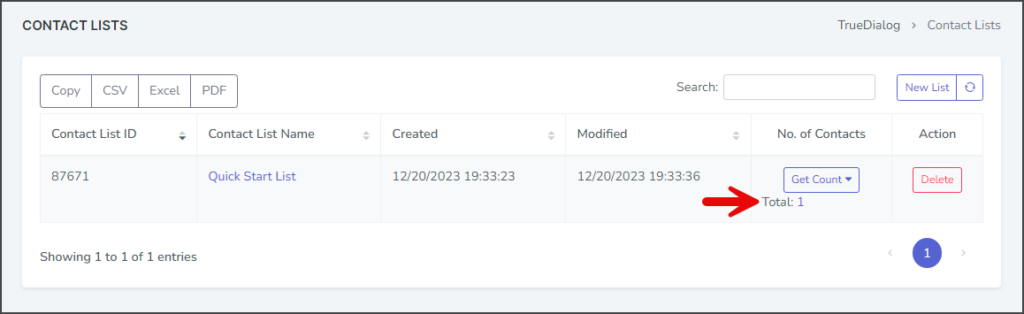
- If the Total is 1, then the contact list includes your contacts. If the Total is 0, then check the filter used in the contact list to make sure it is correctly matching the phone number of your contact.


Create a Campaign
A campaign is used to hold the message to send to the end-users. In this guide, we are creating a very simple SMS message. For more details about creating an SMS campaign, see the Creating a Campaign – One Way SMS article. For an overview of the different types of campaigns, see the Sending Messages Overview article
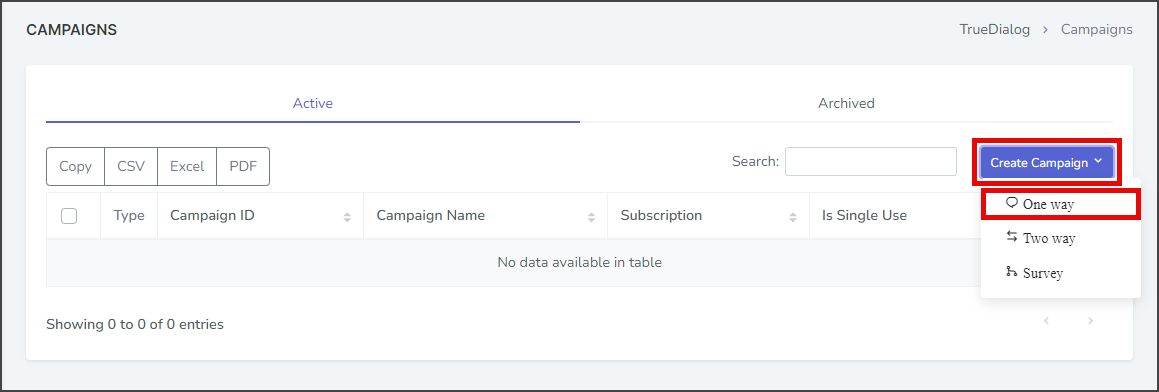
- Expand Send Messages in the left sidebar and select Campaigns.
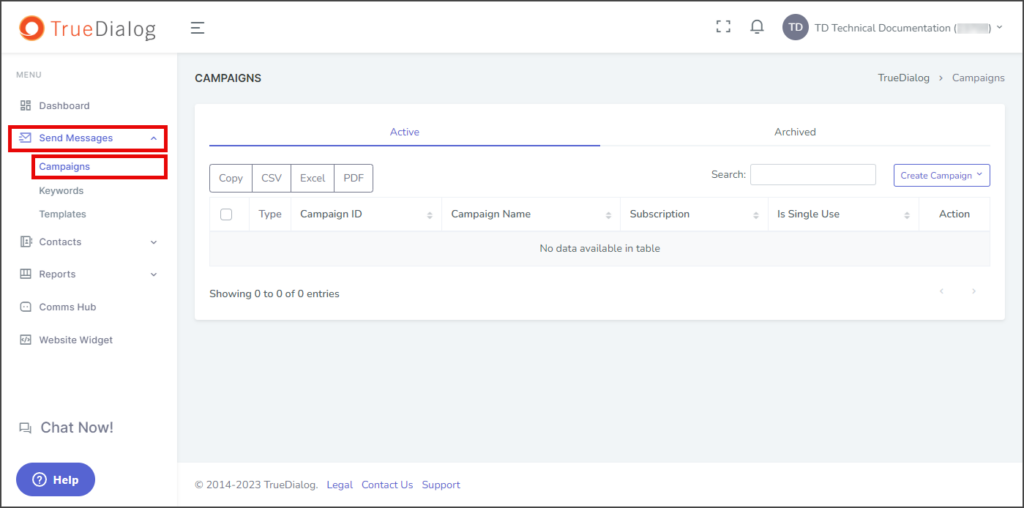
- Click the Create Campaign dropdown and select One way to open the New One-Way Campaign window.

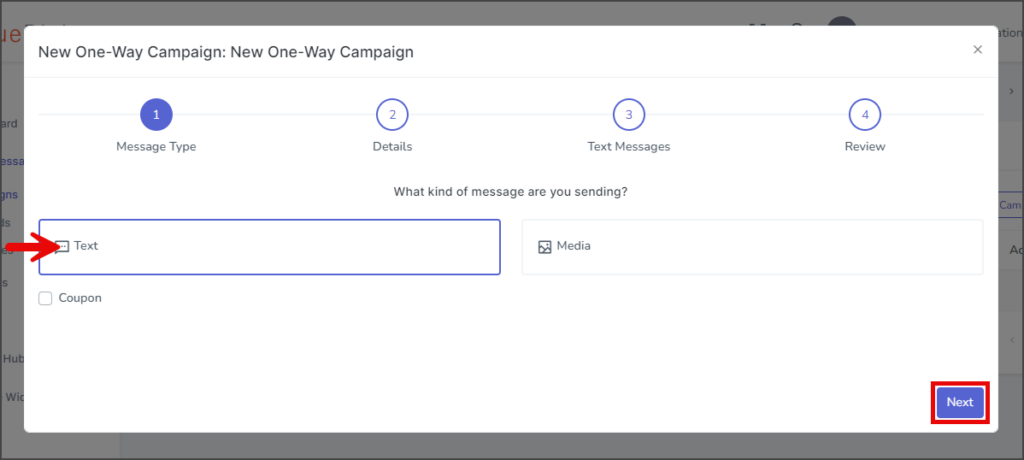
- Select Text for the message type.
- Click Next to go to the Details page.
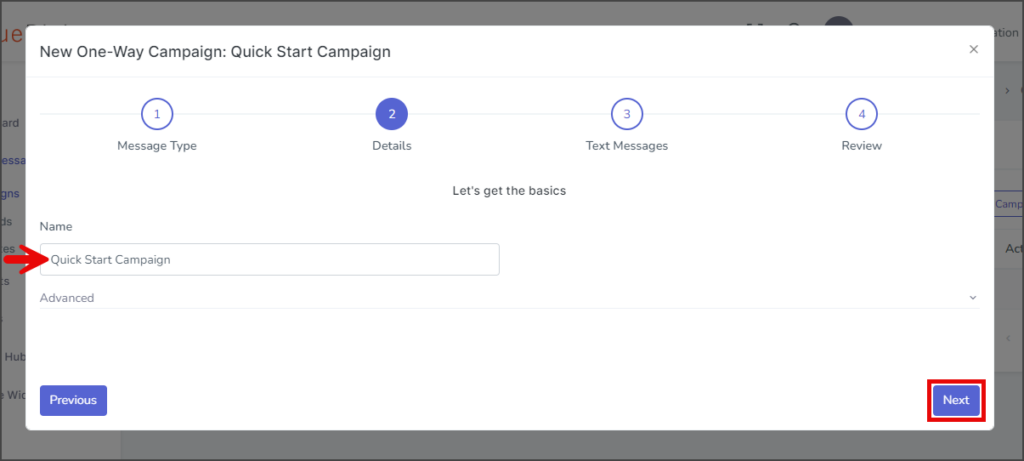
- Enter your campaign’s name in the Name textbox.
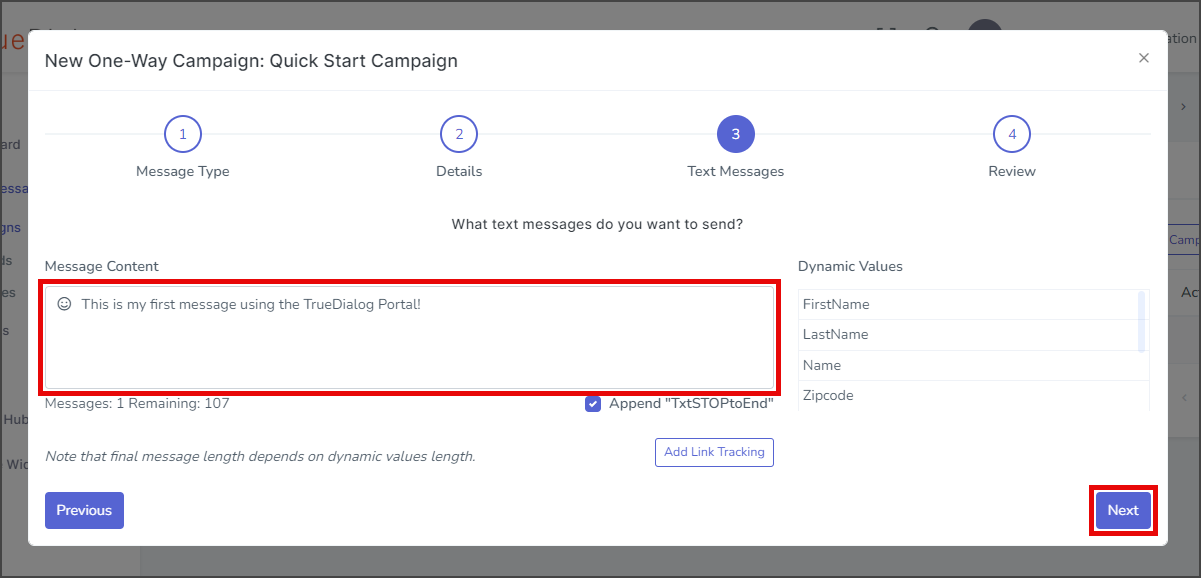
- Click Next to go to the Text Messages page.
- Enter your message in the Message Content textbox.
- If checked, the Append “TxtSTOPtoEnd” checkbox will append “TxtSTOPtoEnd” to the end of your message once the campaign is created.
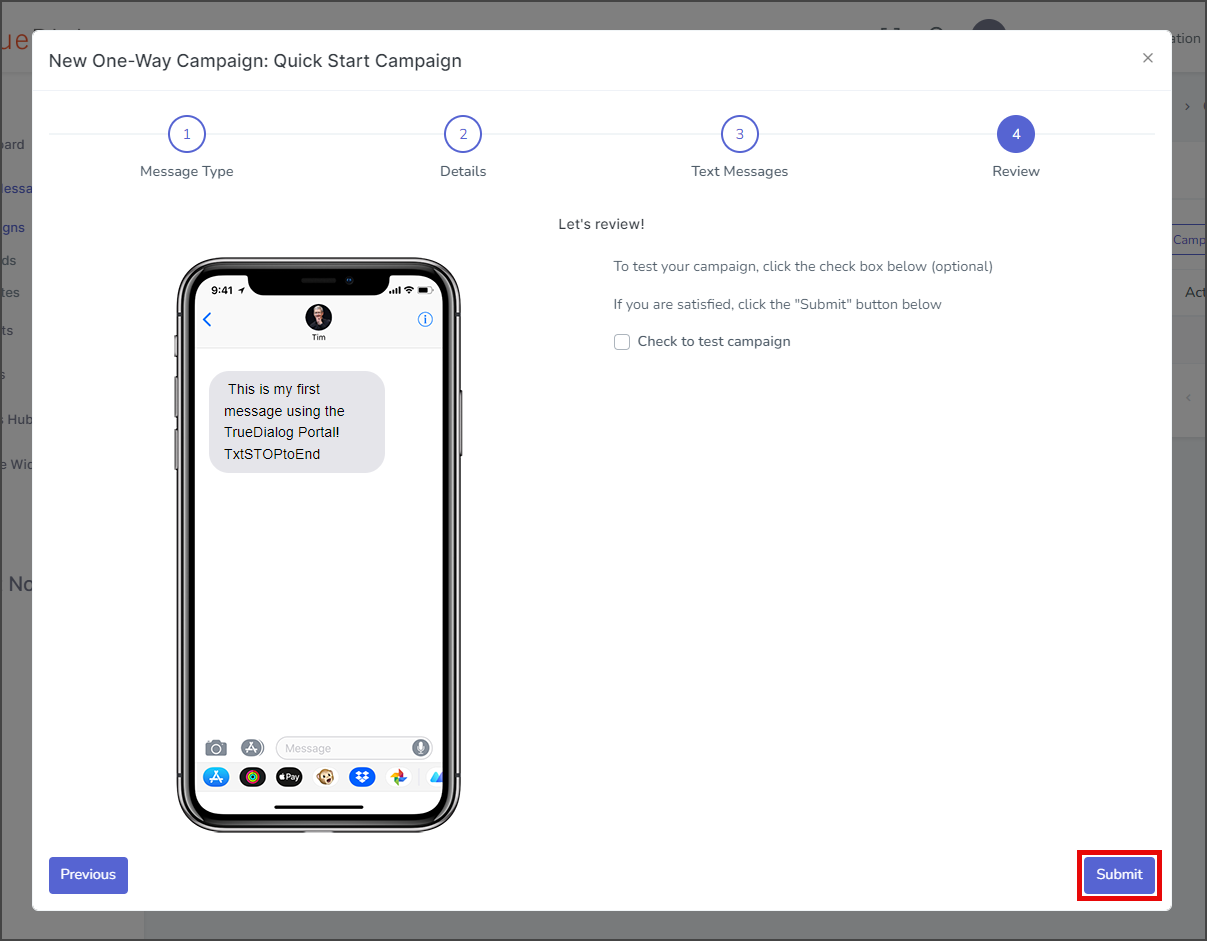
- Click Next to go to the Review page.

- Review the message in the mockup phone to ensure everything is as expected.
- Click Submit to create the campaign.

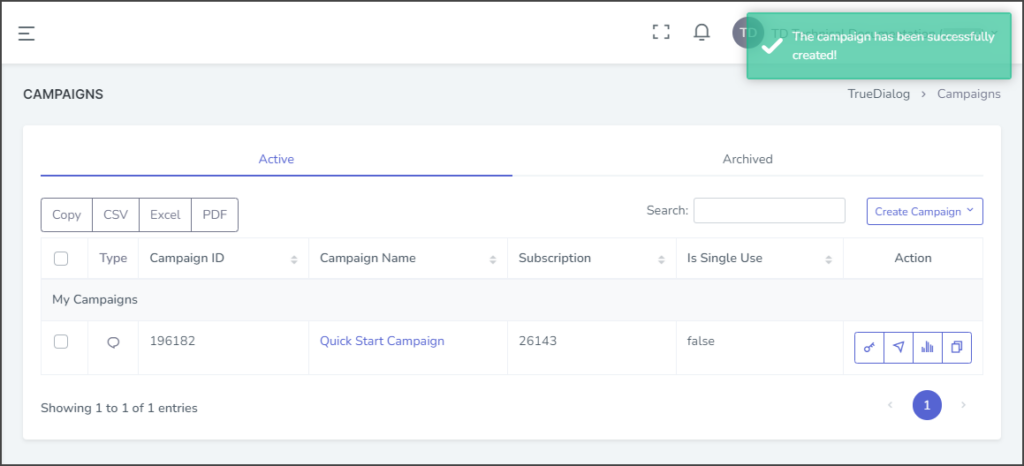
- Once complete, a successfully created notification will be displayed in the upper right corner.


Push the Campaign
Once a campaign is created, the campaign’s message can be sent to contacts by pushing the campaign. For more details about pushing campaigns, see the Pushing a Campaign – Immediate article.
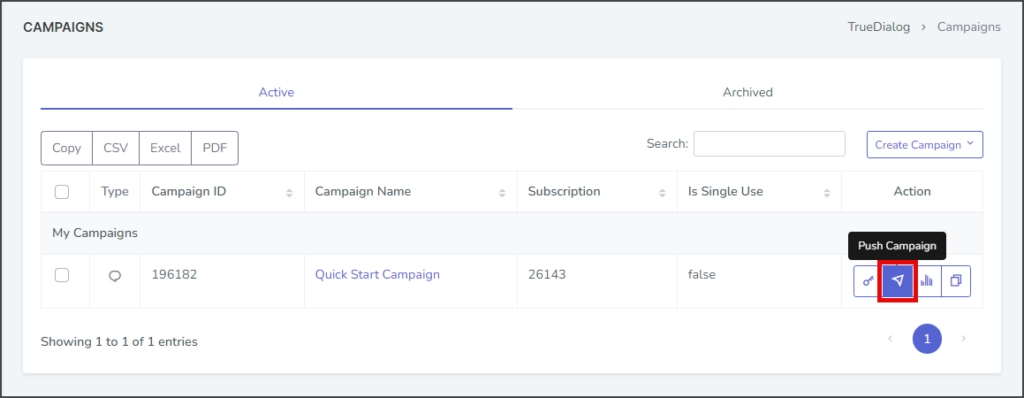
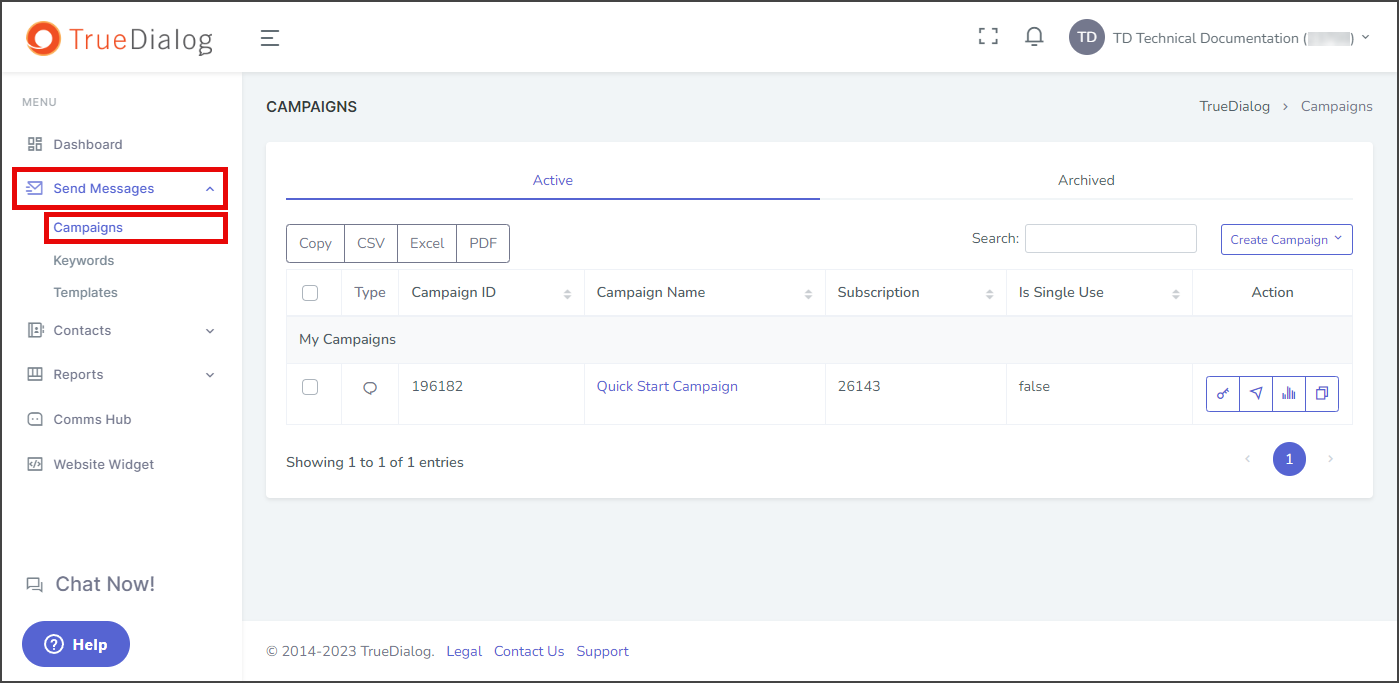
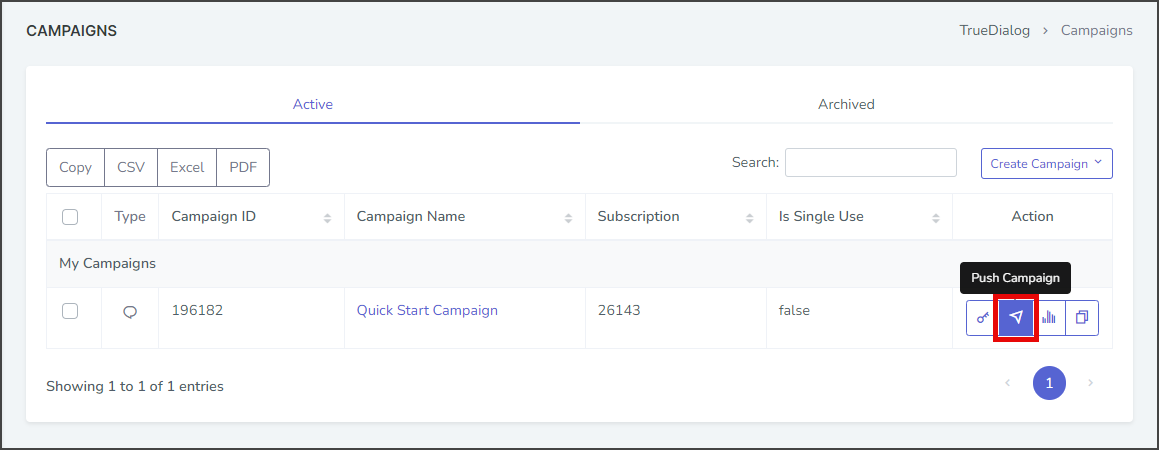
- Expand Send Messages in the left sidebar and select Campaigns.

- Click the Arrow icon found in the Action column of the campaign to open the dialog window for pushing the campaign.
- Select Execute.
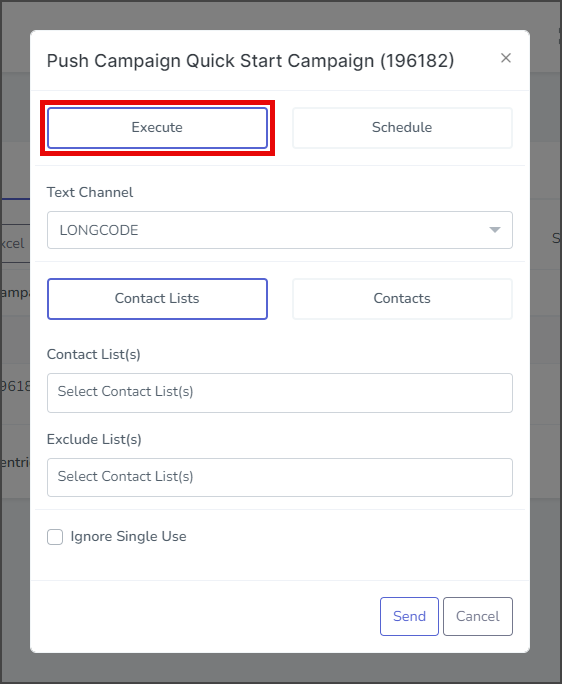
- Click the Text Channel dropdown and select the phone number from which the messages will be sent. The phone number can be a long code or a short code.
- Select Contact Lists.
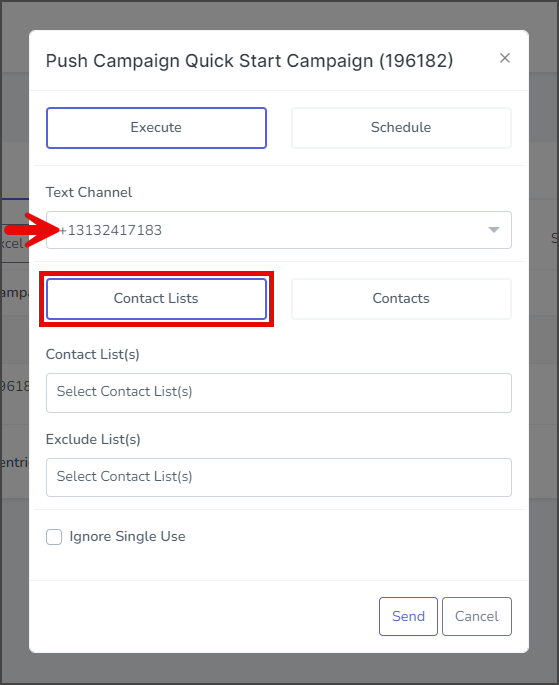
- Click the Contact List(s) box to get a list of the available contact lists.
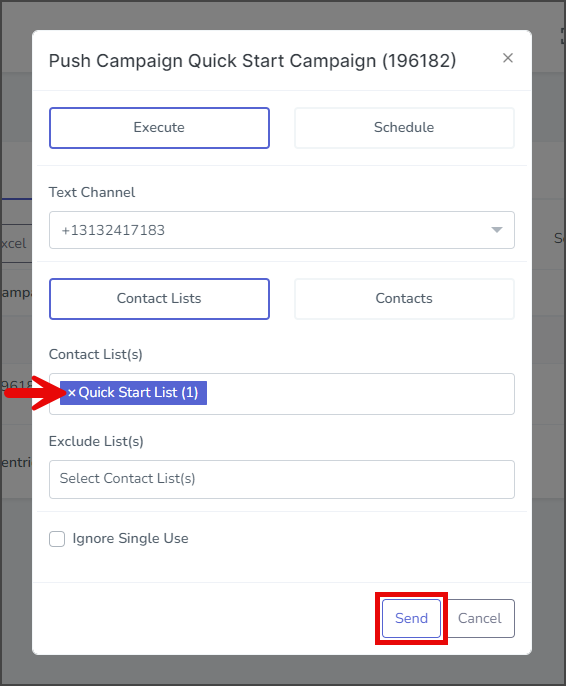
- Select the contact list created in the steps above.
- Click Send.
- Review the details of the push. An estimate of the number of messages that will be sent is shown.
- Enter the confirmation code found on the left in the box on the right.
- Click Confirm.

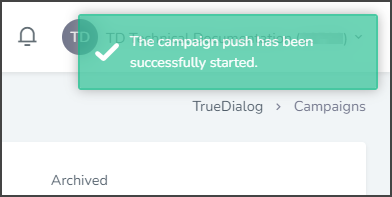
- Once complete, a successfully started notification will be displayed in the upper right corner.
Complete
You have completed this guide and sent your first campaign to your contacts. See the rest of the documentation to learn about other types of campaigns and the many other features supported by the TrueDialog Portal.