Salesforce
TrueDialog Integration
This article shows you how to create a Contact record configured to send SMS messages with TrueDialog. The TrueDialog system requires two items to send a message to a Contact: a phone number and an opt-in status. When the TrueDialog app was installed, Formatted Phone Number and SMS Opt Out fields were added to your records. See the Salesforce – Adding TrueDialog Fields to Records Layout article for instructions on adding these fields to your layout.
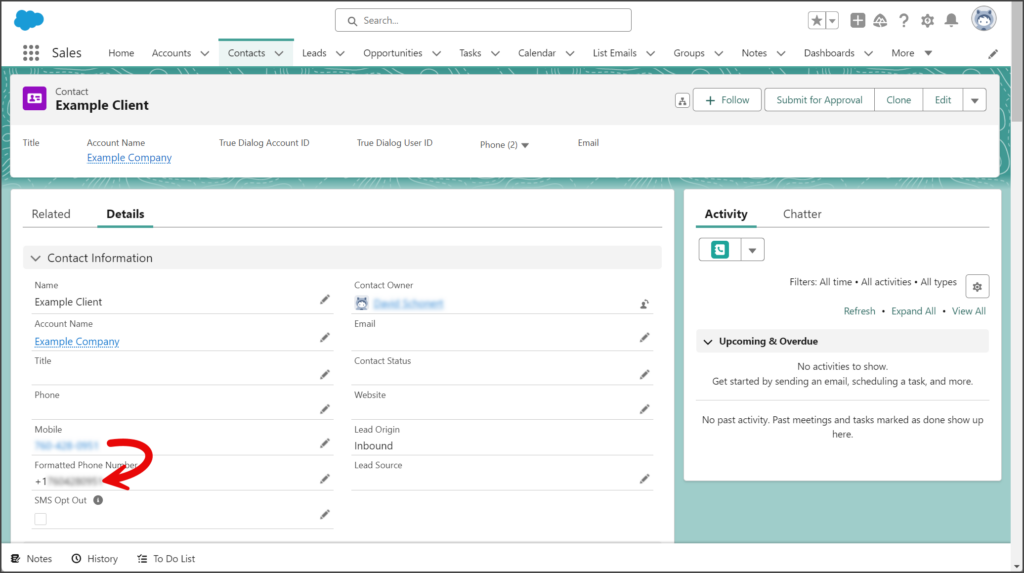
The Formatted Phone Number field is automatically populated with a phone number formatted from the records’s phone field. Refer to the table below to see which phone field is used for each standard object.
| Object | Phone Fields | Notes |
|---|---|---|
| Contacts | Mobile or Phone | The Mobile field will be used if both fields have phone numbers. |
| Leads | Mobile or Phone | The Mobile field will be used if both fields have phone numbers. |
| Accounts | Phone |
Create Contact
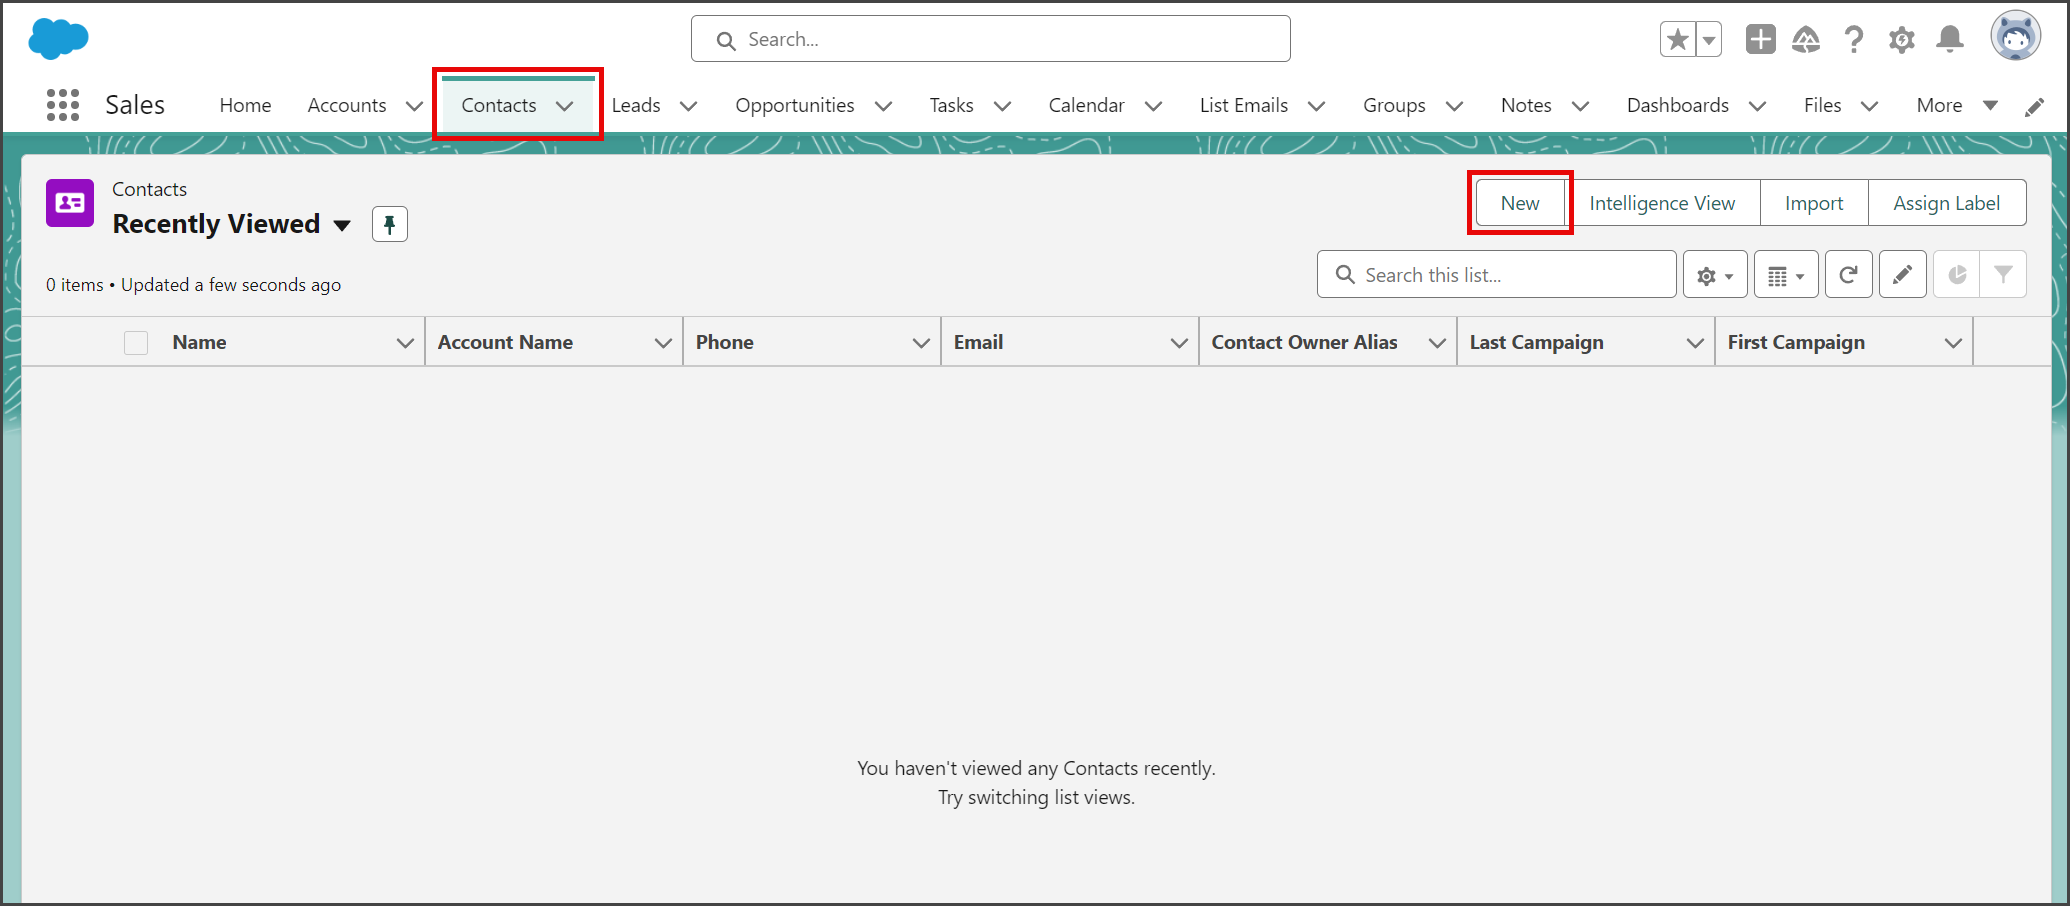
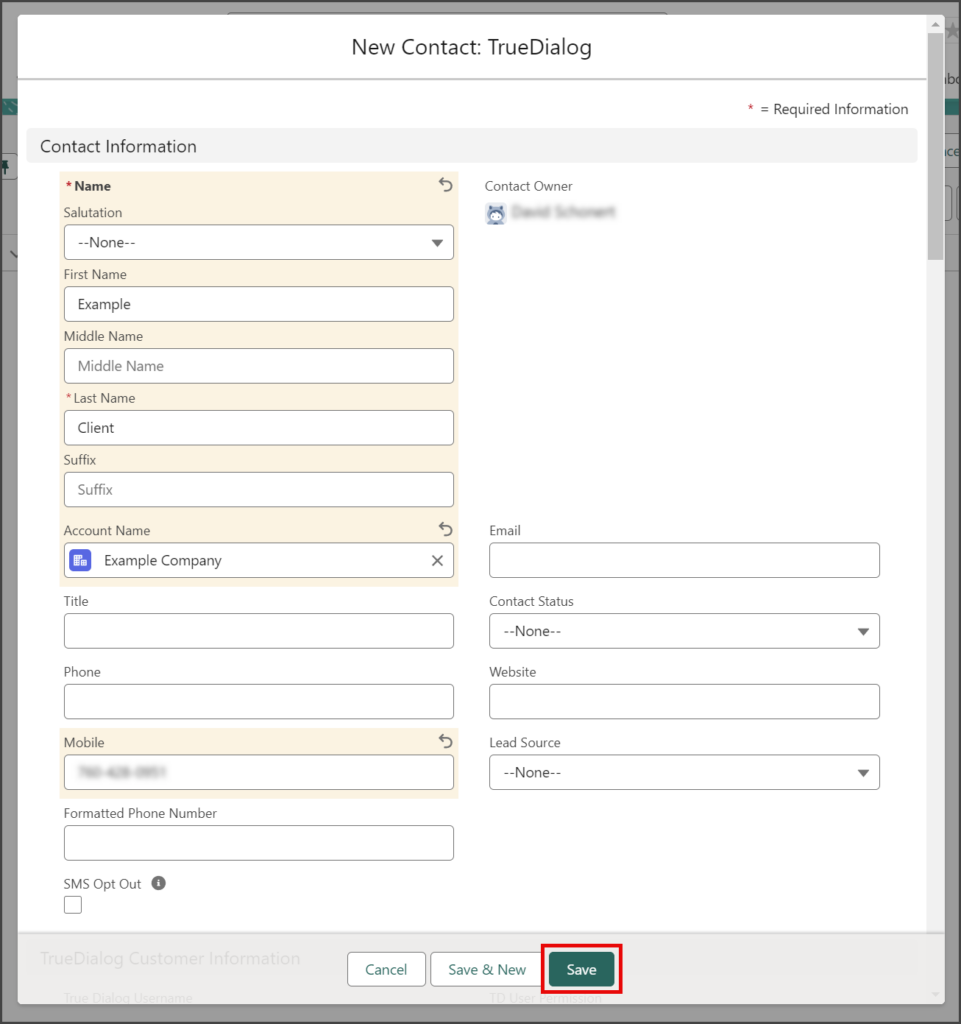
- Select the Contacts tab.
- Click New.

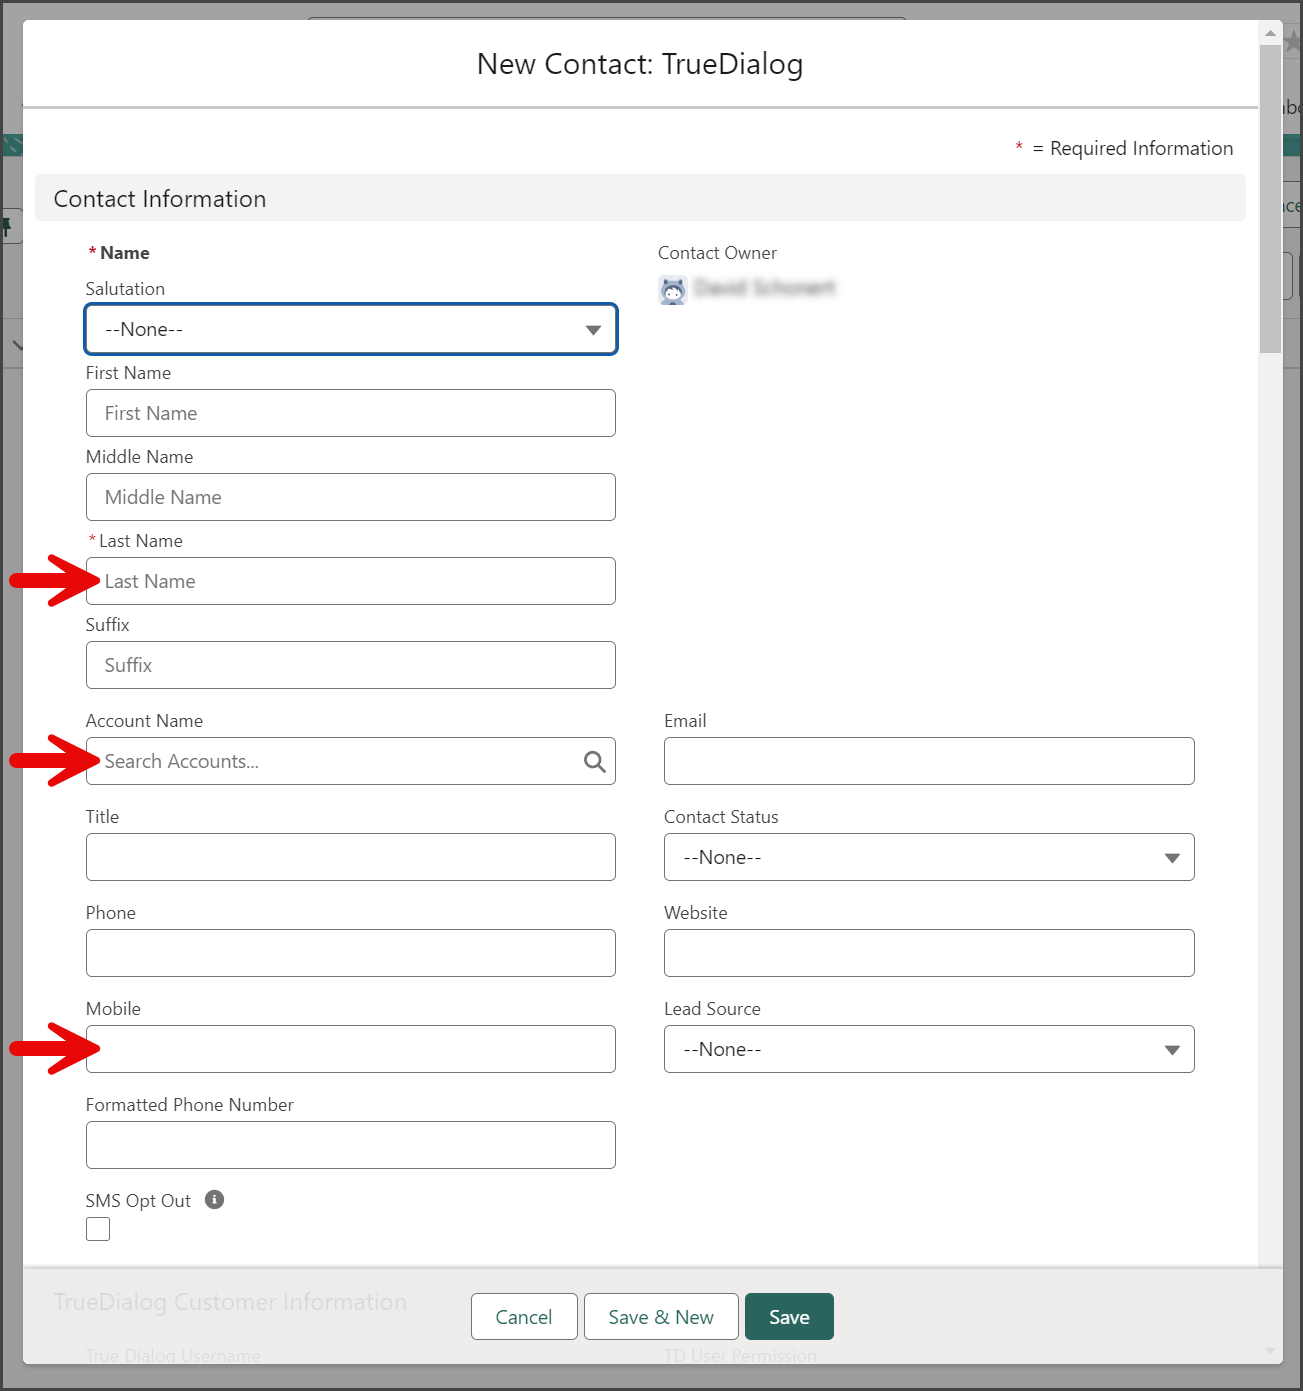
- Enter Last Name.
- Select an Account Name.
- Enter Mobile.

- Leave the Formatted Phone Number blank.
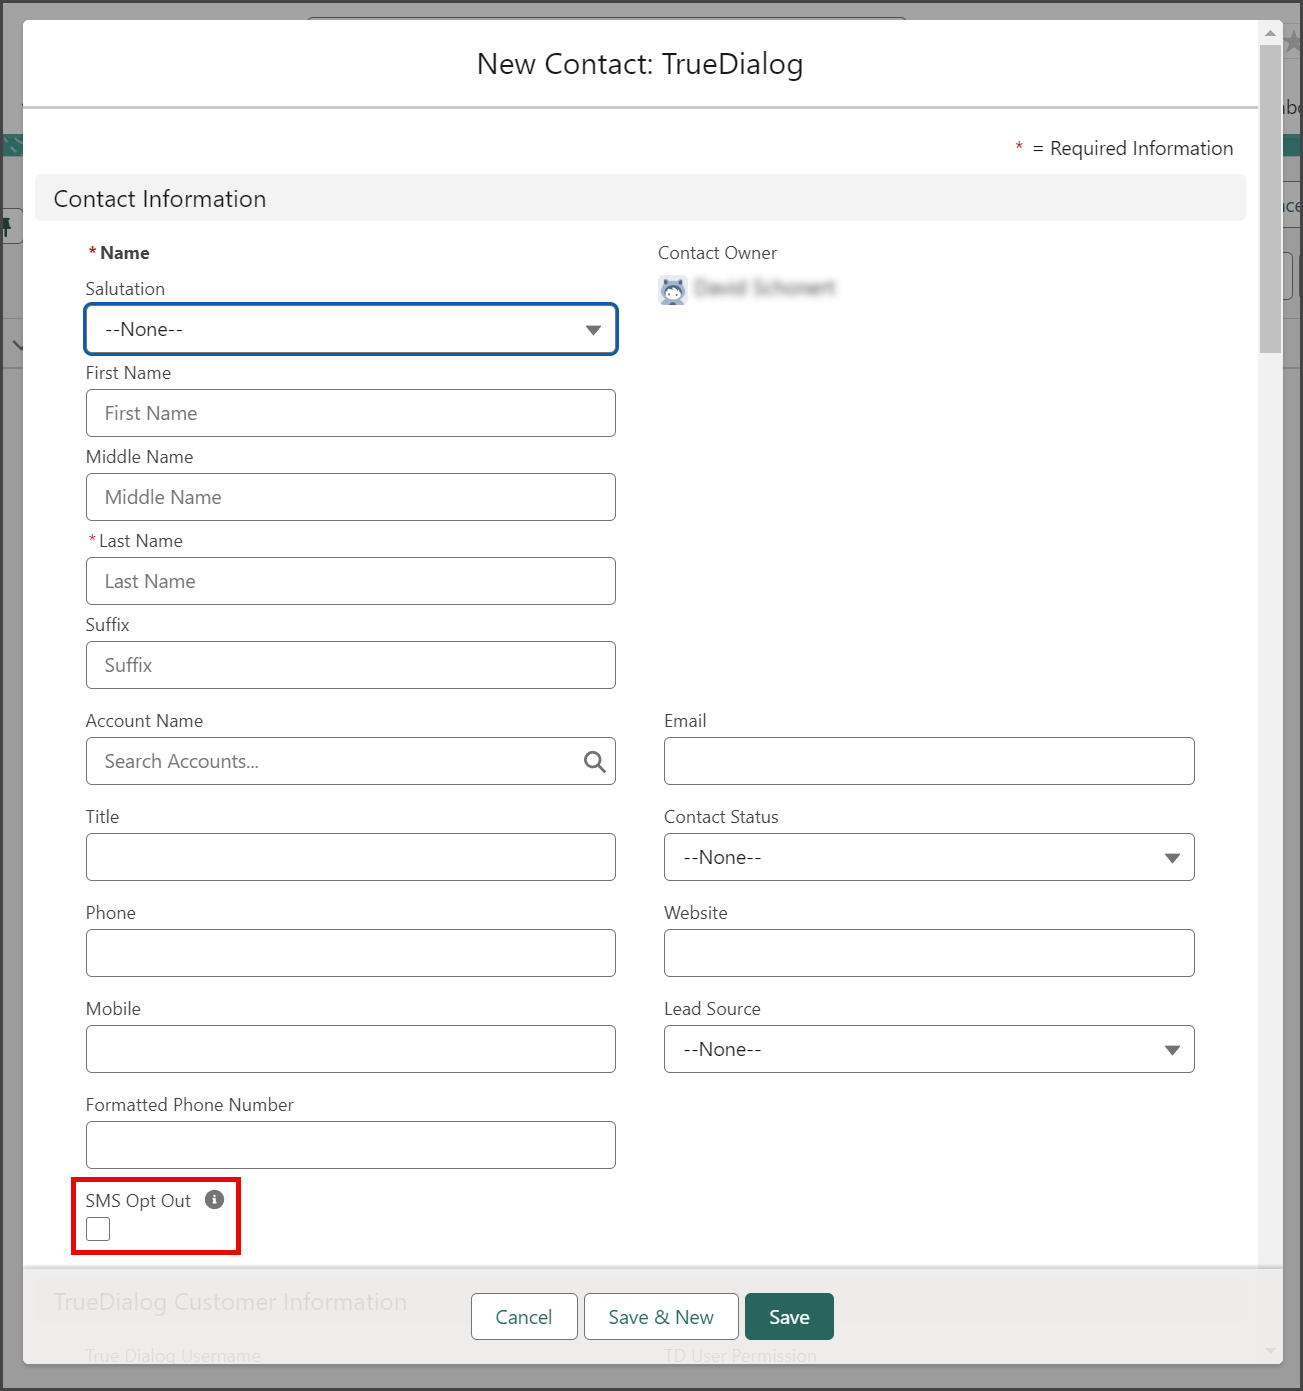
- The SMS Opt Out field should be unchecked by default. If checked, the record will not receive SMS messages.

- Click Save.
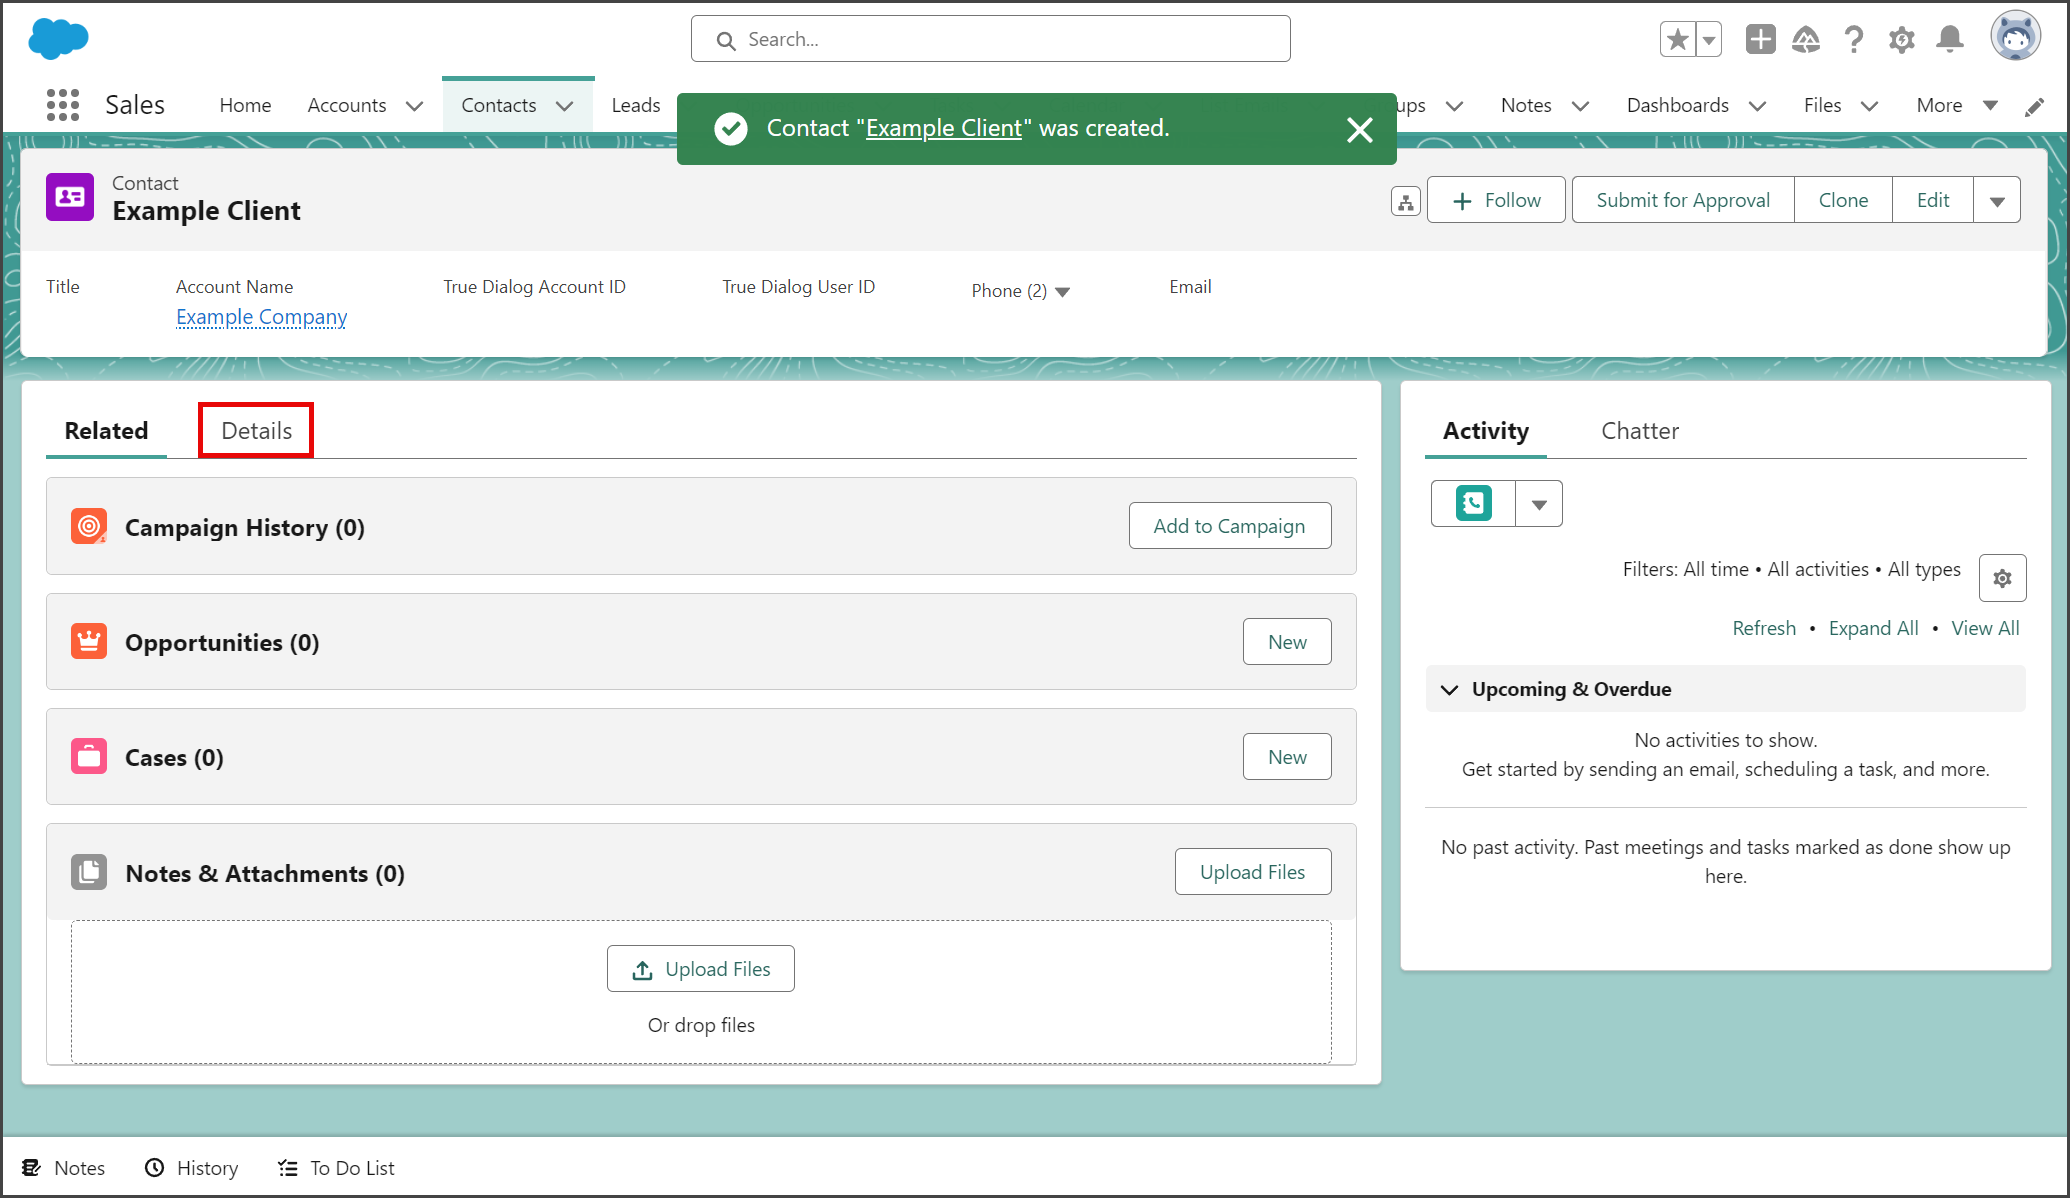
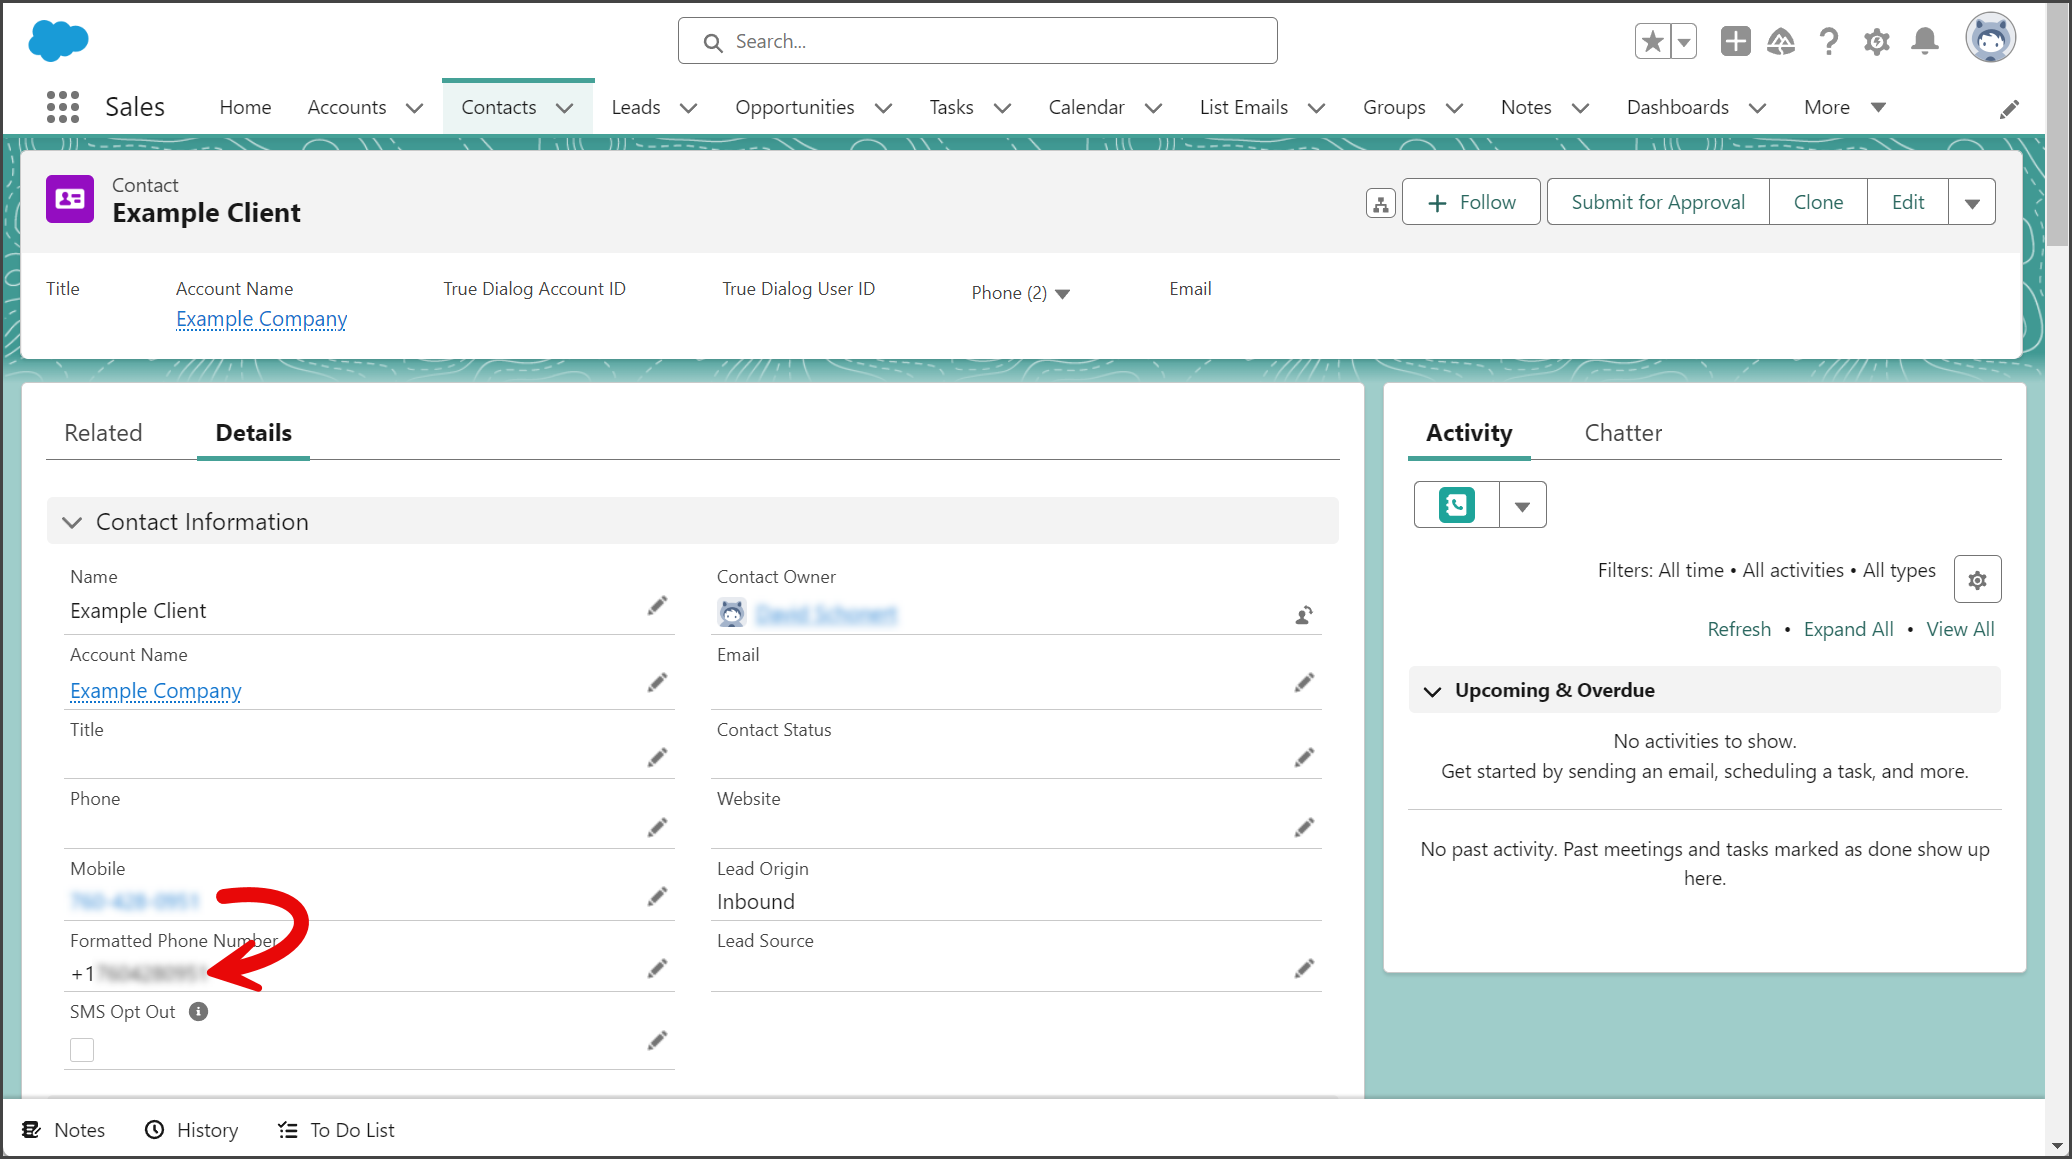
- Once the contact is created, click the Details tab.

- Verify that the Mobile phone number was correctly populated in the Formatted Phone Number field.