Salesforce Marketing Cloud
TrueDialog Integration
Before sending your message to all your contacts, it’s a good idea to test your Journey. One way to do this is to create a Data Extension that only includes the phone numbers you want to use for testing and send the message to this Data Extension first. This will help ensure your message is error-free and ready for your entire contact list.
This article assumes you are familiar with navigating around Salesforce Marketing Cloud, creating a Data Extension, and building a Journey using TrueDialog’s Send SMS activity. If necessary, review the SFMC – Creating a Data Extension For Contacts and SFMC – Creating an SMS Journey articles while completing the steps in this guide.
Create Test Data Extension
The first step is to create a Data Extension with your testing phone numbers. If necessary, review the SFMC – Creating a Data Extension For Contacts article for more detailed instructions.
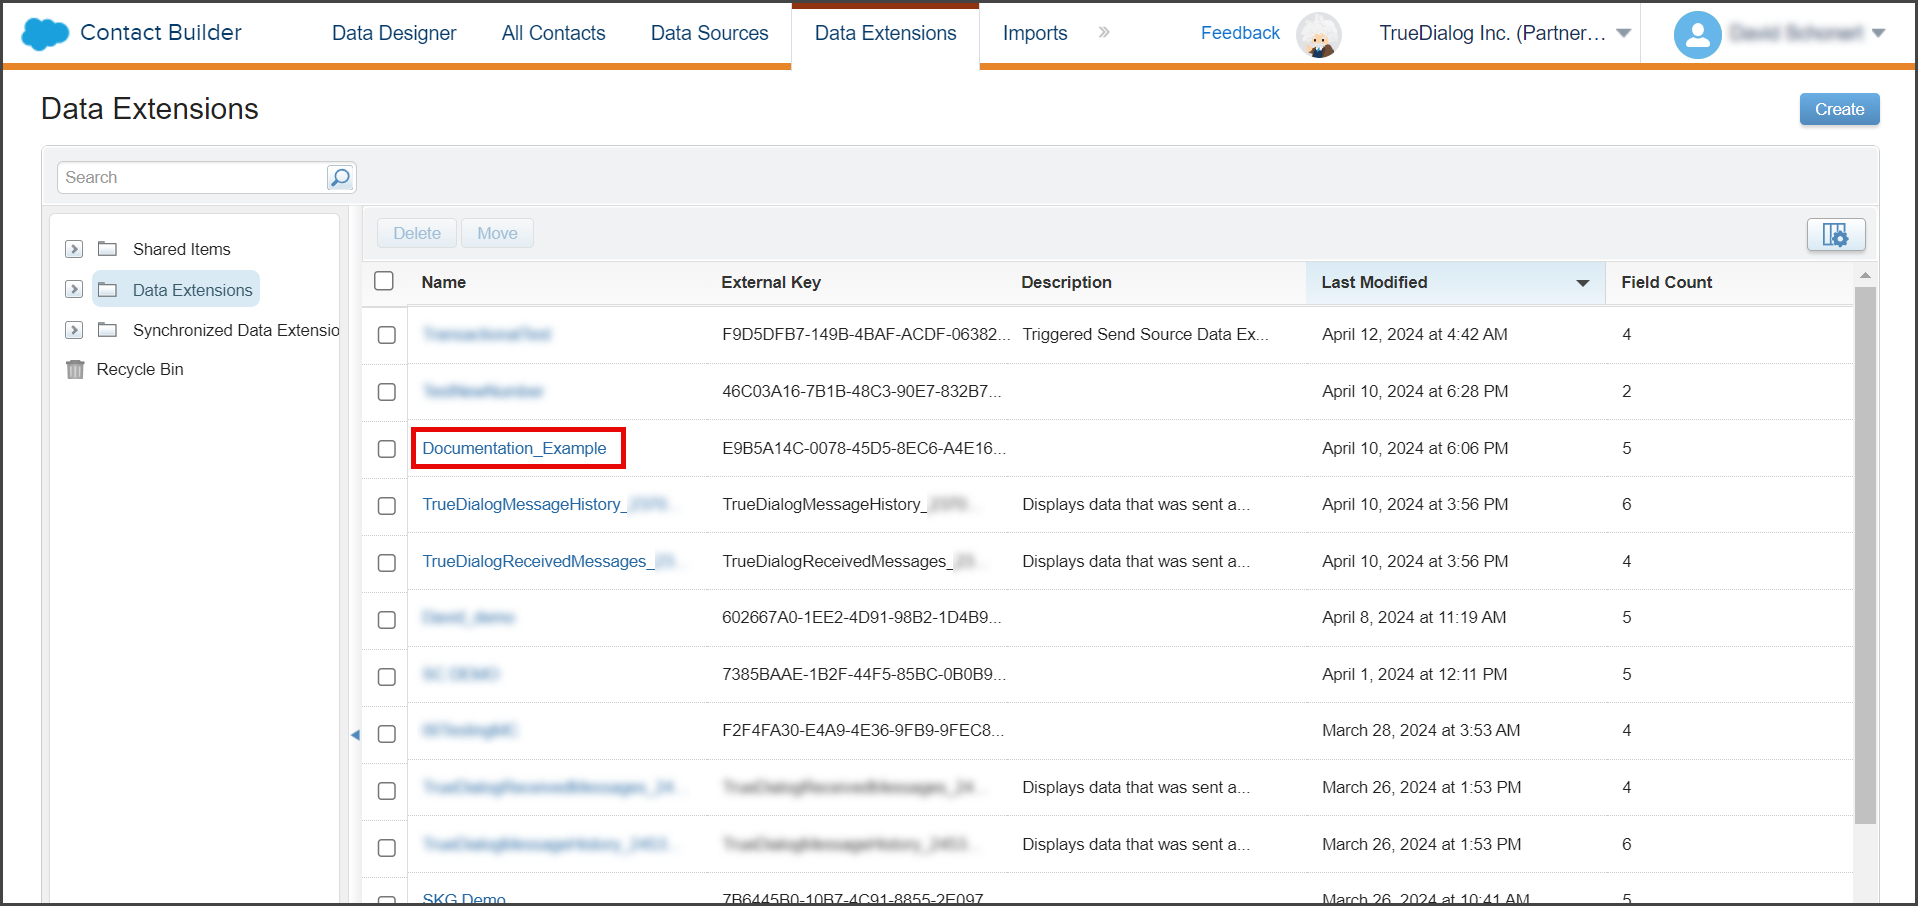
- Navigate to Audience Builder > Contact Builder > Data Extensions.
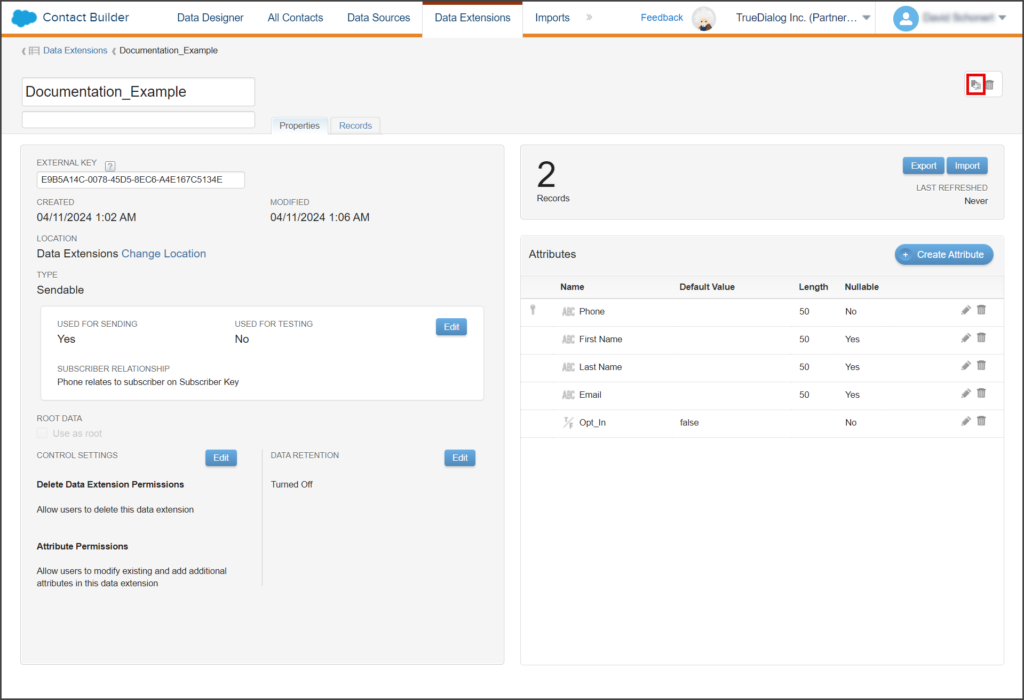
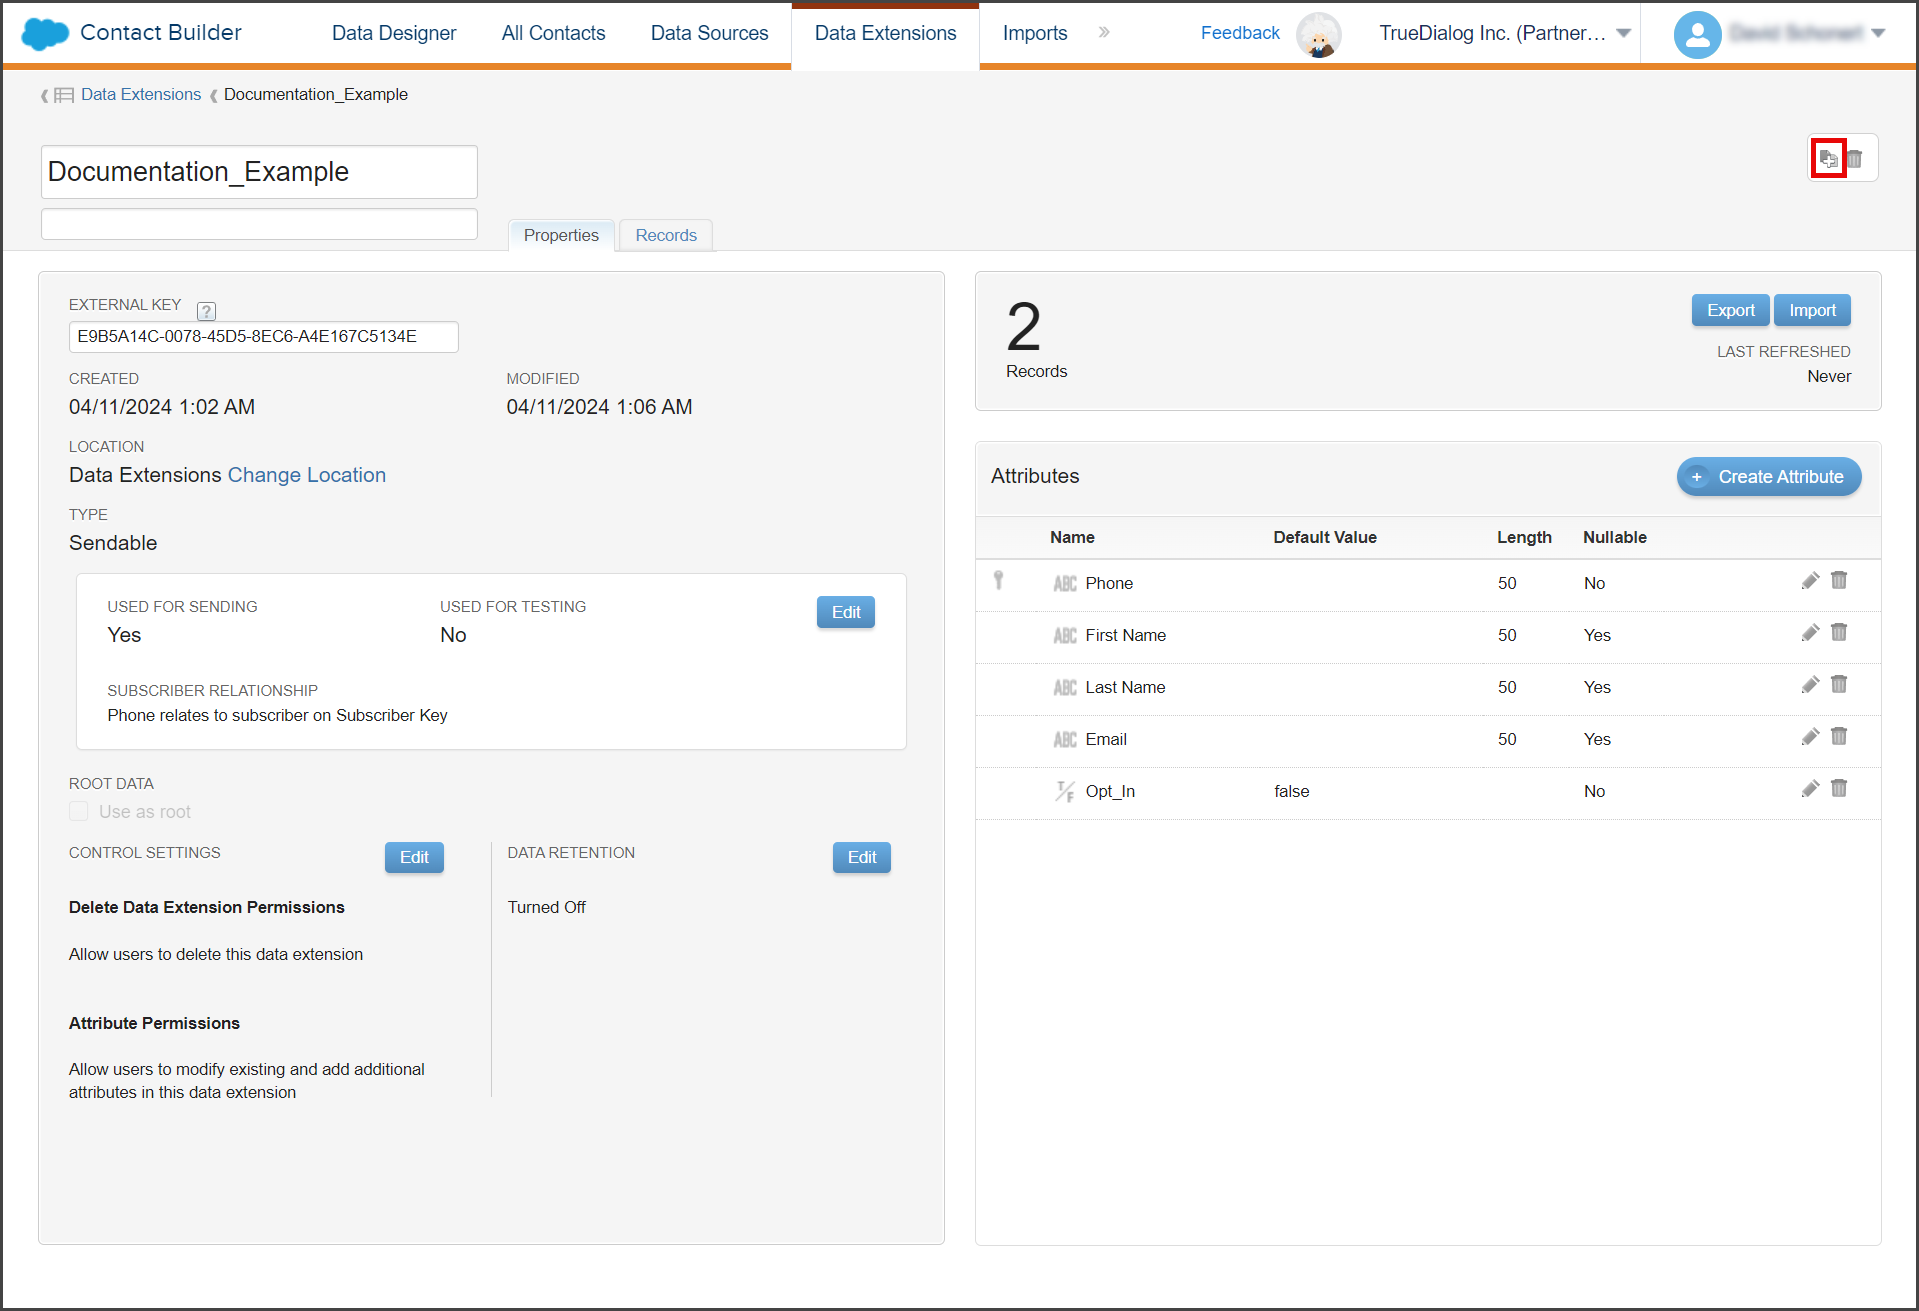
- Click the Data Extension you created to store your contacts.

- Click the Duplicate icon next to the trash icon in the upper right corner.
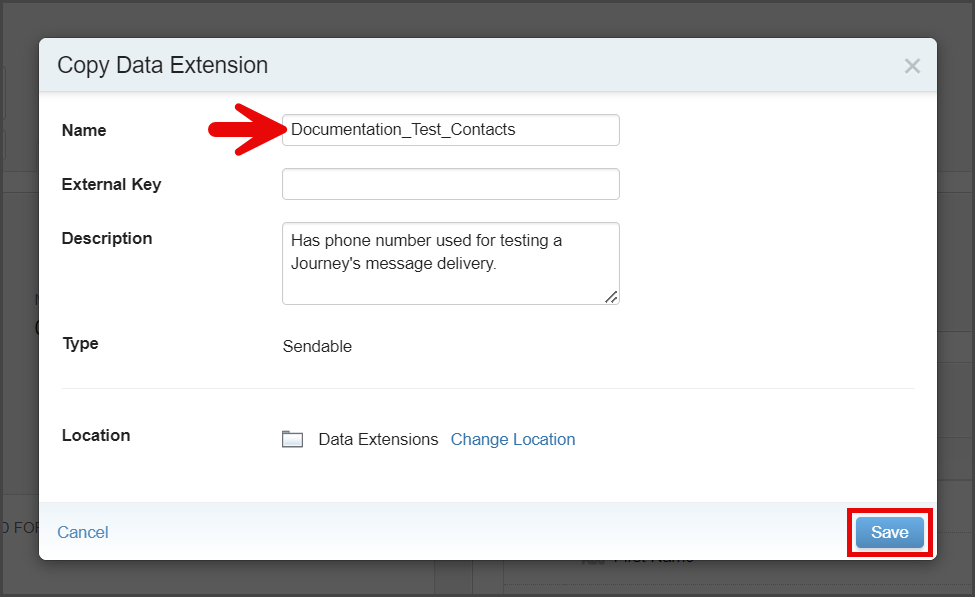
- Edit the Name on the Copy Data Extension window. Since this Data Extension will be used for testing, enter a name to indicate this.
- (Optional) Enter a Description of the Data Extension.
- Click Save.
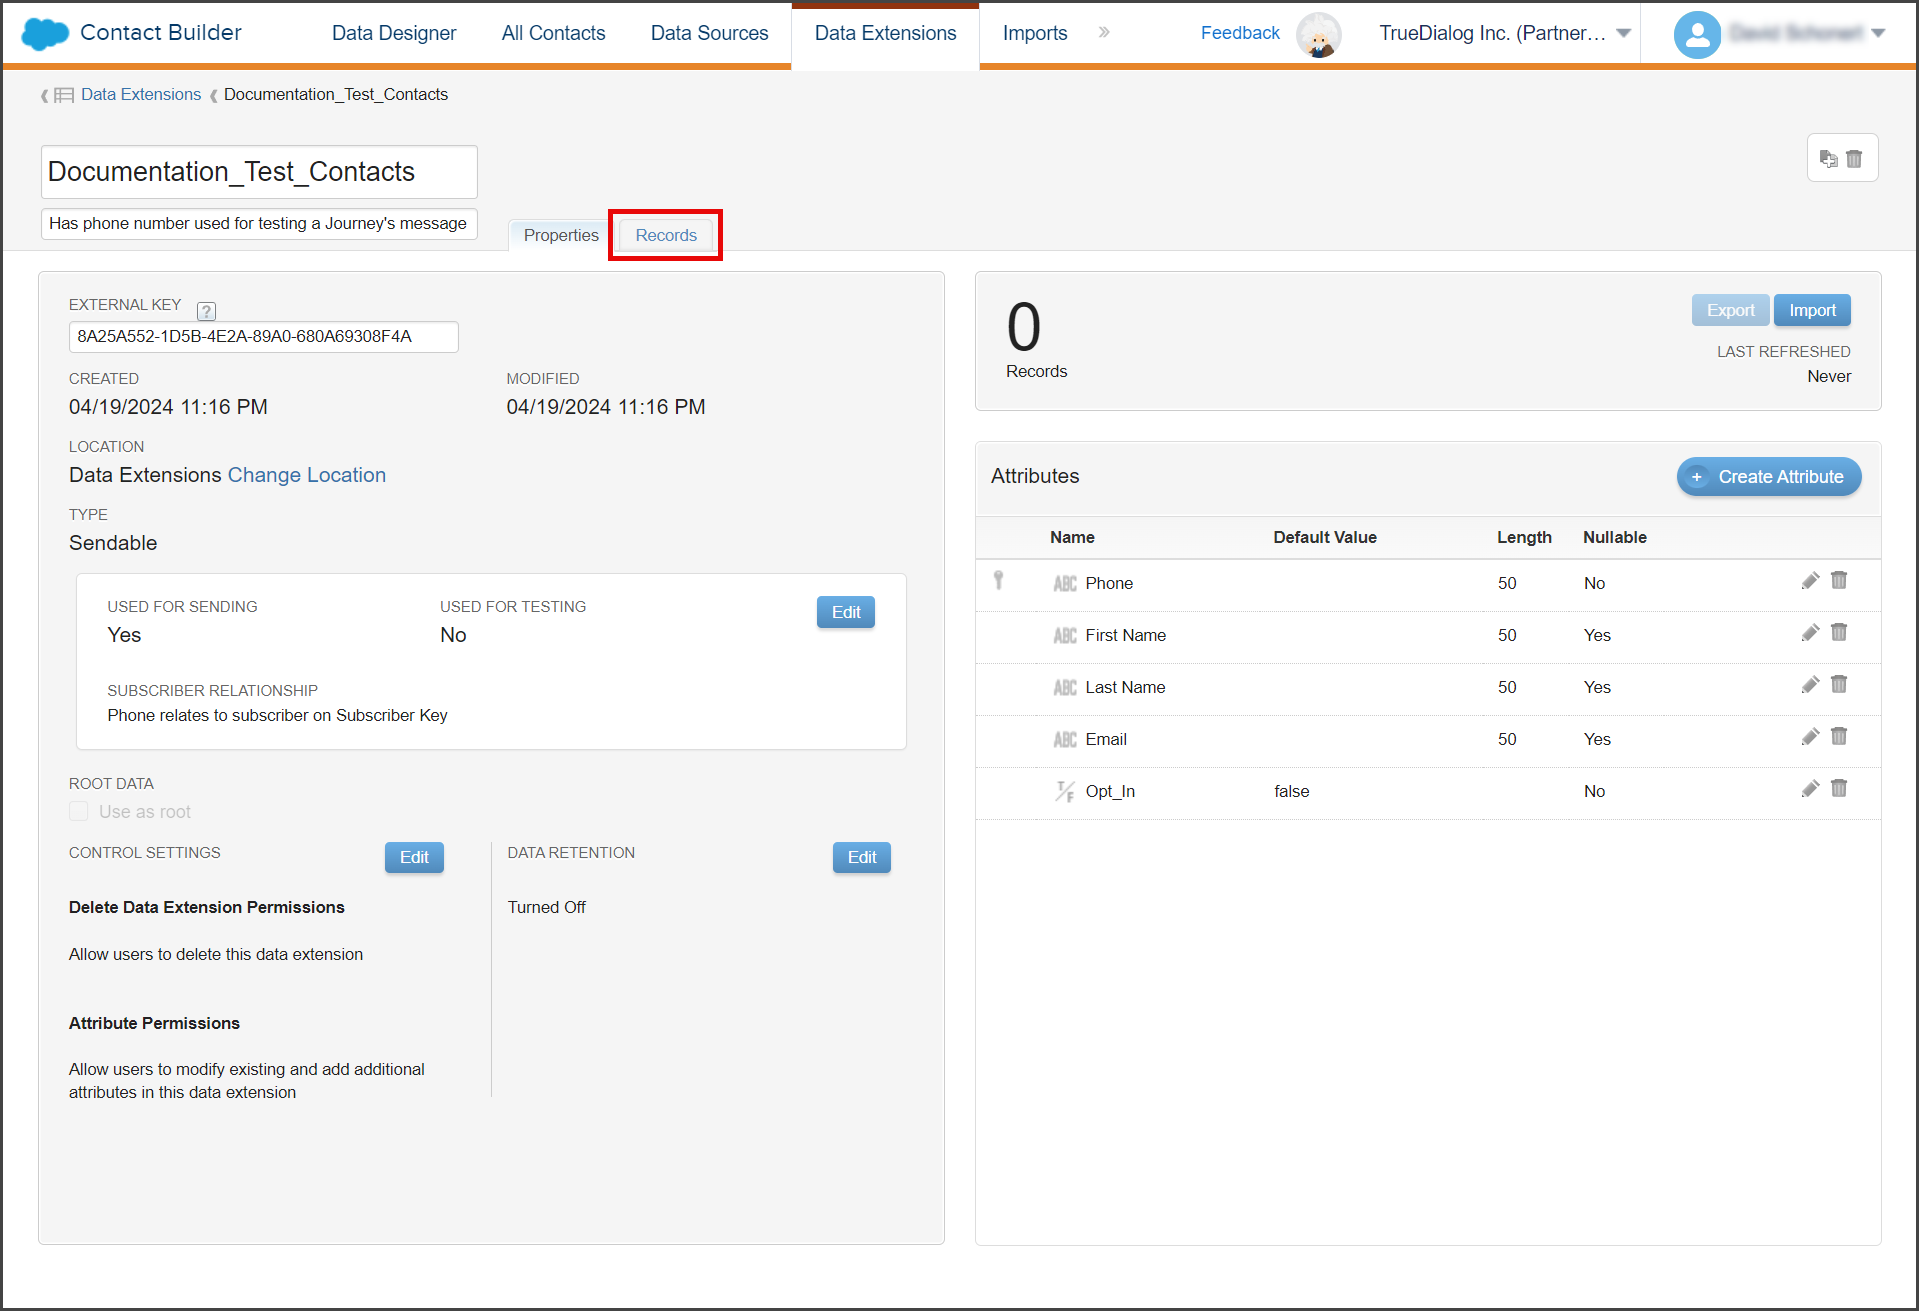
- Salesforce will copy and open the new Data Extension.
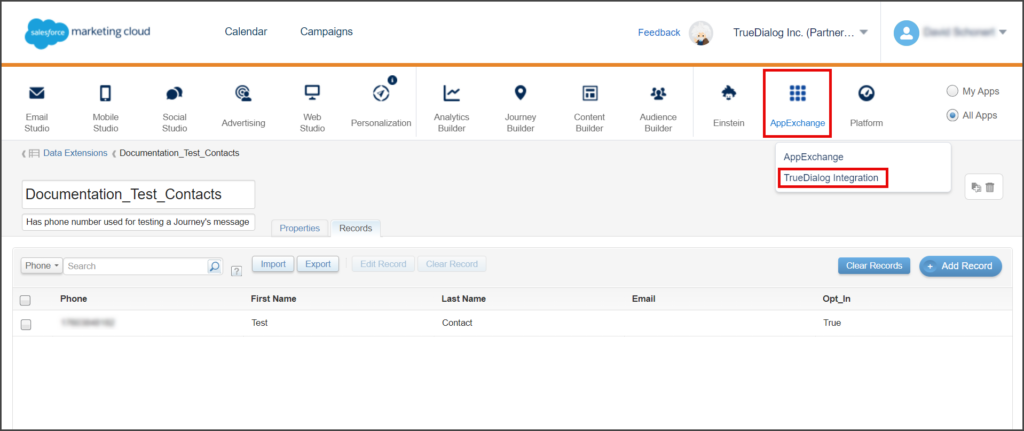
- Click Records.

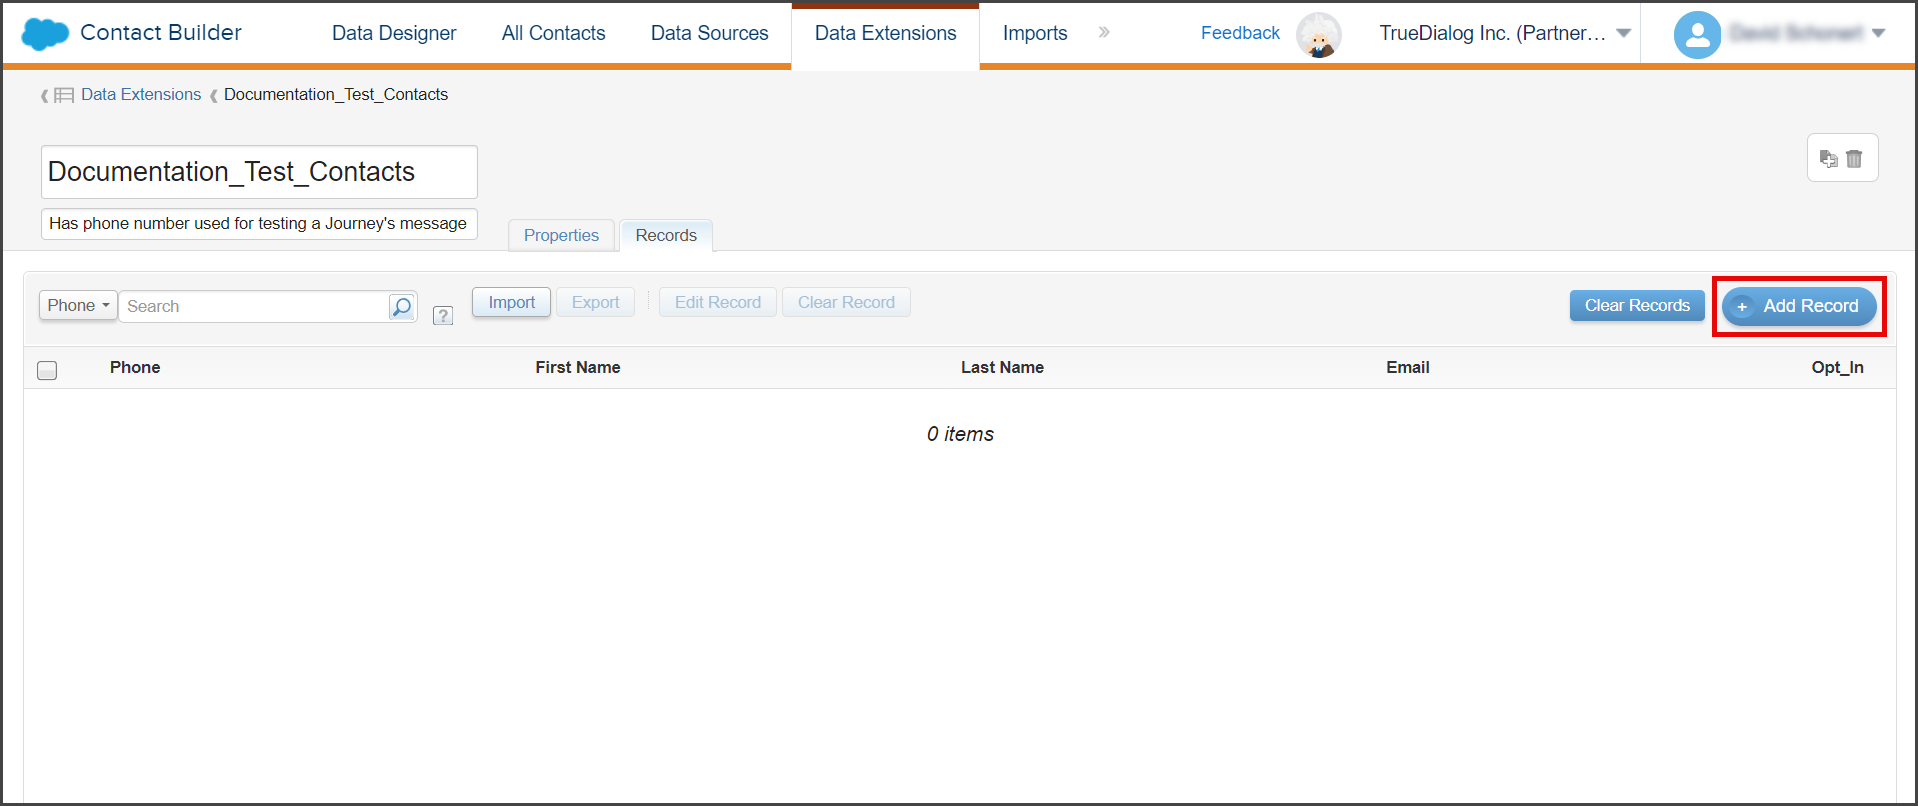
- Click Add Record.

- Fill out the record.
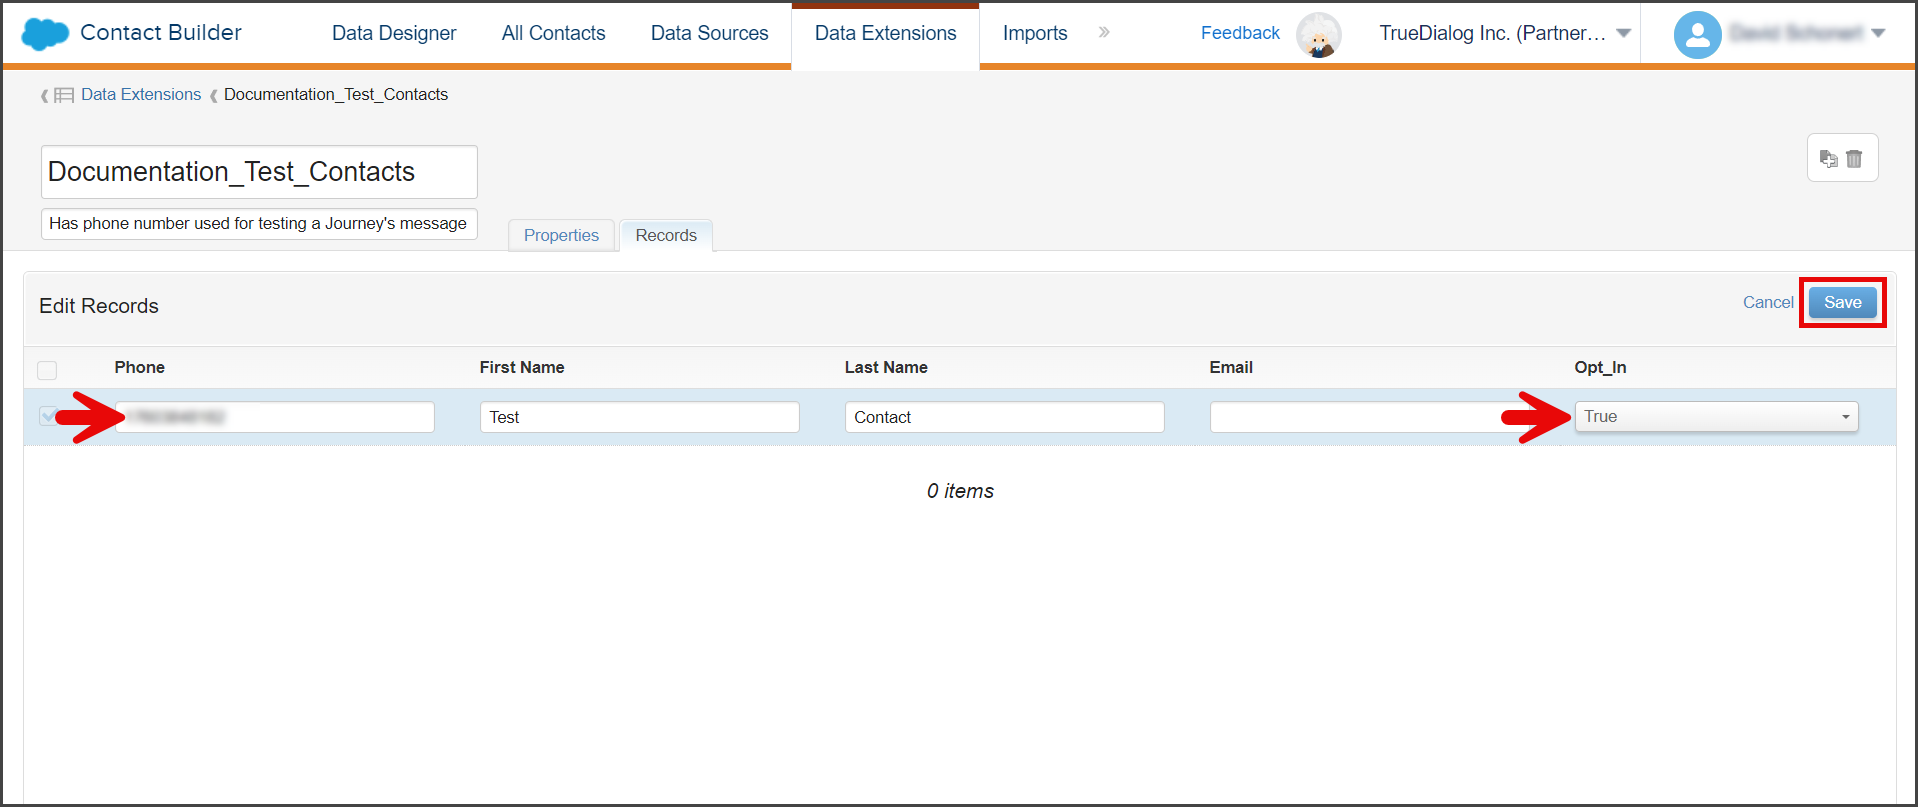
- Phone – The following formats for Phone are supported:
+12345678901
12345678901
2345678901
(234) 567-8901
234-567-8901 - Opt_In – Make sure True is selected.
- Phone – The following formats for Phone are supported:
- Click Save.

Sync Test Data Extension
Even though this Data Extension has been copied from an already synced Data Extension, you will still need to sync it with info from TrueDialog and then sync TrueDialog with information from the Data Extension.
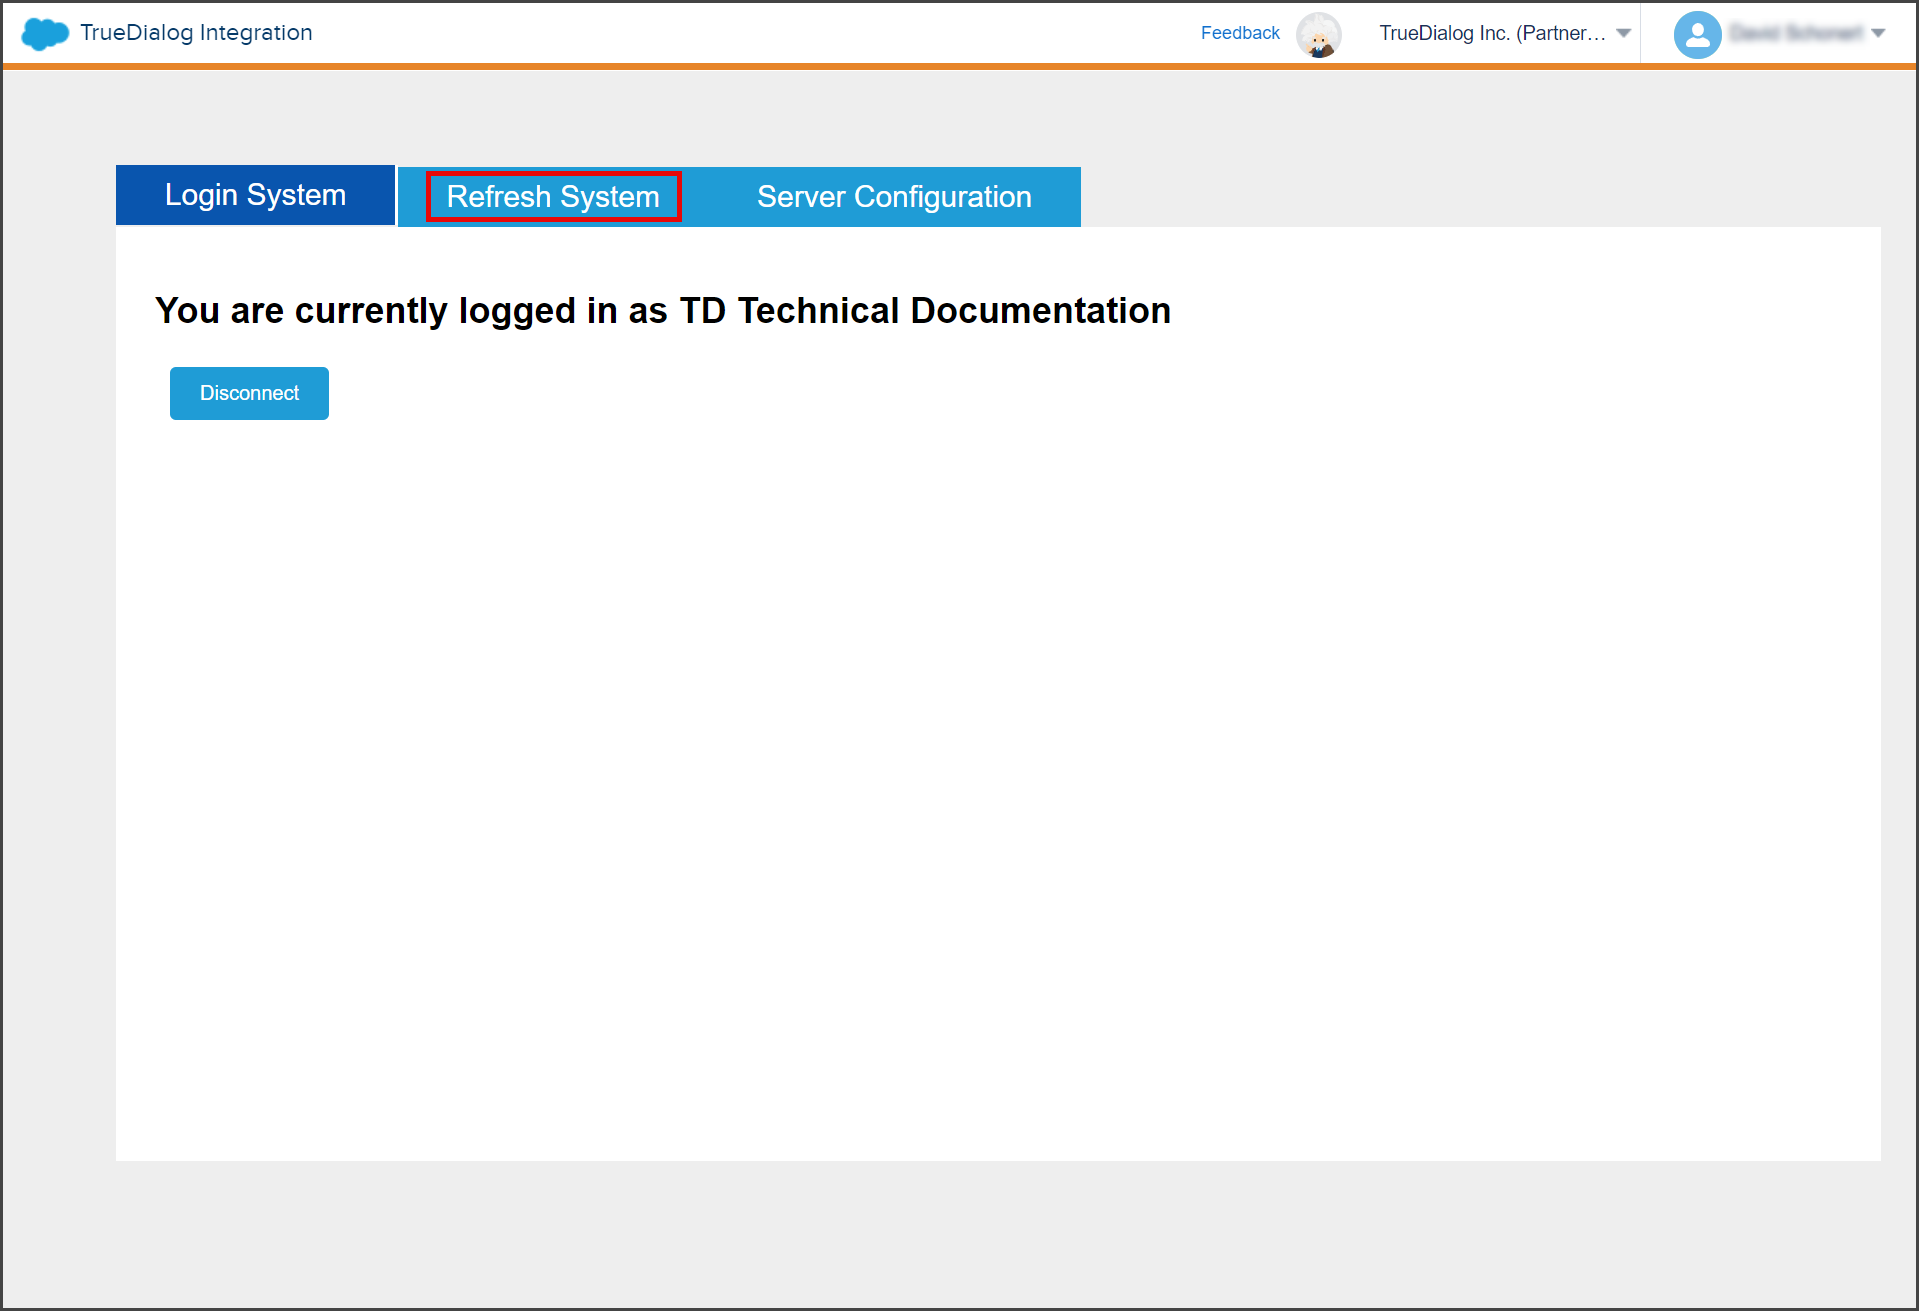
- Navigate to AppExchange > TrueDialog Integration.
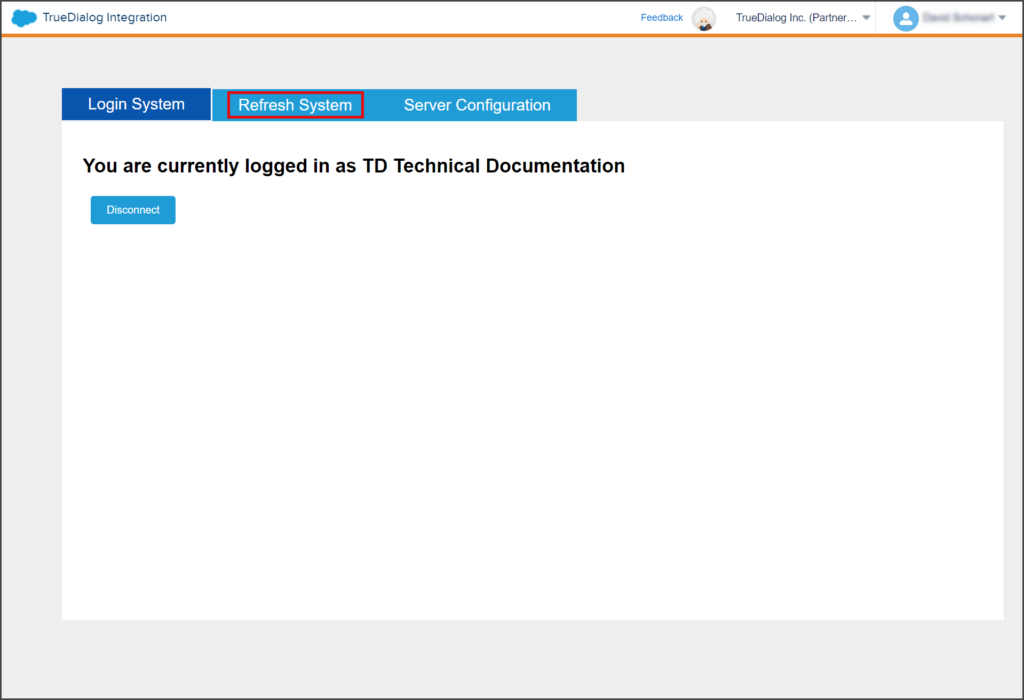
- Click the Refresh System tab.
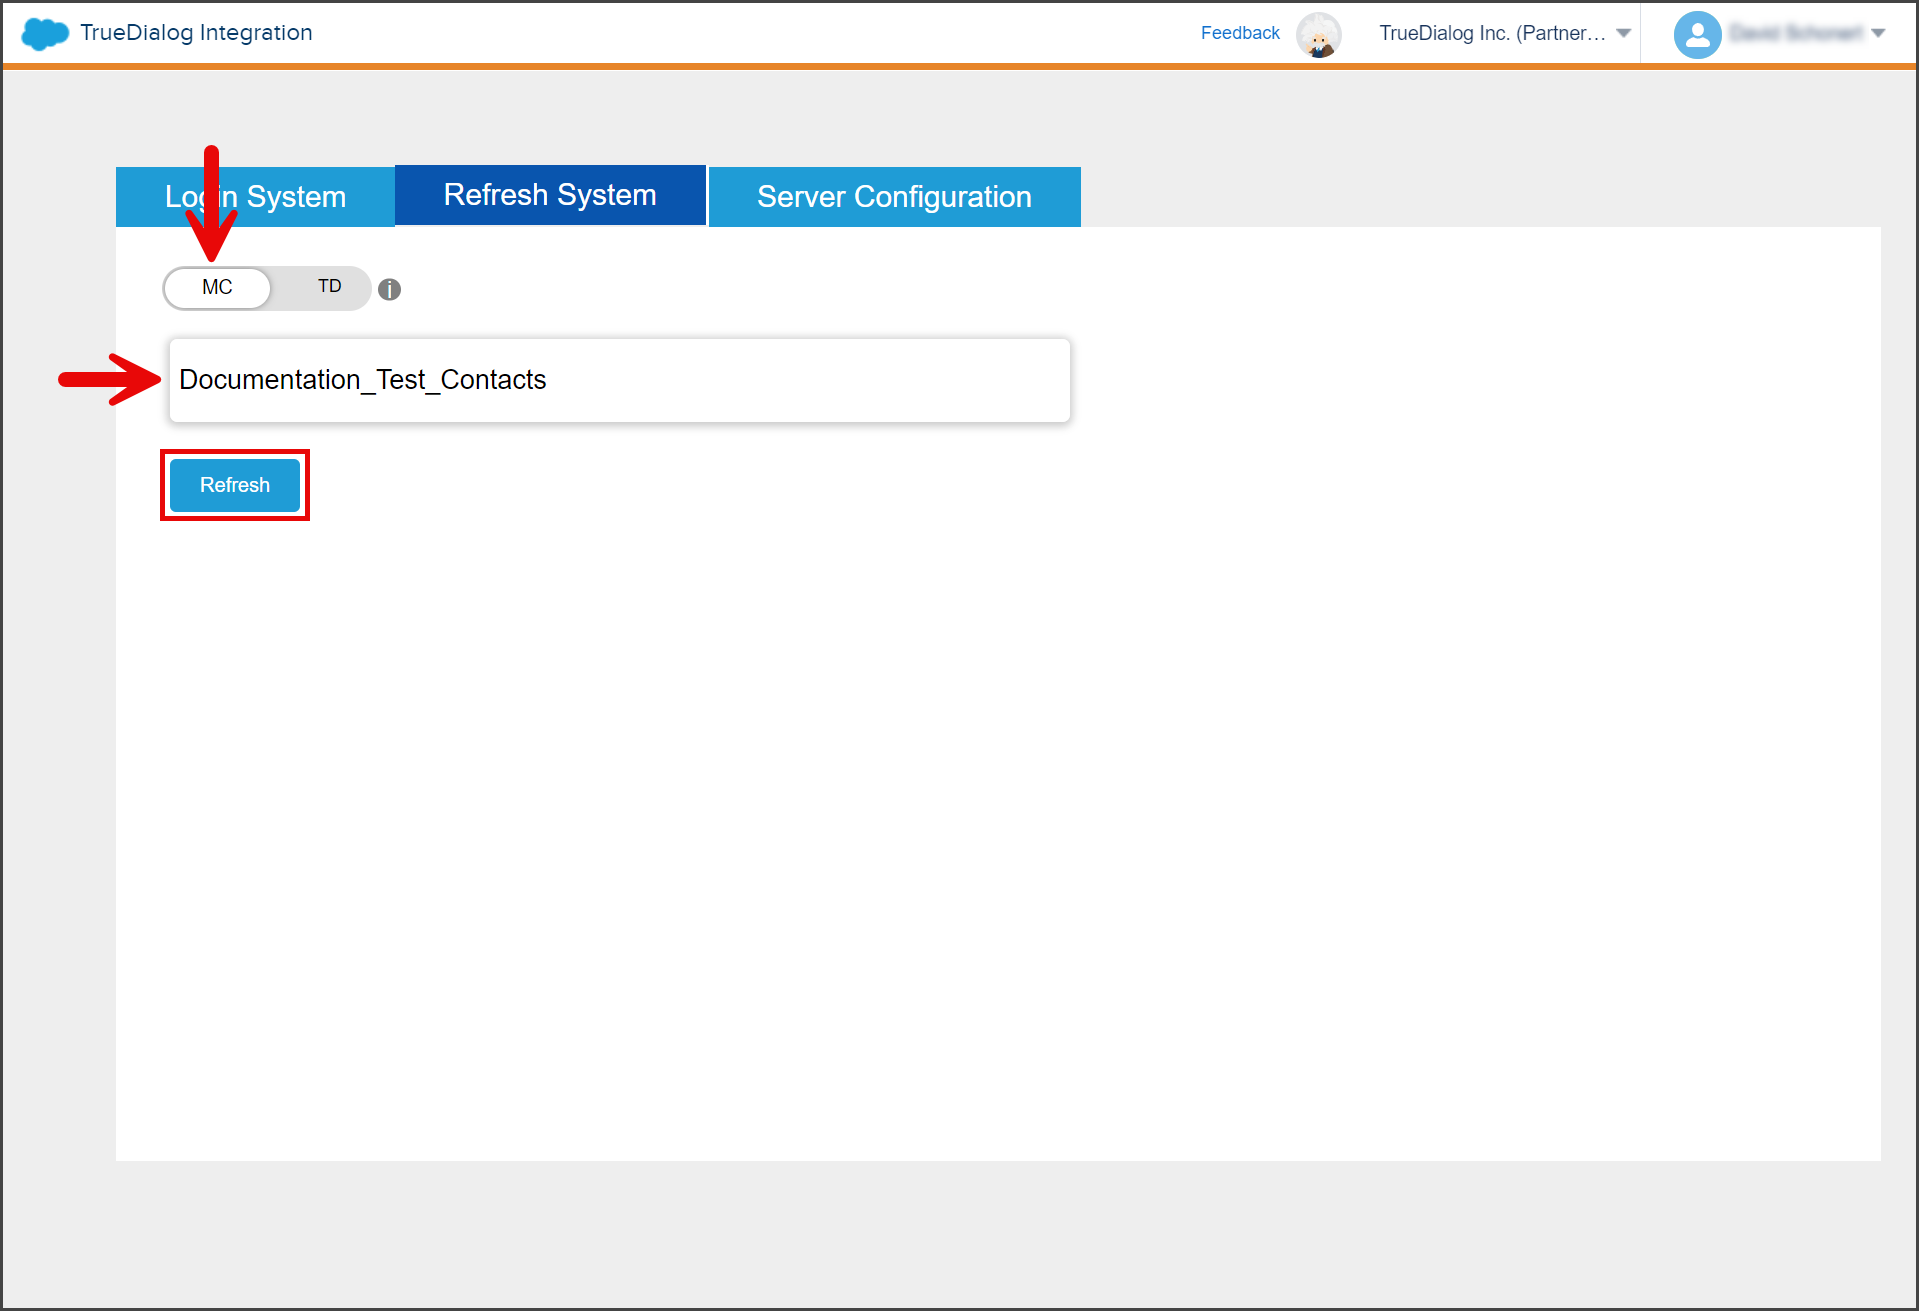
- Set the MC/TD toggle to MC.
- Start entering its name in the Select Data Extension textbox. A list of Data Extensions will appear as you type.
- Select your Data Extension from the list.
- Click Refresh.

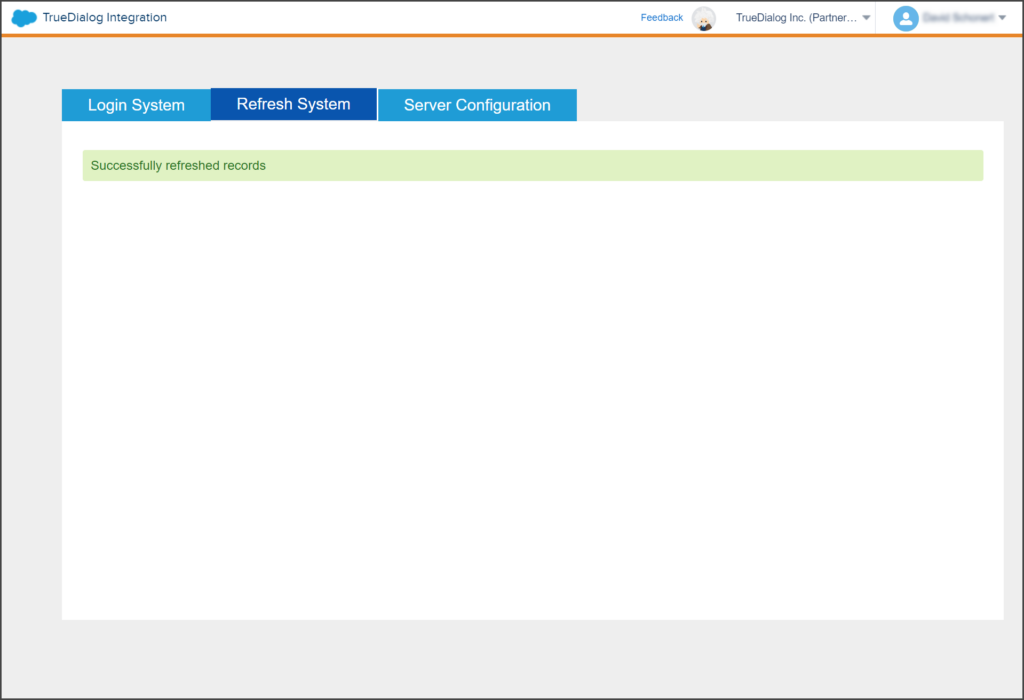
- Wait for the Success message to be displayed.
- Reload the browser page. This will take you back to the Login System tab.
- Click the Refresh System tab.
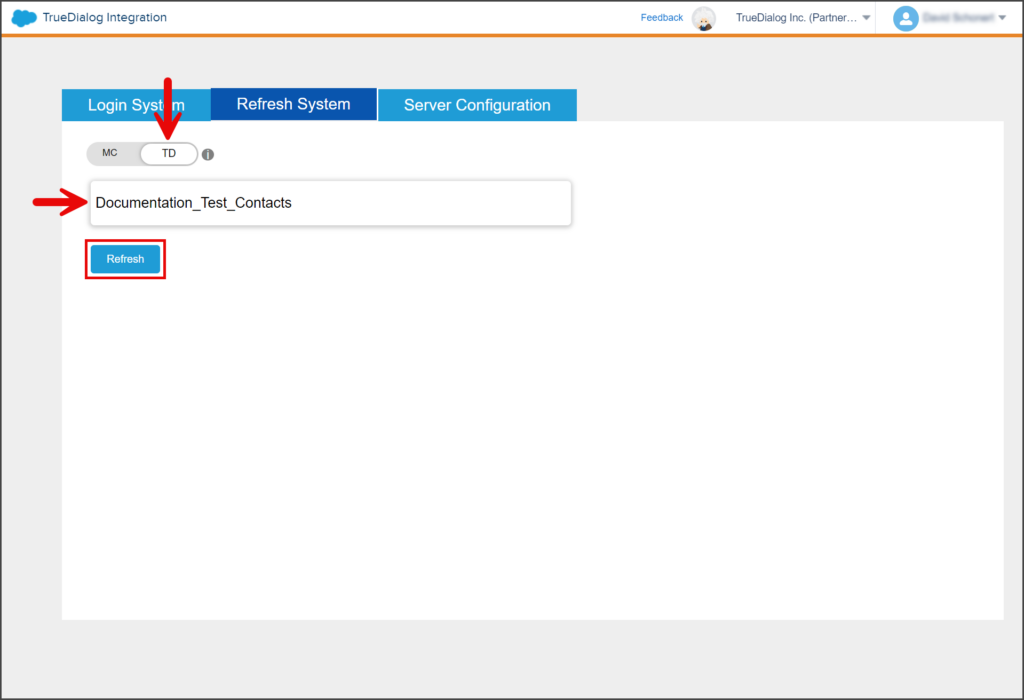
- Set the MC/TD toggle to TD this time.
- Start entering its name in the Select Data Extension textbox. A list of Data Extensions will appear as you type.
- Select your Data Extension from the list.
- Click Refresh.
- Wait for the Success message to be displayed.


Build Journey with Test Data Extension
You will create a new Journey with your Testing Data Extension in this step. The following instructions assume you are familiar with building a Journey with TrueDialog’s Send SMS activity. Detailed instructions for most of the steps that don’t relate to configuring the Data Extension have been skipped over. Detailed instructions for the skipped steps can be found in the SFMC – Creating an SMS Journey article.
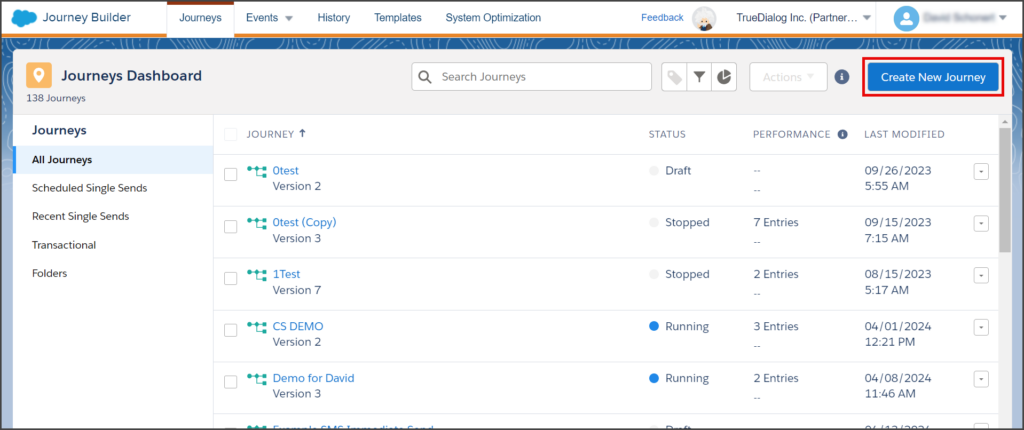
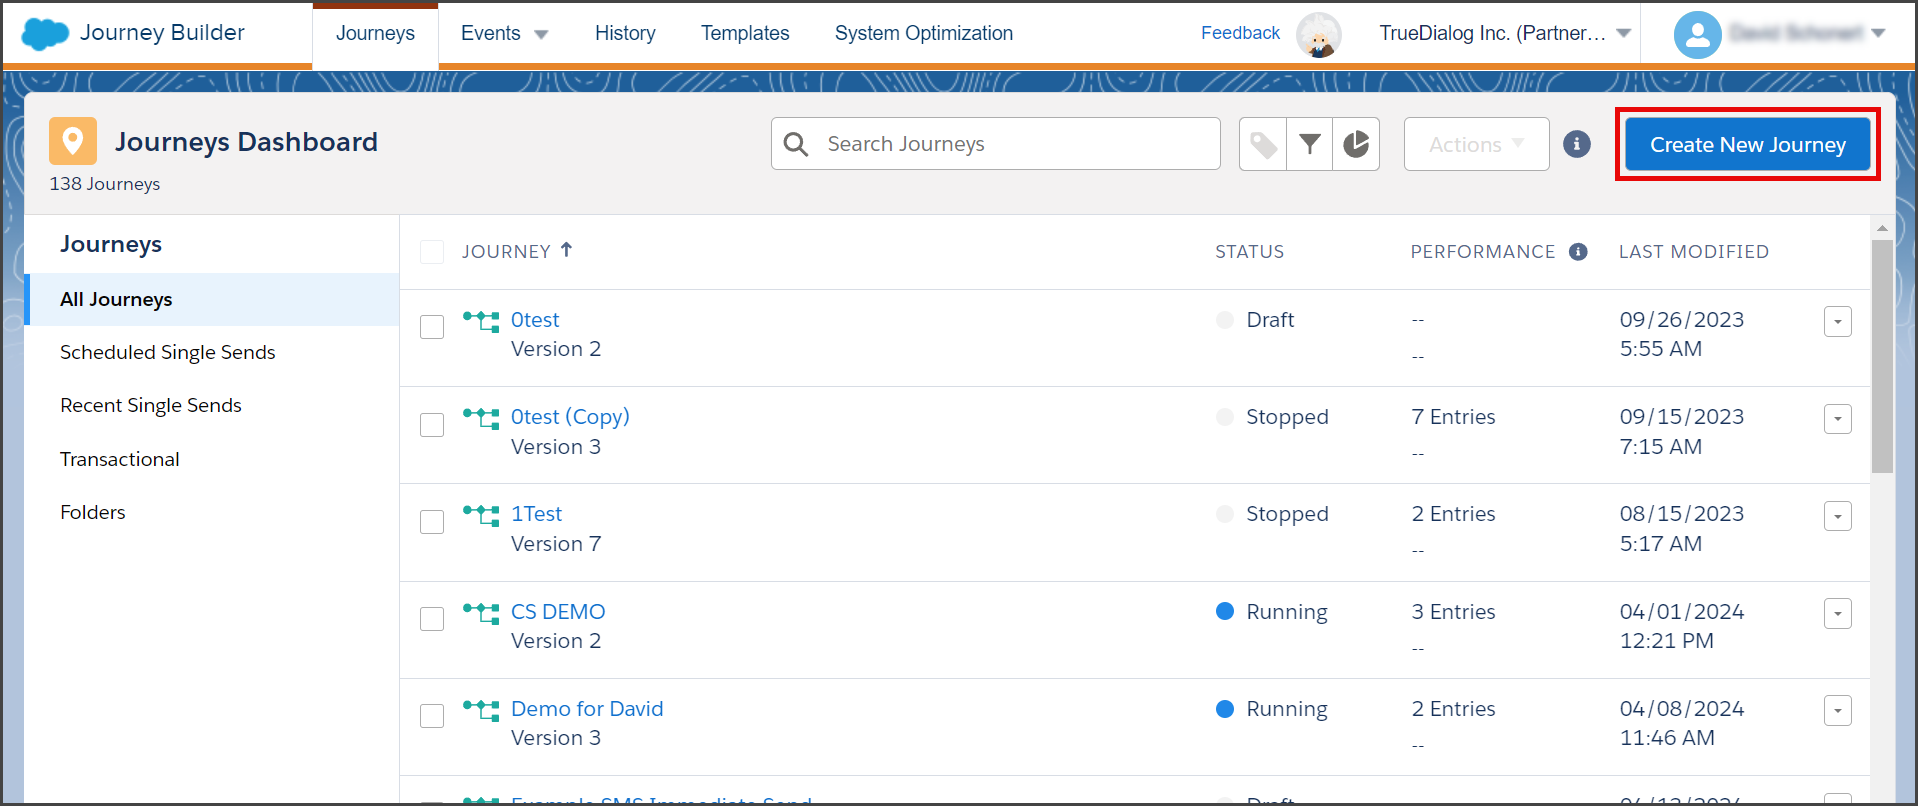
- Navigate to Journey Builder > Journey Builder.
- Click Create New Journey.
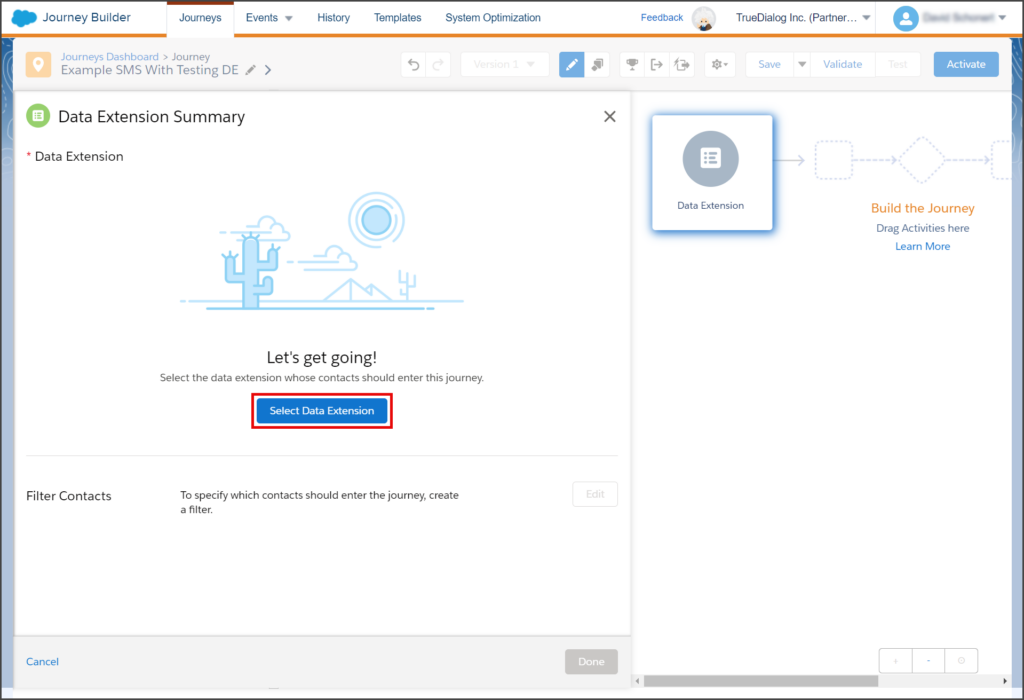
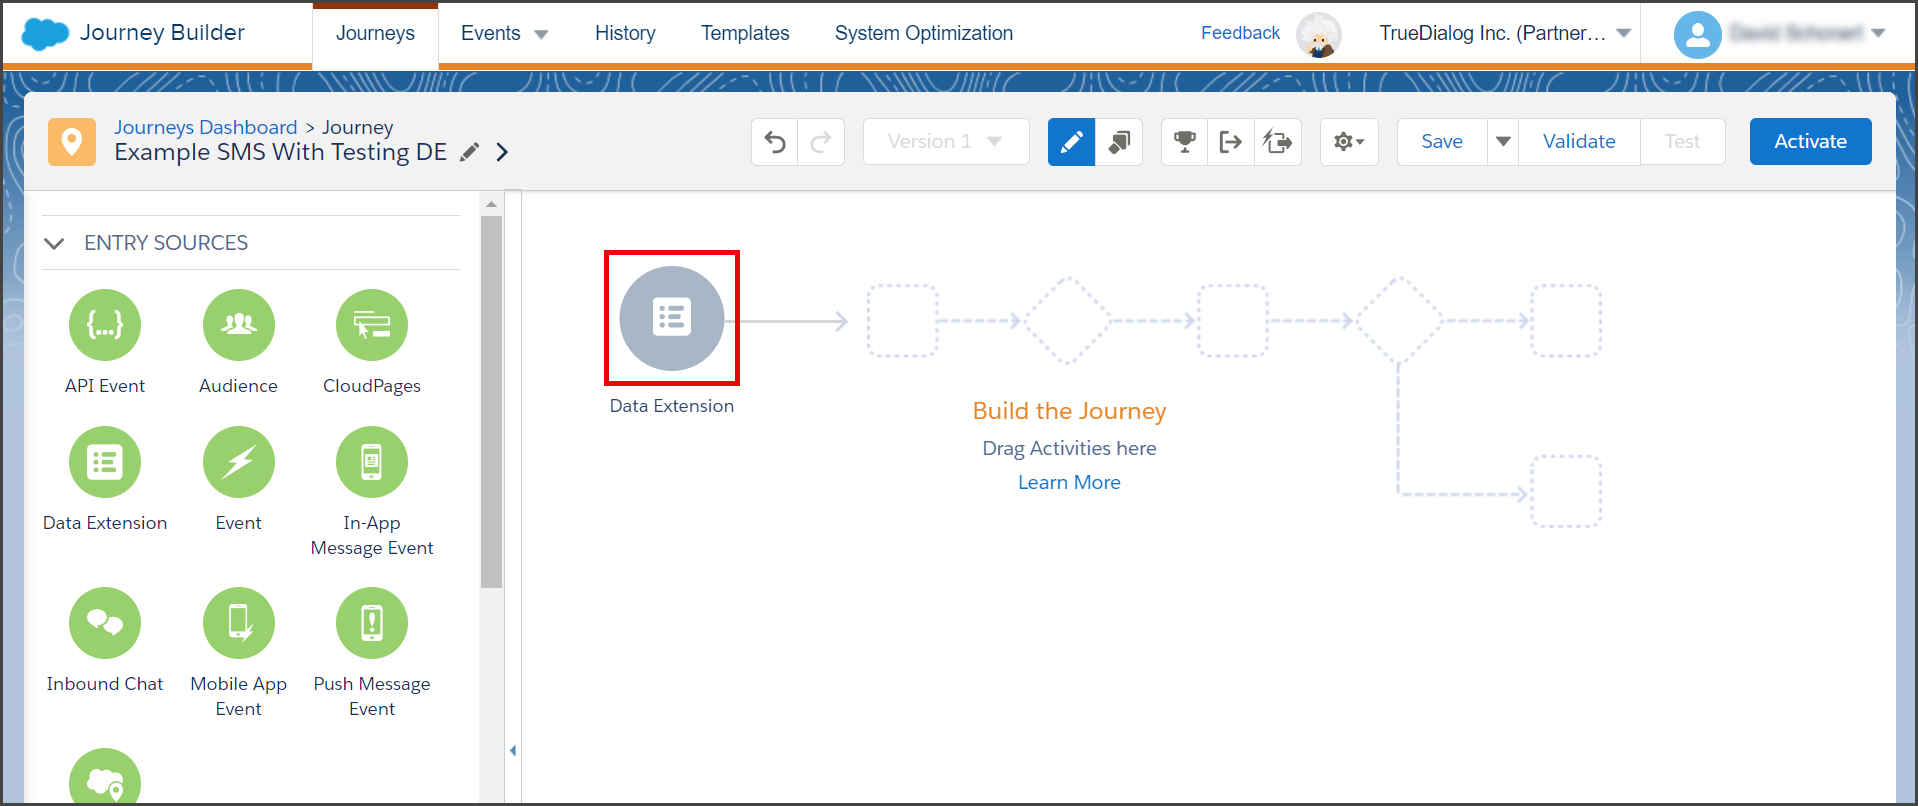
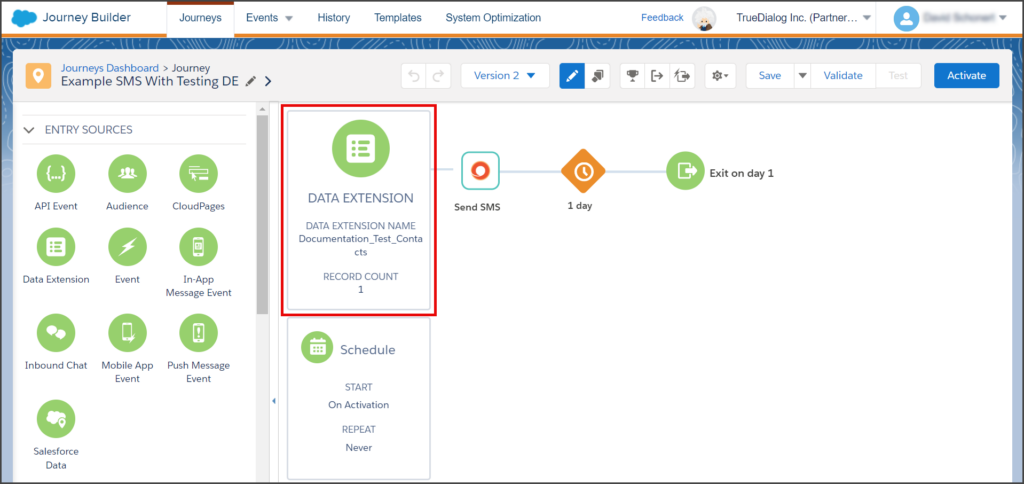
- Drag the Data Extension onto the canvas.
- Click the Data Extension.

- Click Select Data Extension.
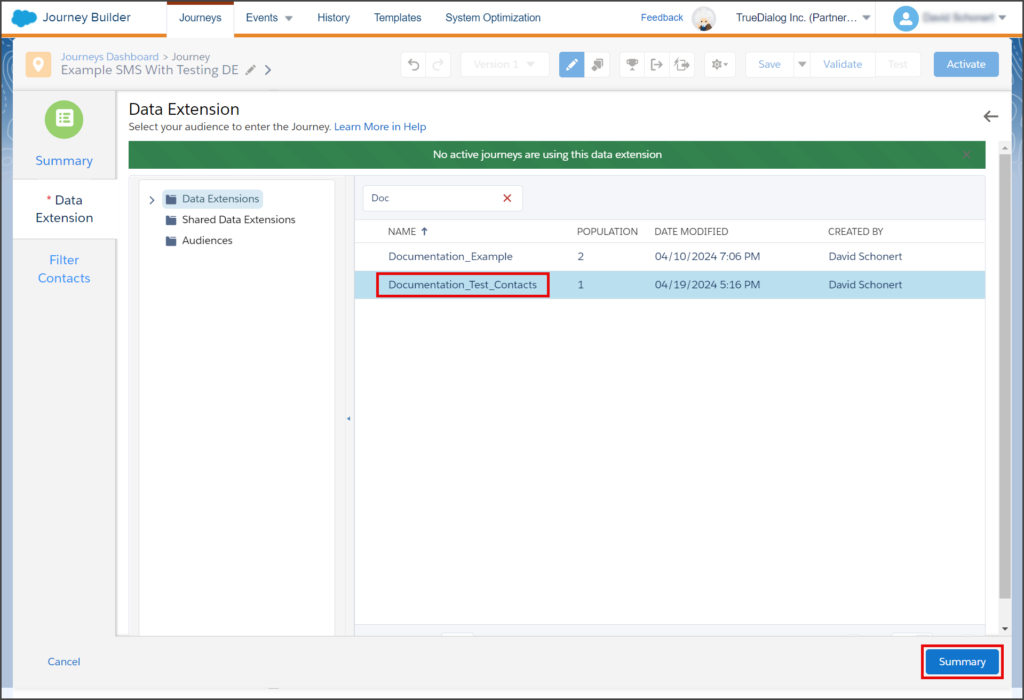
- Select the Data Extension you created above for testing. Note: You can search to narrow the list of Data Extensions.
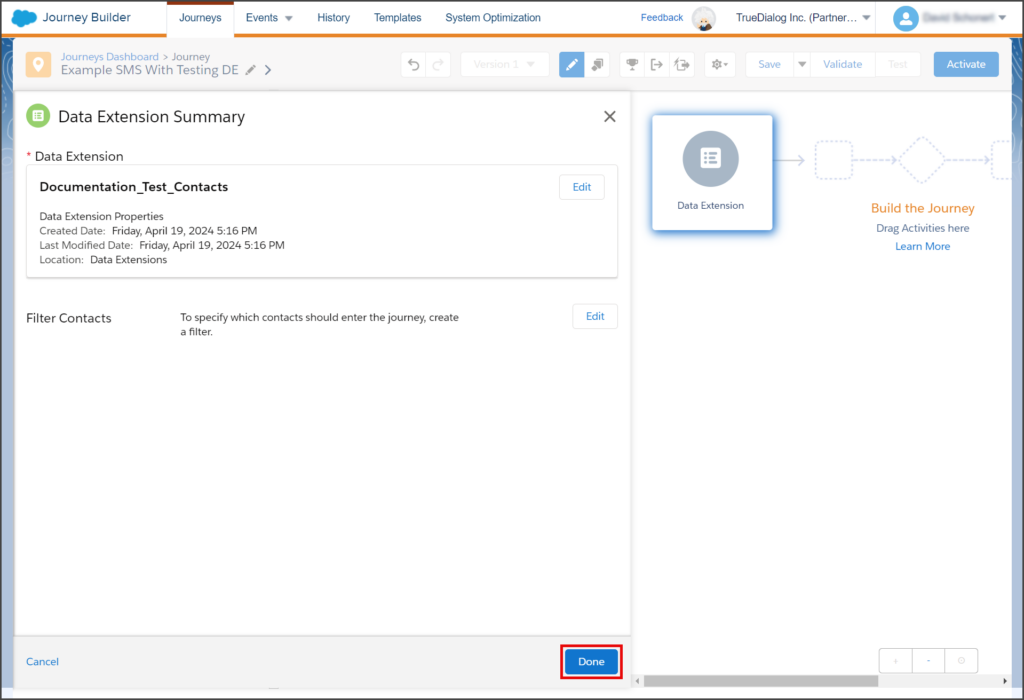
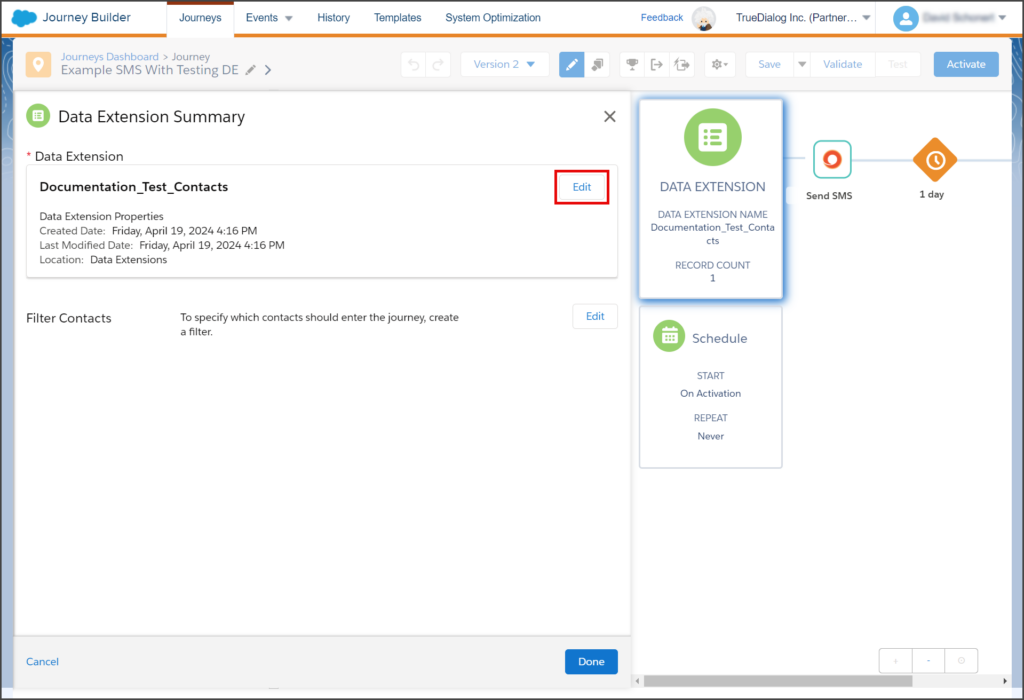
- Click Summary.
- Click Done.
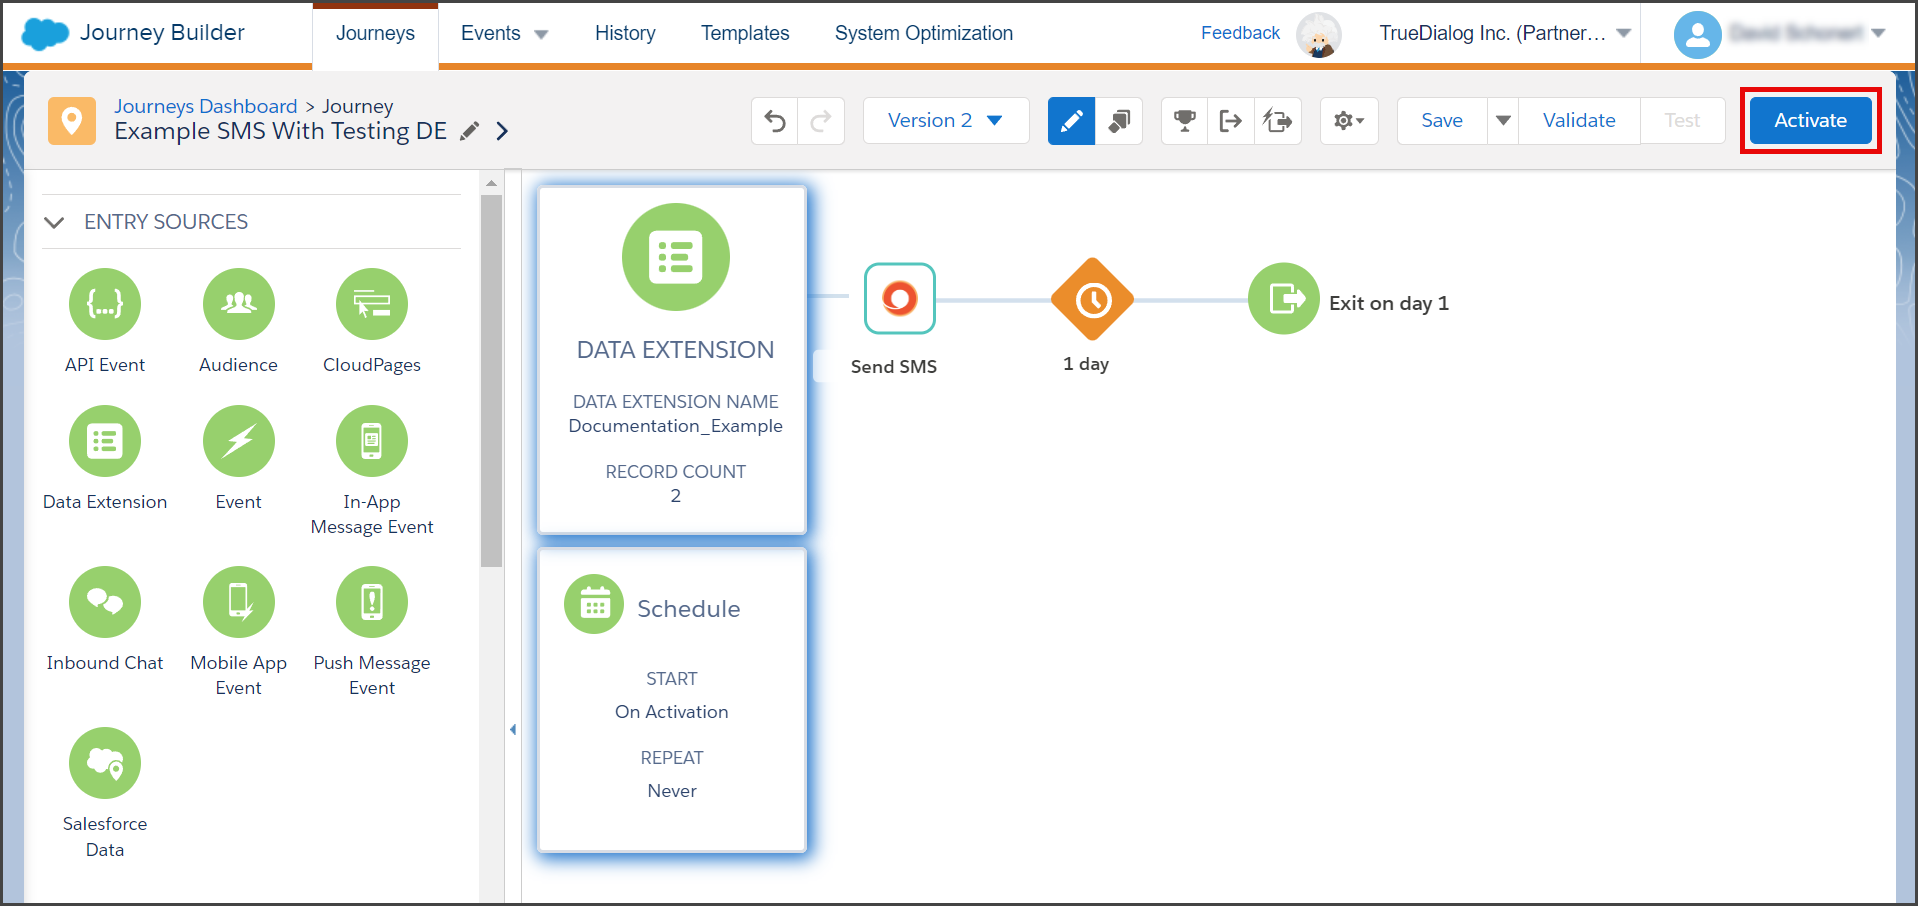
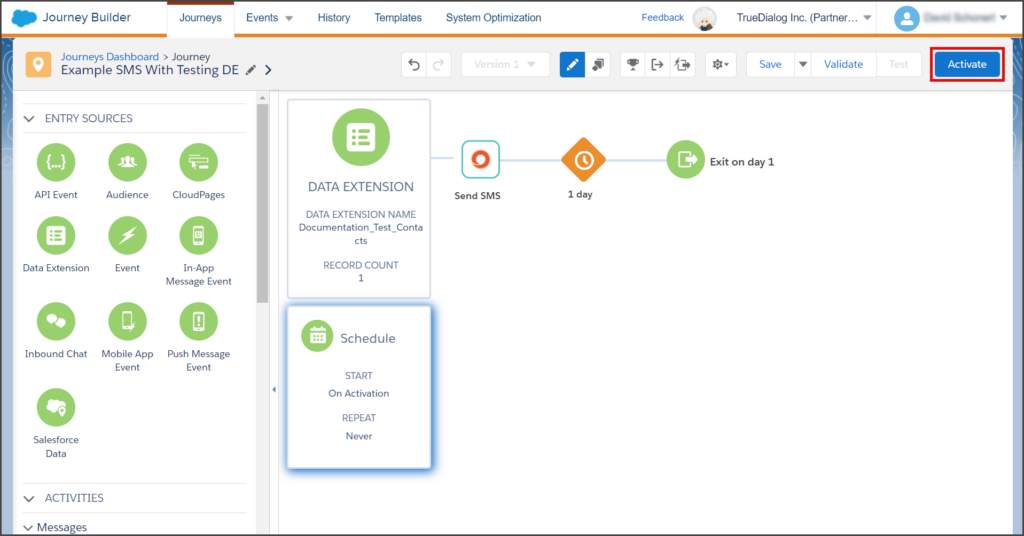
- Build the rest of the Journey. See the SFMC – Creating an SMS Journey article for details on creating a Journey.
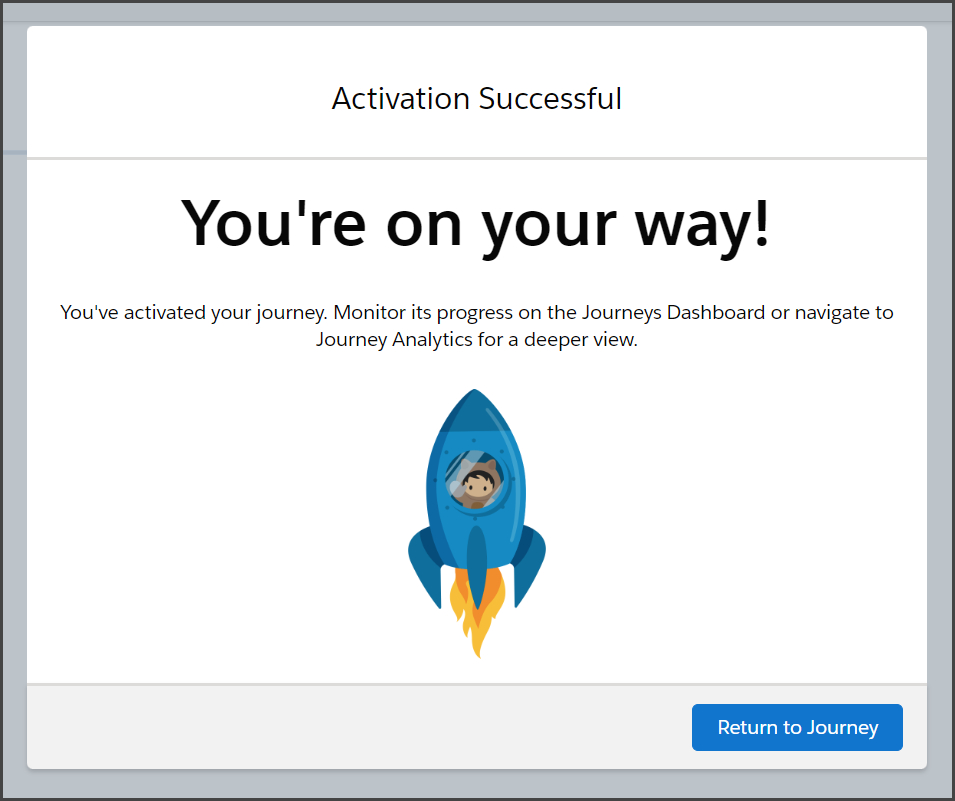
- Activate the Journey.
- Once your Journey is activated, wait for your test phone number to receive the SMS messages.


Stop Journey After Testing
Once you have completed testing your Journey, stop it before switching to the Data Extension containing your contacts.
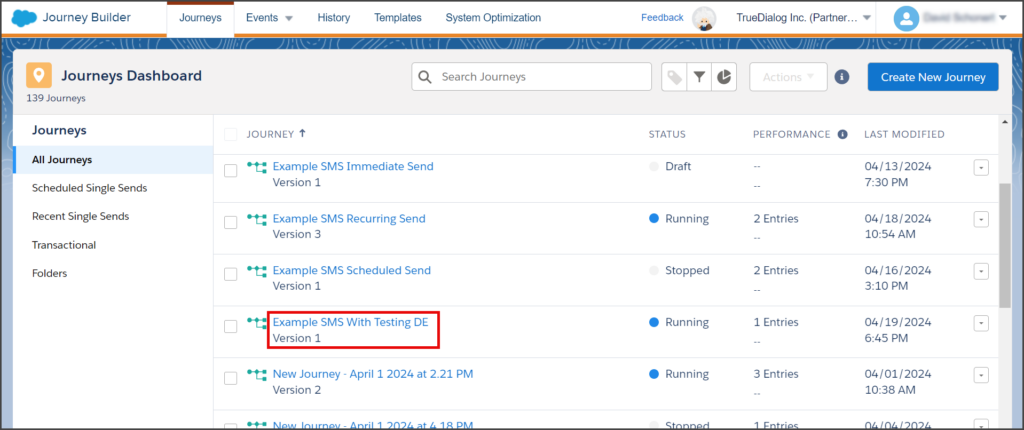
- From the Journeys Dashboard.
- Click your Journey.
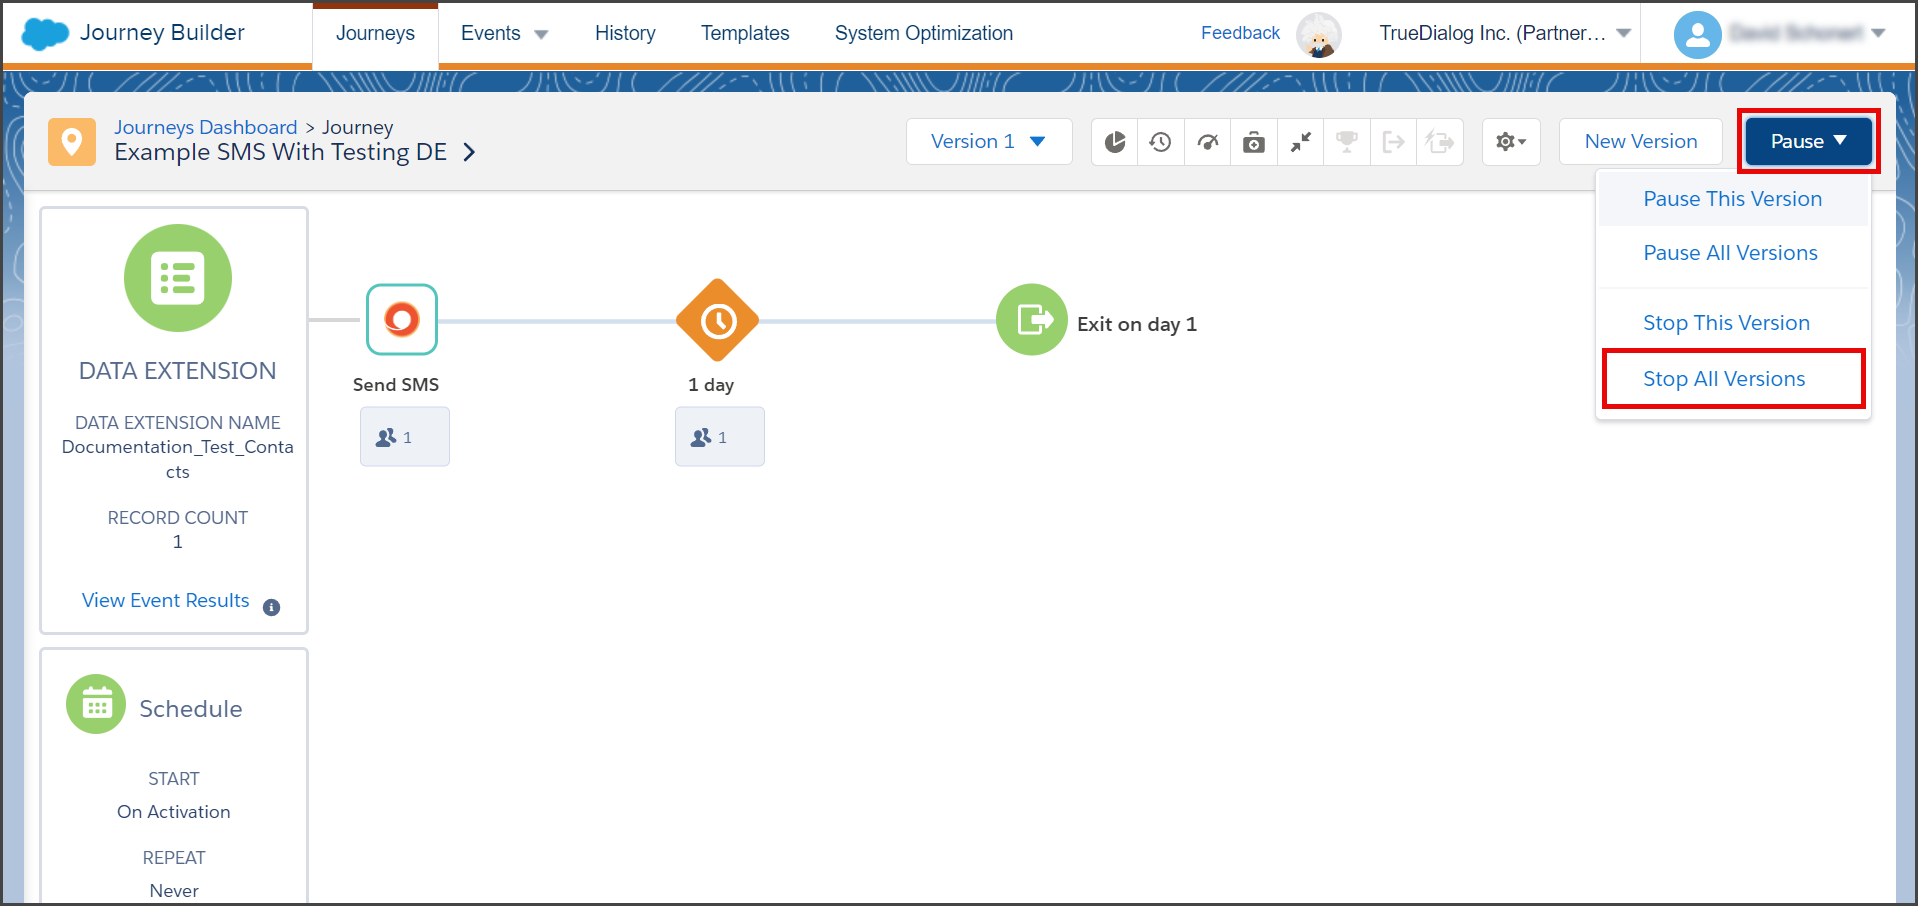
- Click the Pause dropdown.
- Click Stop All Versions.

- Click Stop All Versions in the Stop All Versions window.

- Wait for Salesforce to stop the Journey.

Activate Journey with Contacts Data Extension
In the final step, you will create a new version of your Journey and update the Data Extension with the one containing your contacts. Once the new version is activated, your contacts will start receiving the SMS messages from the Journey.
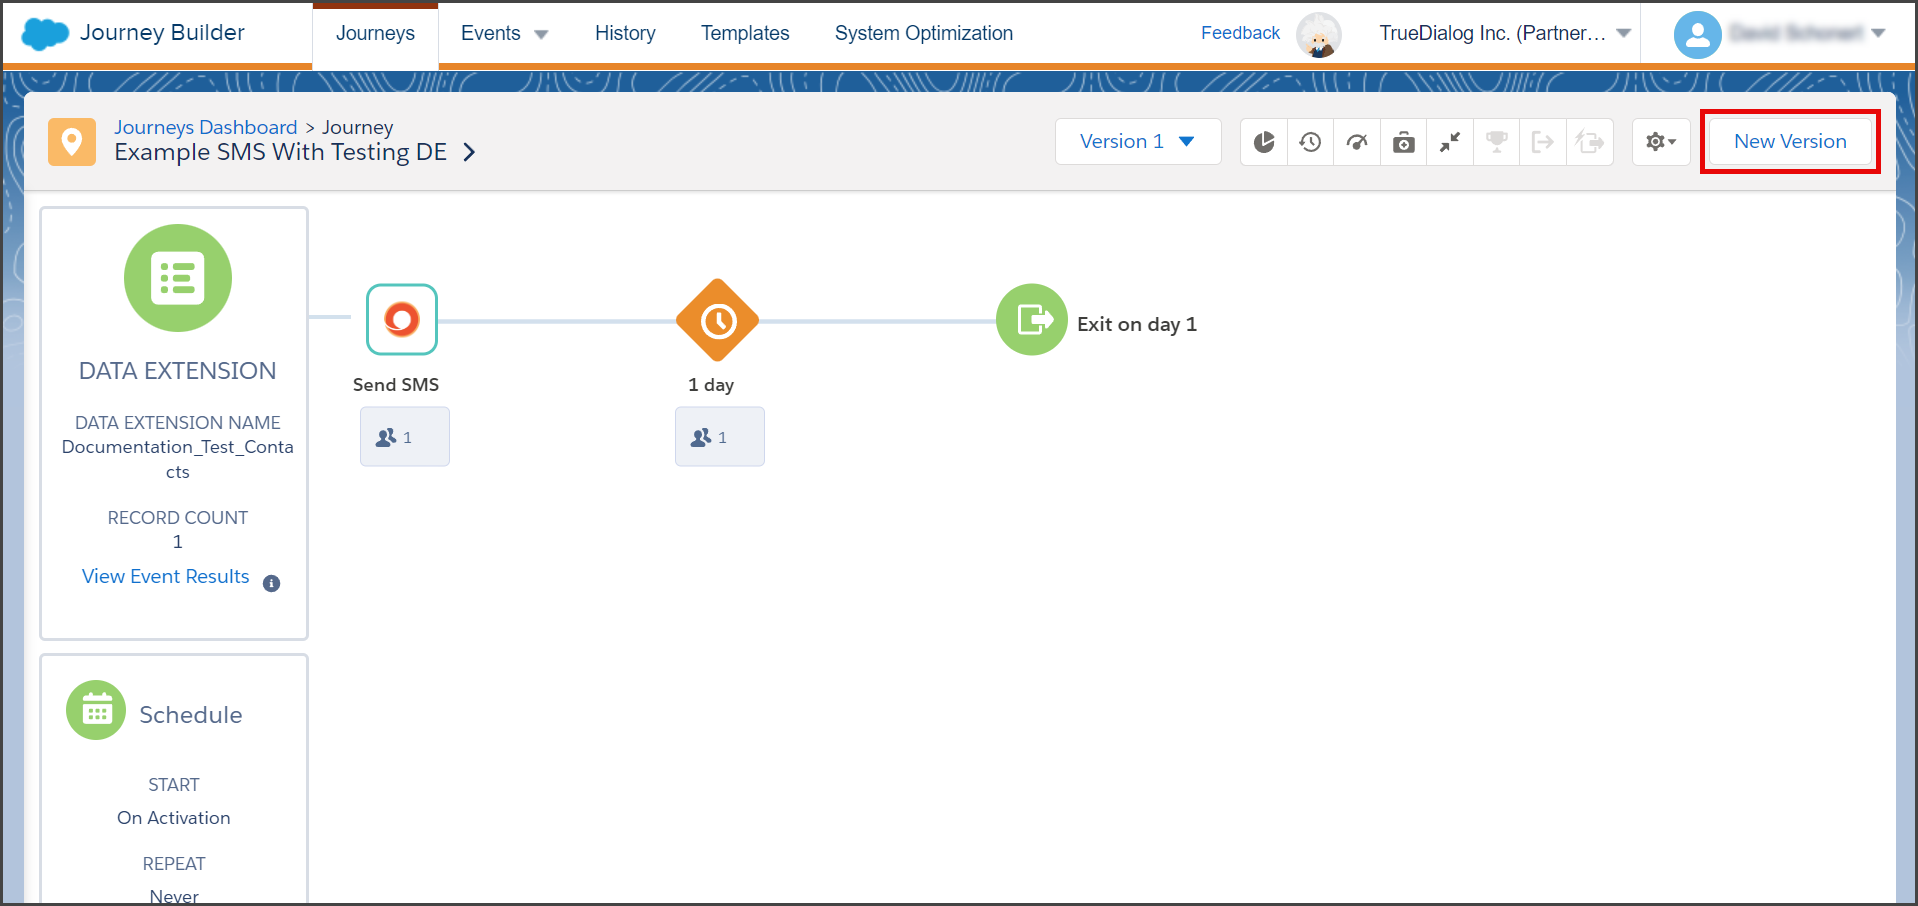
- From the Journey canvas.
- Click New Version.

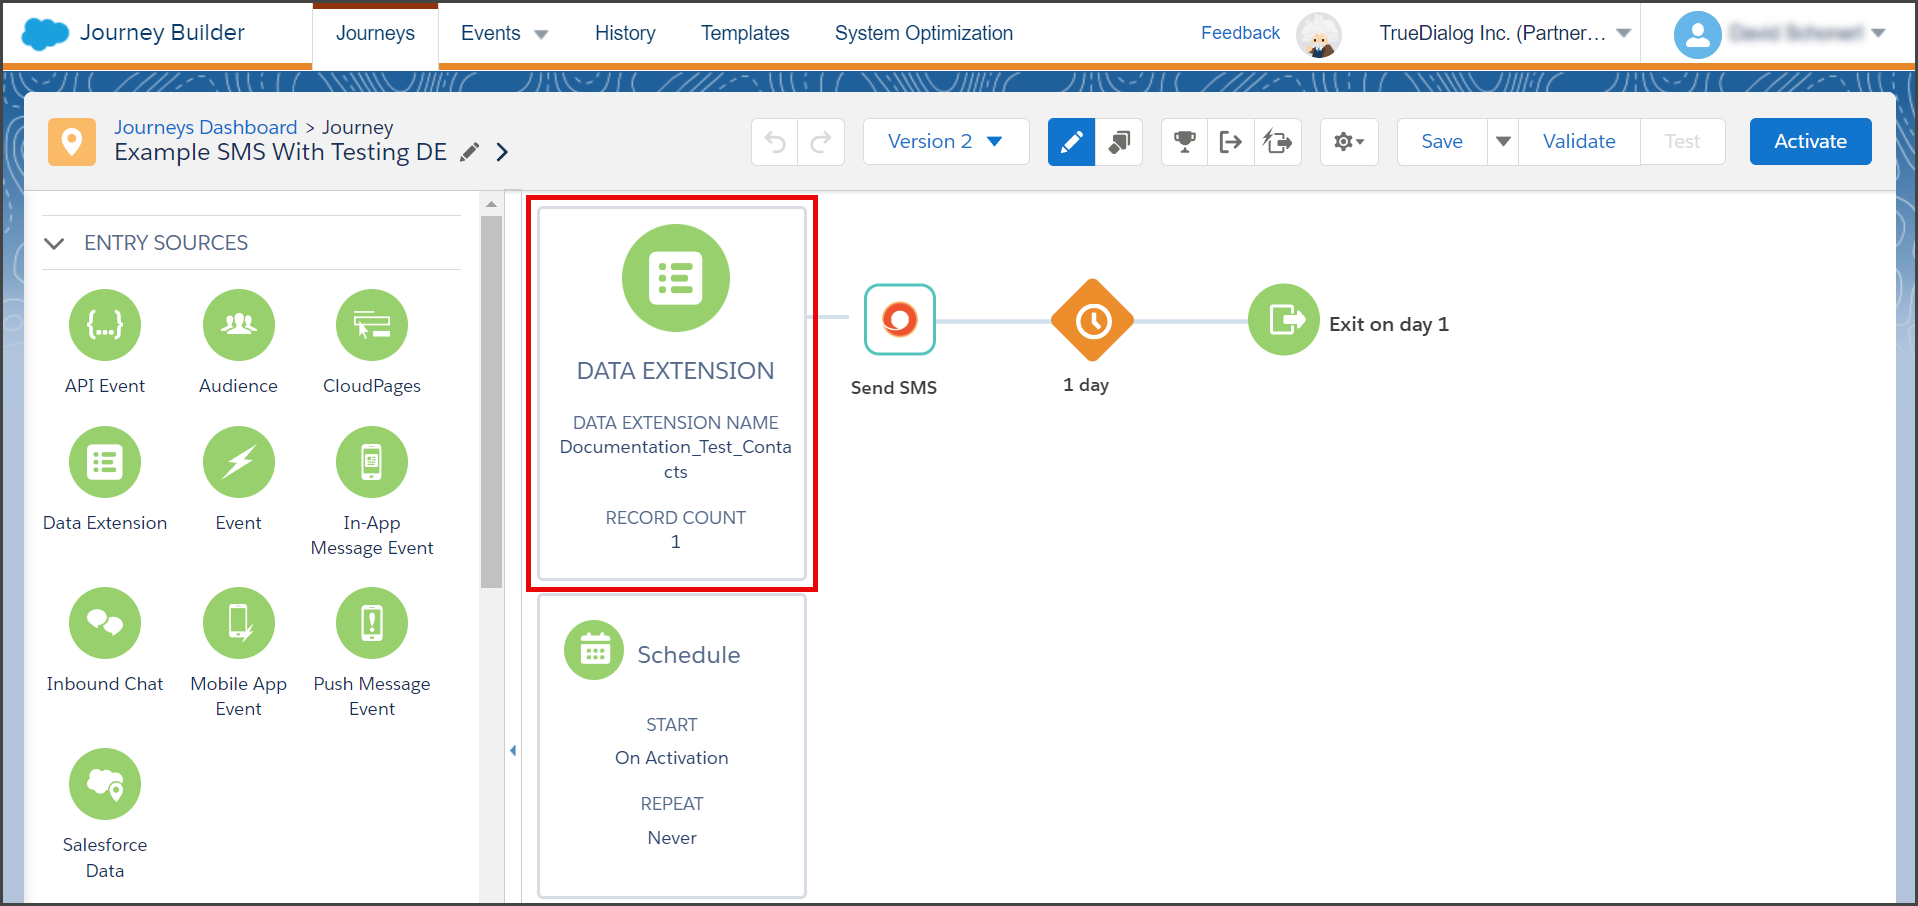
- Once the new version is created, click the Data Extension box.
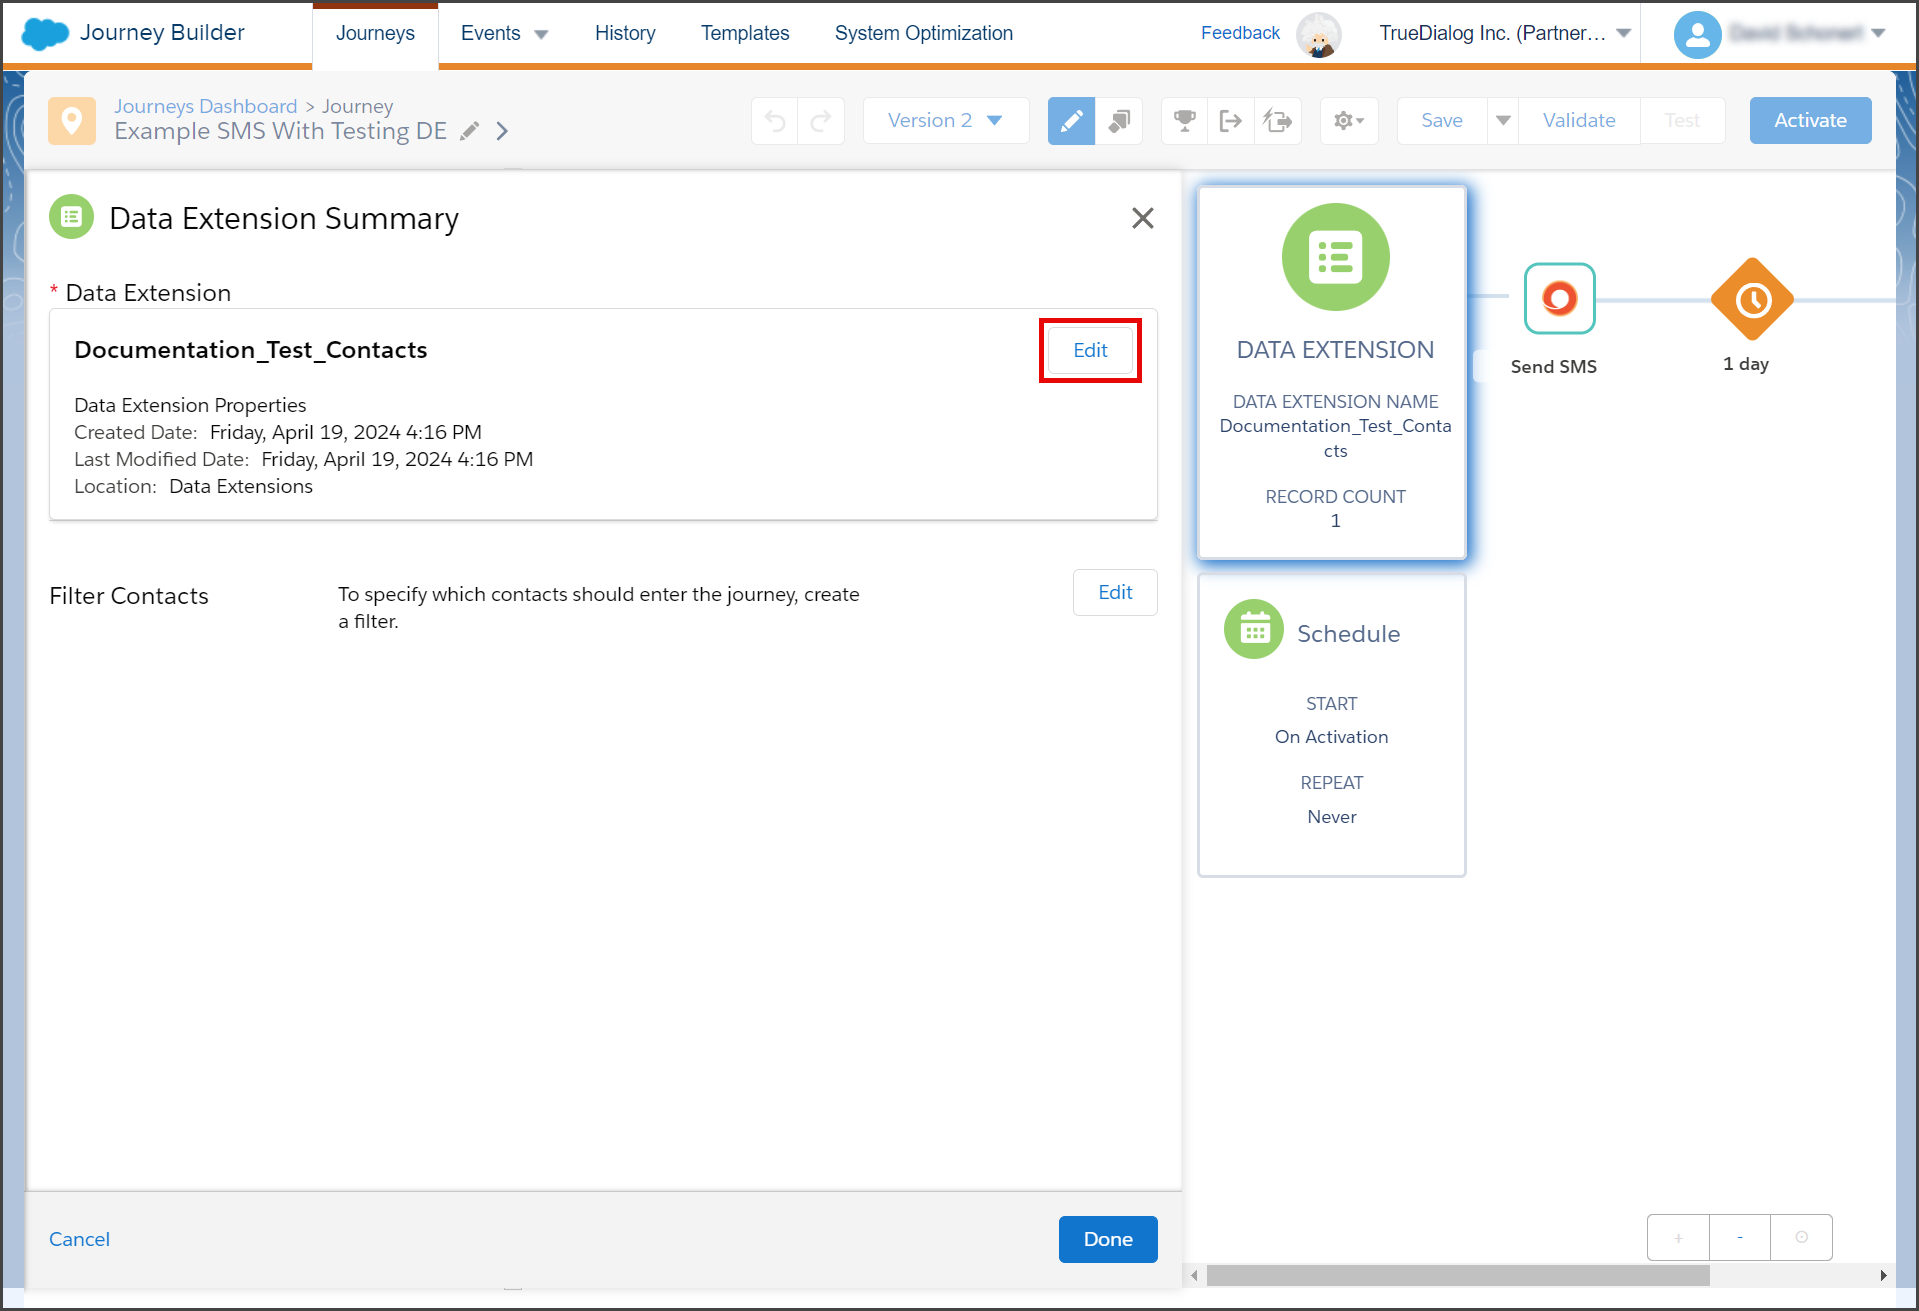
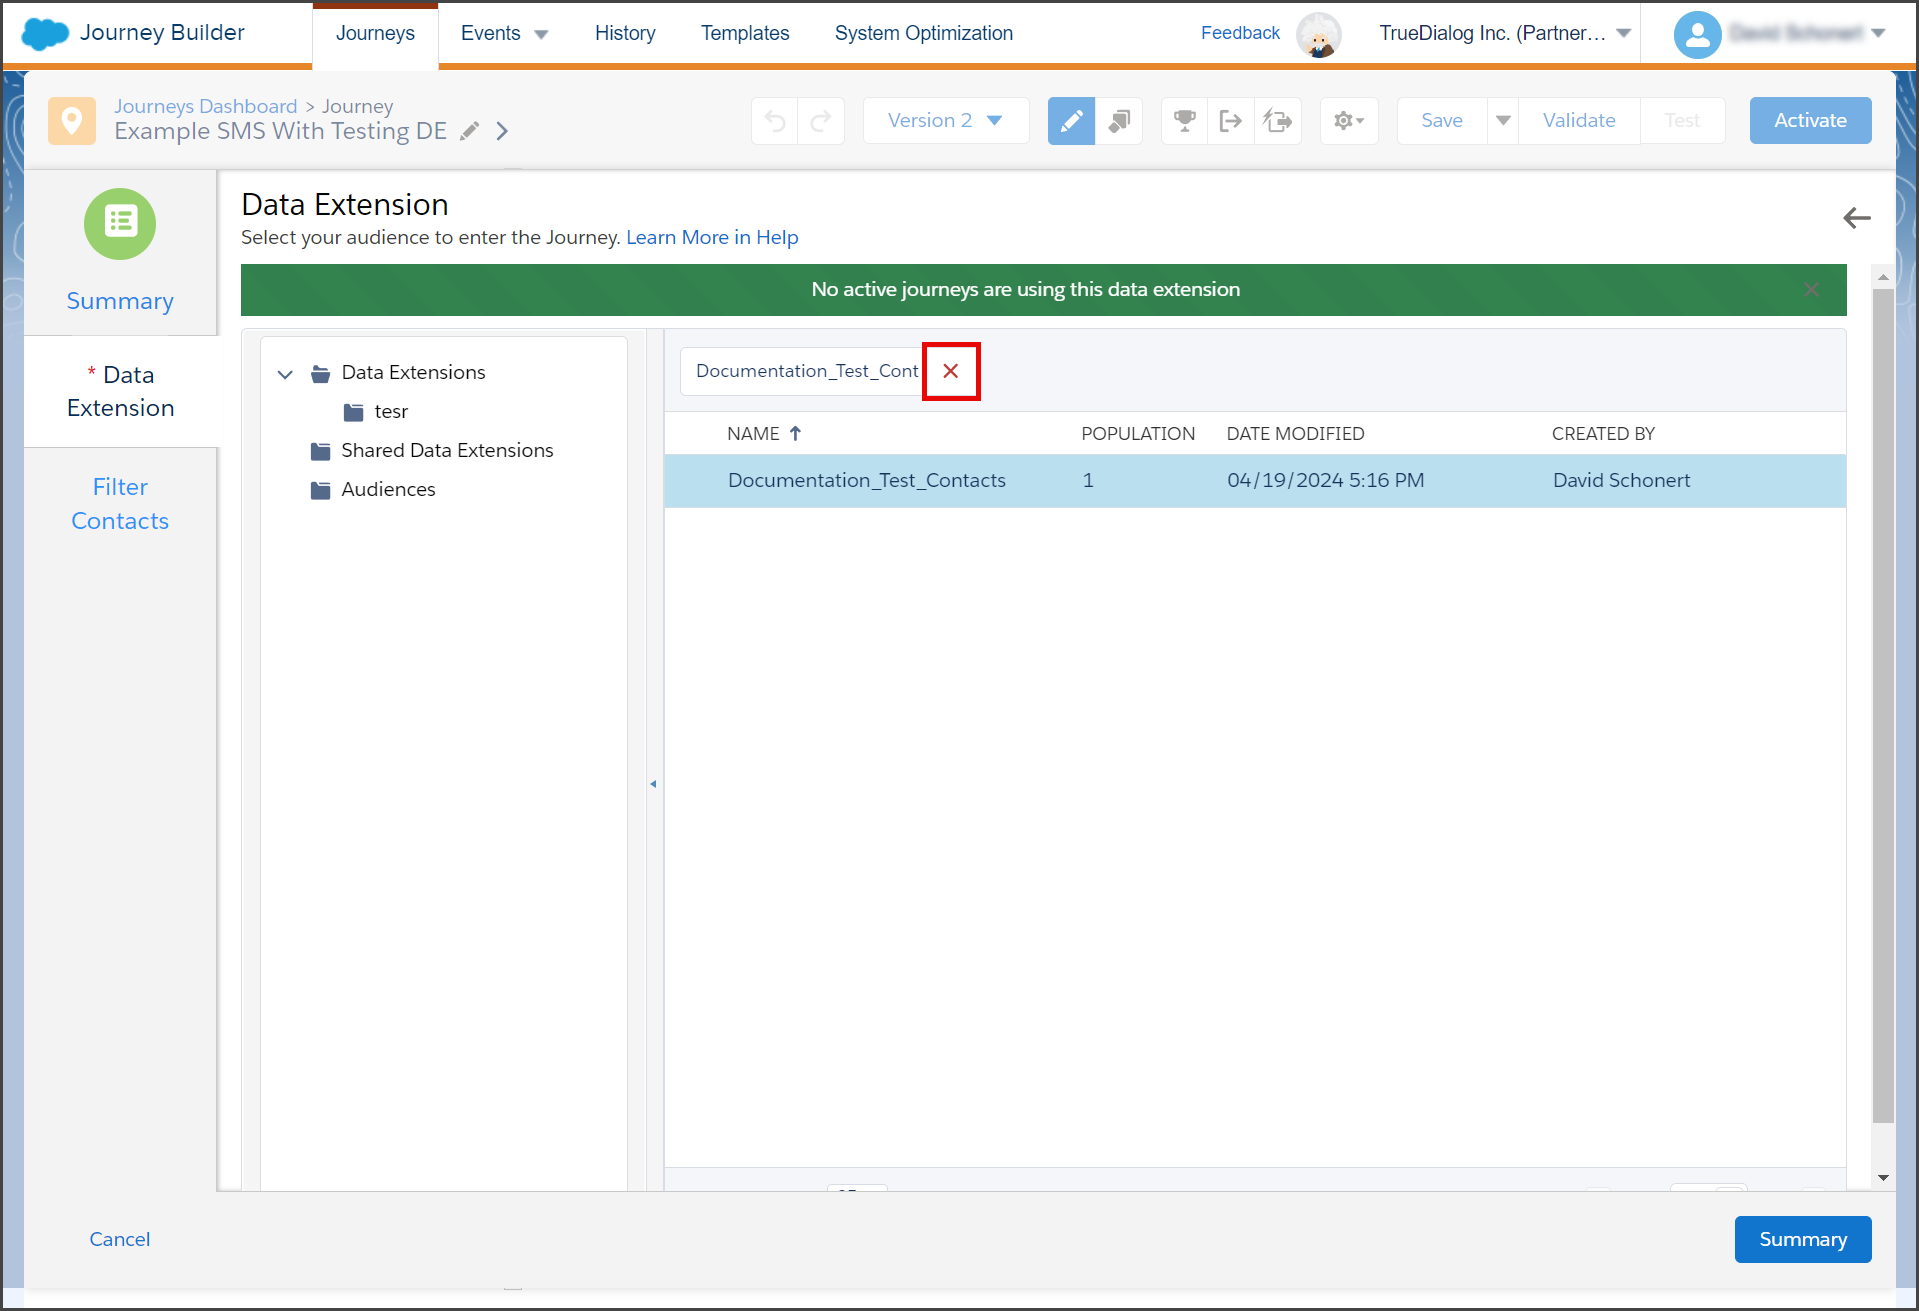
- To select a different Data Extension, click Edit.
- Click the X in the search box to clear the search and see your Data Extensions. Note: You can search to narrow the list of Data Extensions.

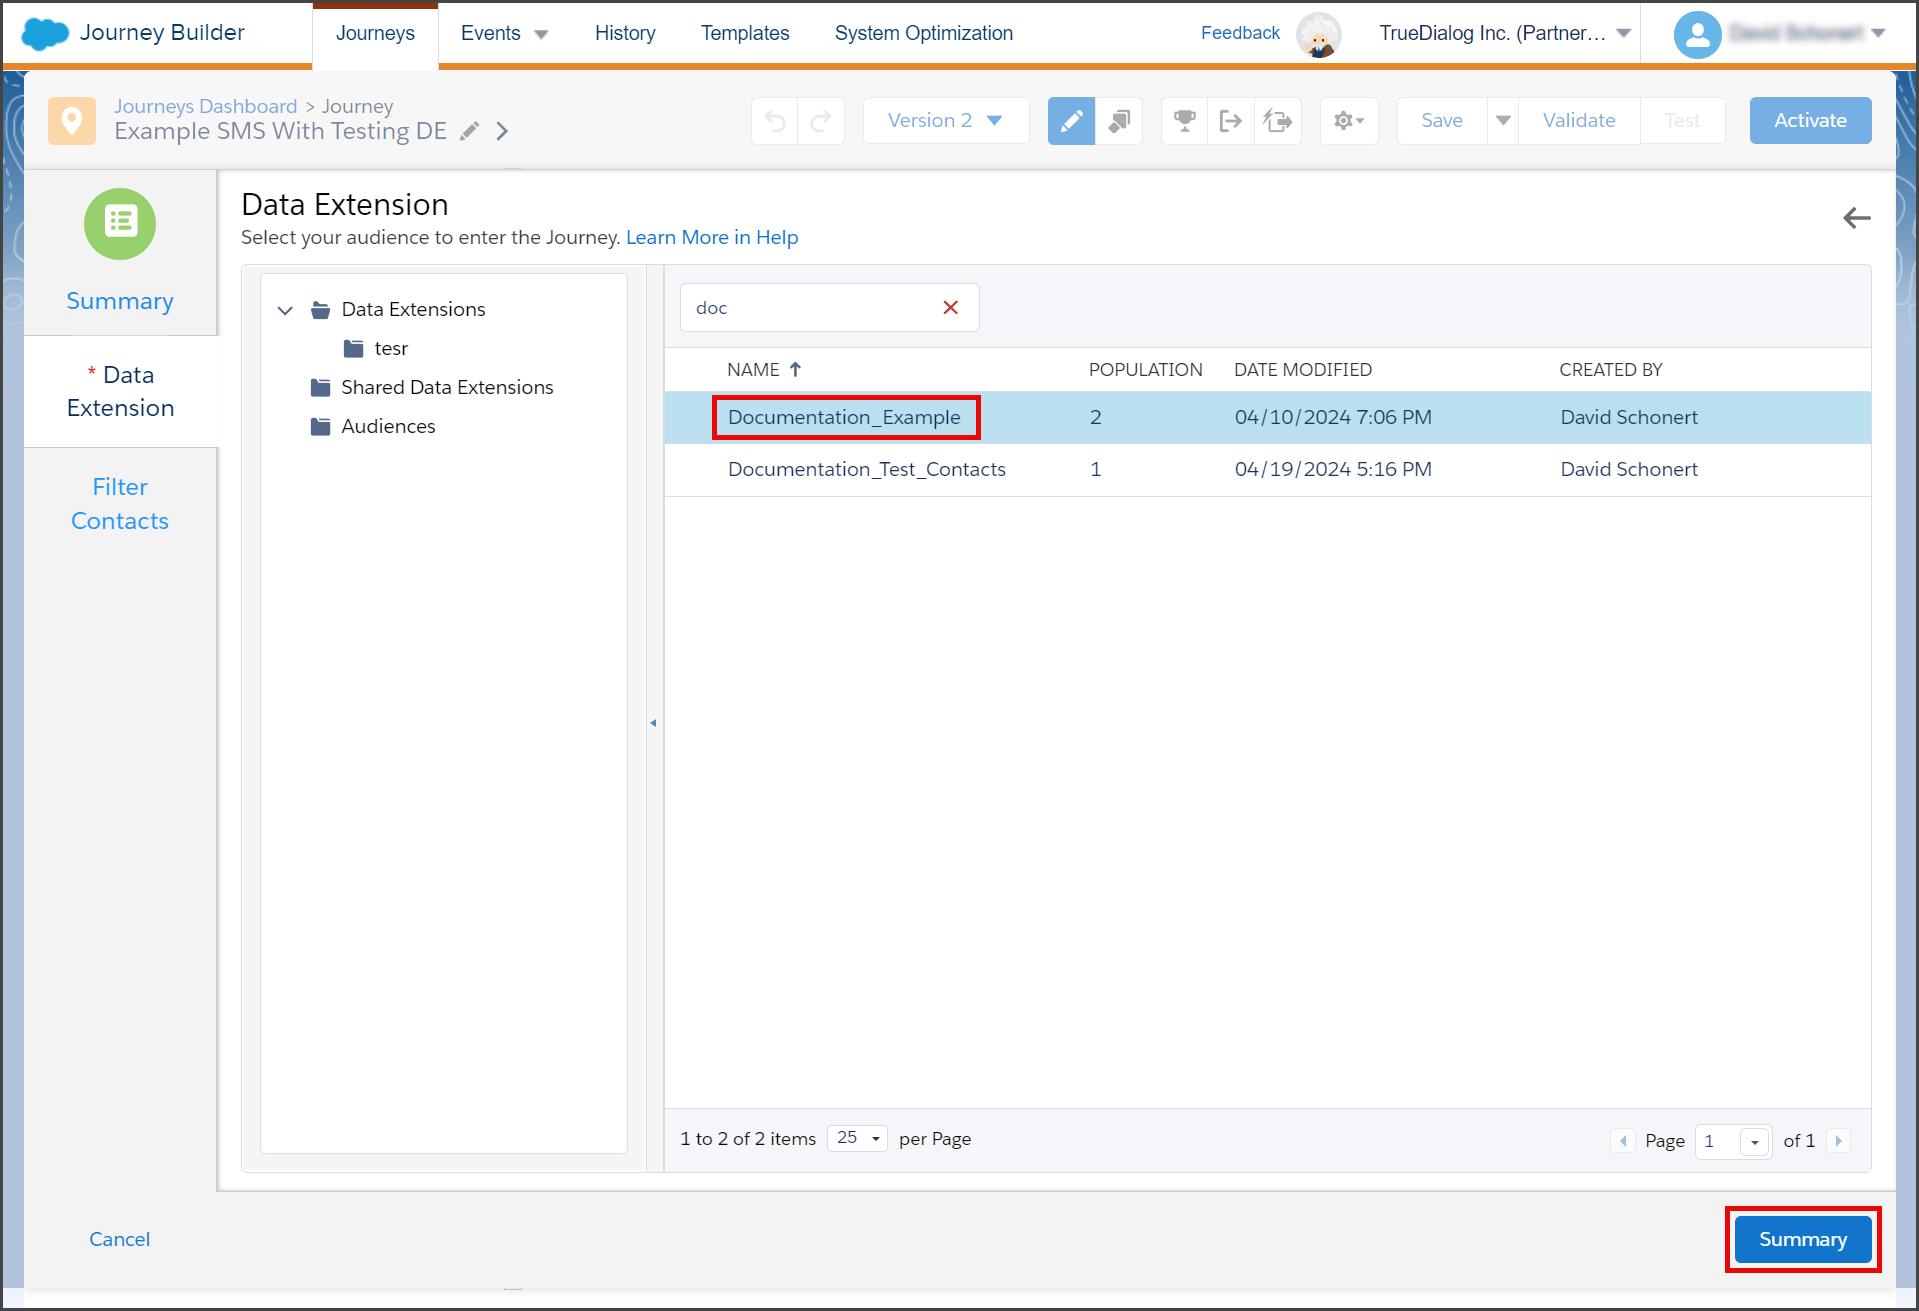
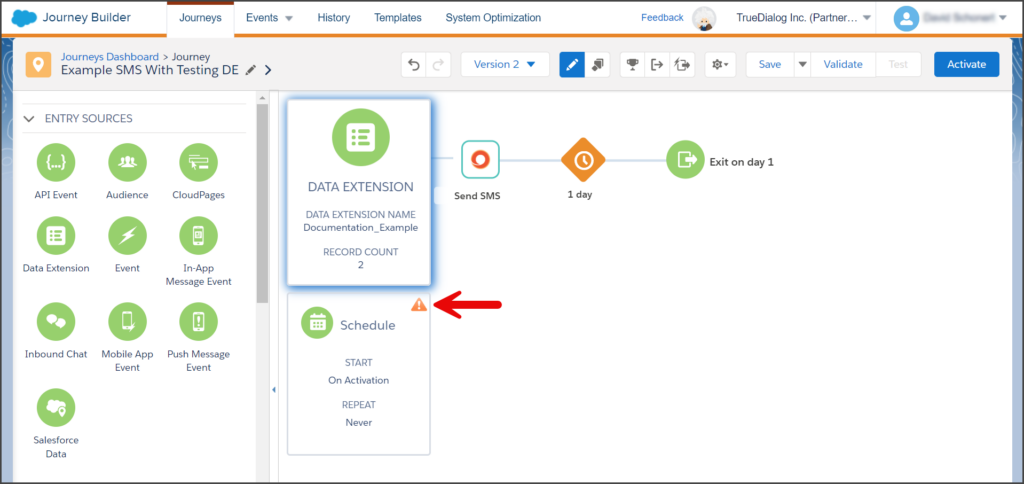
- Select the Data Extension containing your contacts.
- Click Summary.

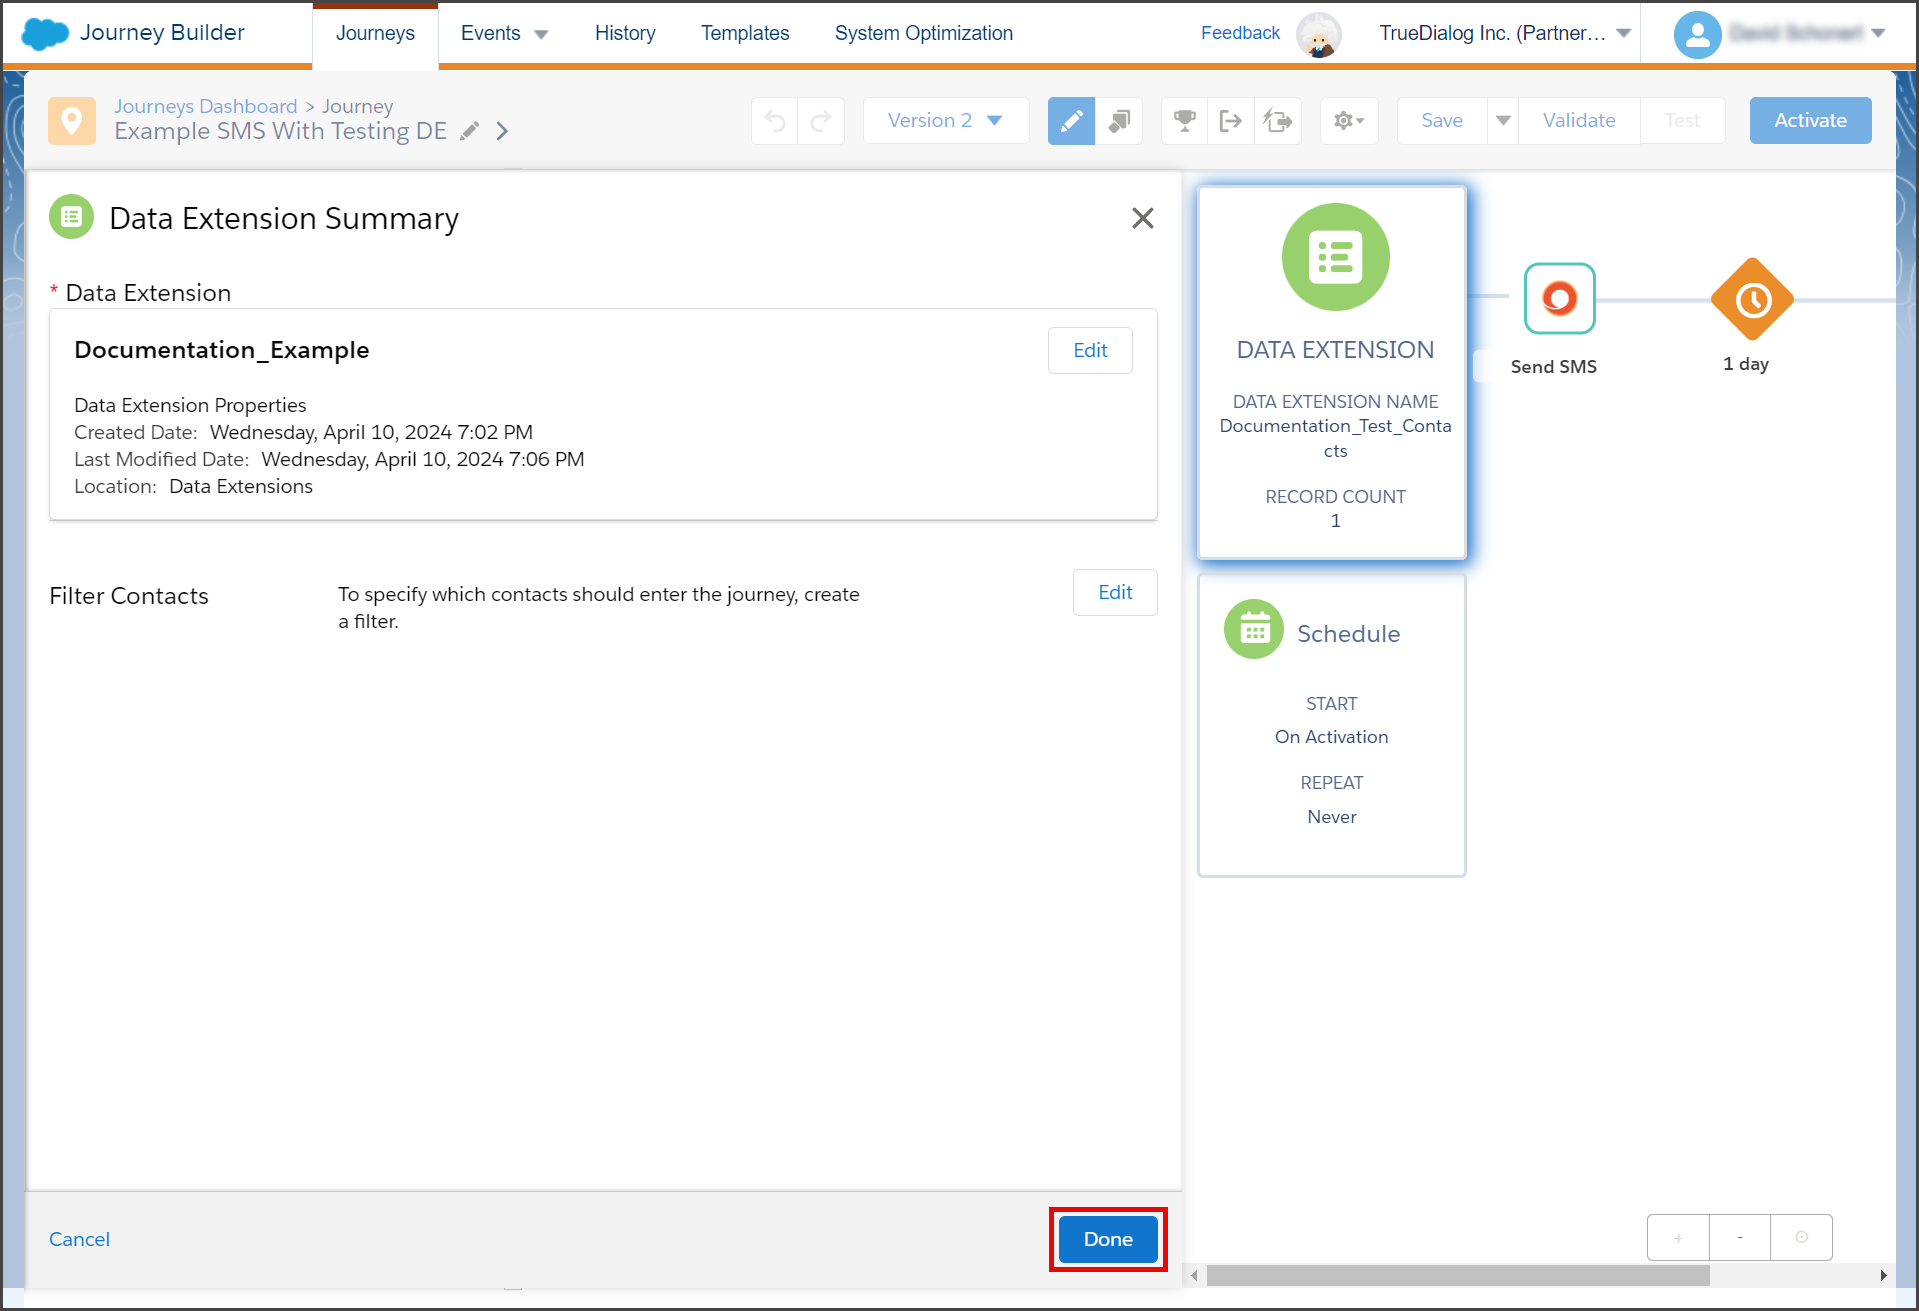
- Click Done.

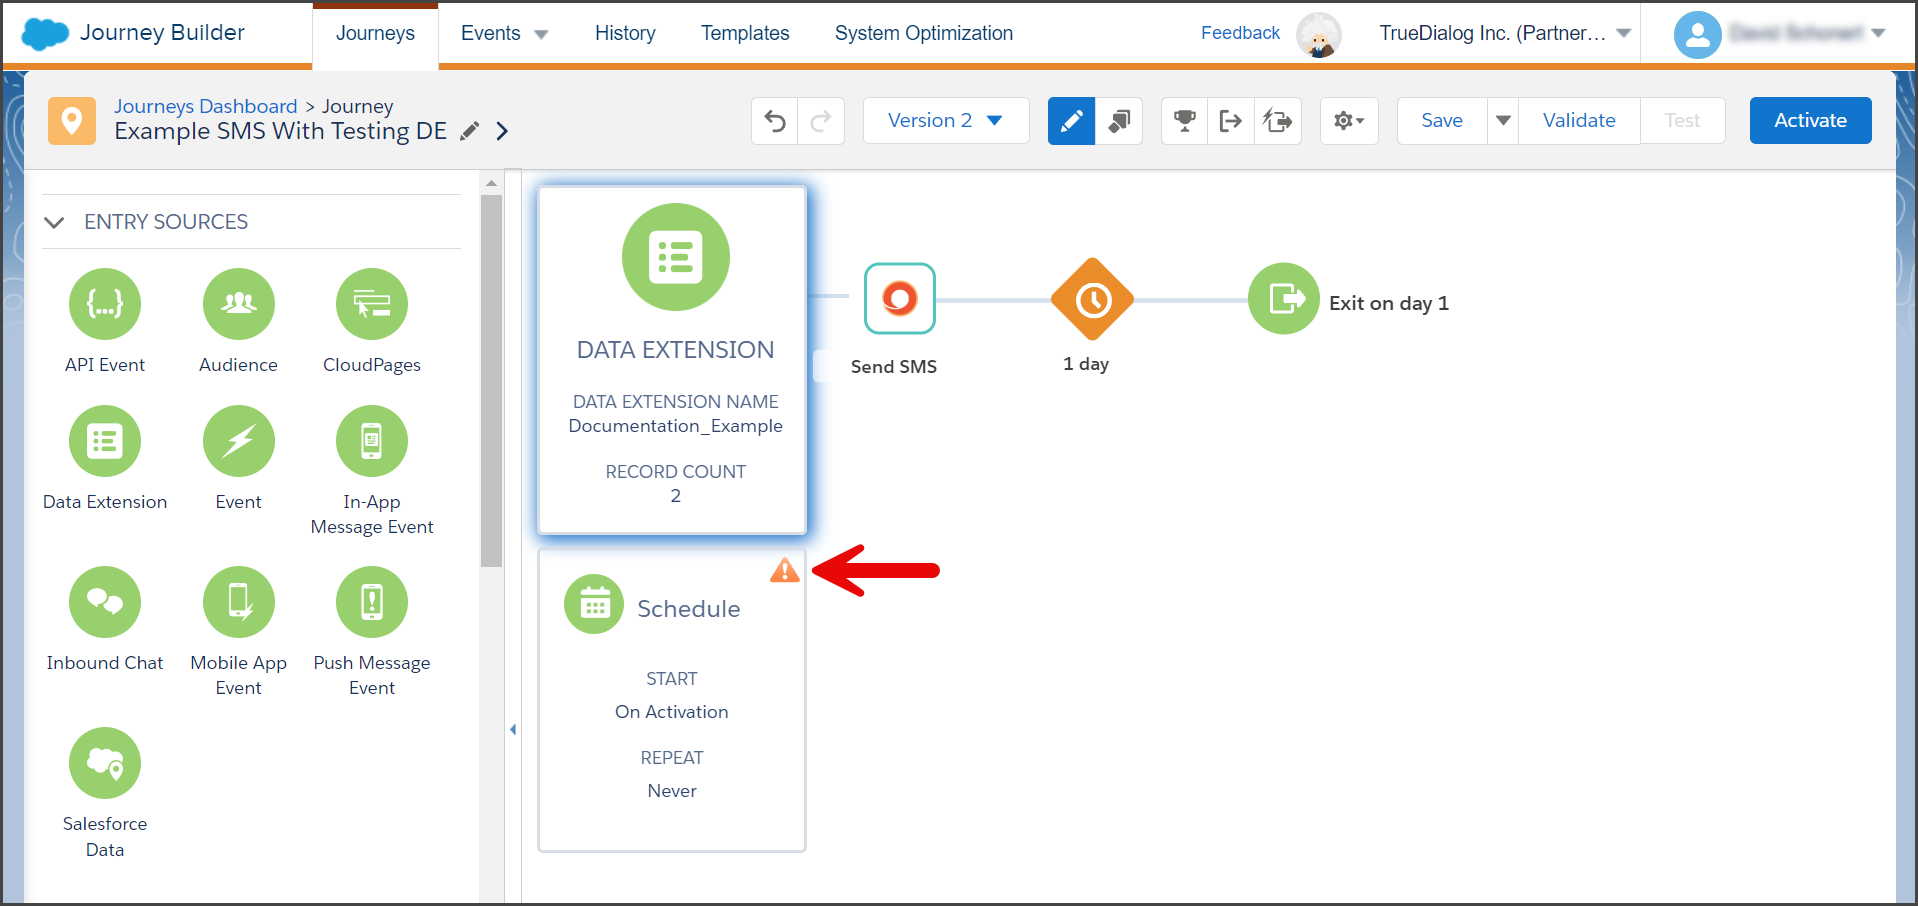
- If you receive a warning icon on your schedule, click the Schedule box to fix the issue.
- Fix any issues with the schedule. Note: This example uses a Run Once on Activation schedule, and nothing needs to be fixed. For scheduled and recurring schedules, you may need to update the start time to be in the future.
- Click Done.

- Activate the Journey.
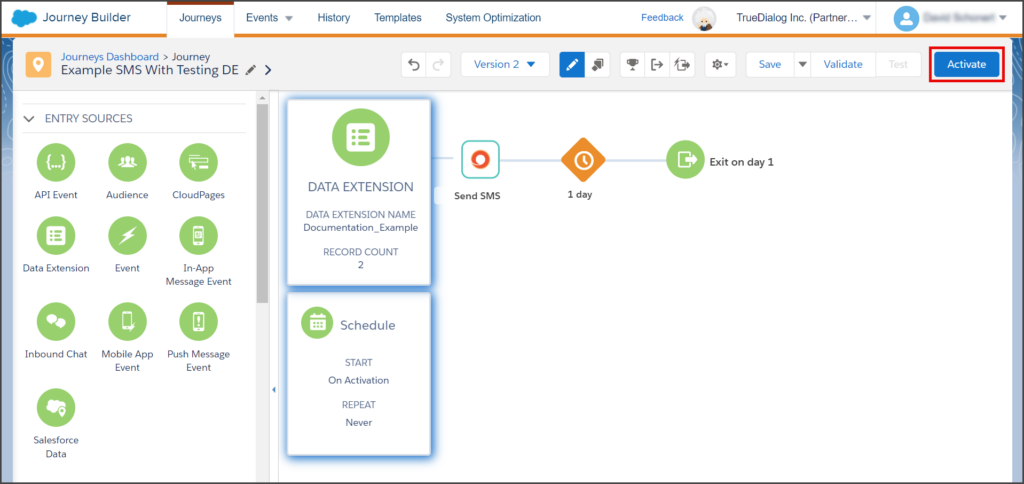
- Once your Journey is activated, your contacts will receive the Journey’s SMS message.