
TrueDialog Portal
Sending Messages > Campaigns
This article explains how to create an RCS Text/Media campaign. An RCS Text/Media campaign sends either a text message or a media file over RCS. A text message can include dynamic values and a tracked link. For an explanation of the RCS message types and how RCS messages are delivered, see the Creating a Campaign – RCS Overview article.
Create an RCS Text/Media Campaign
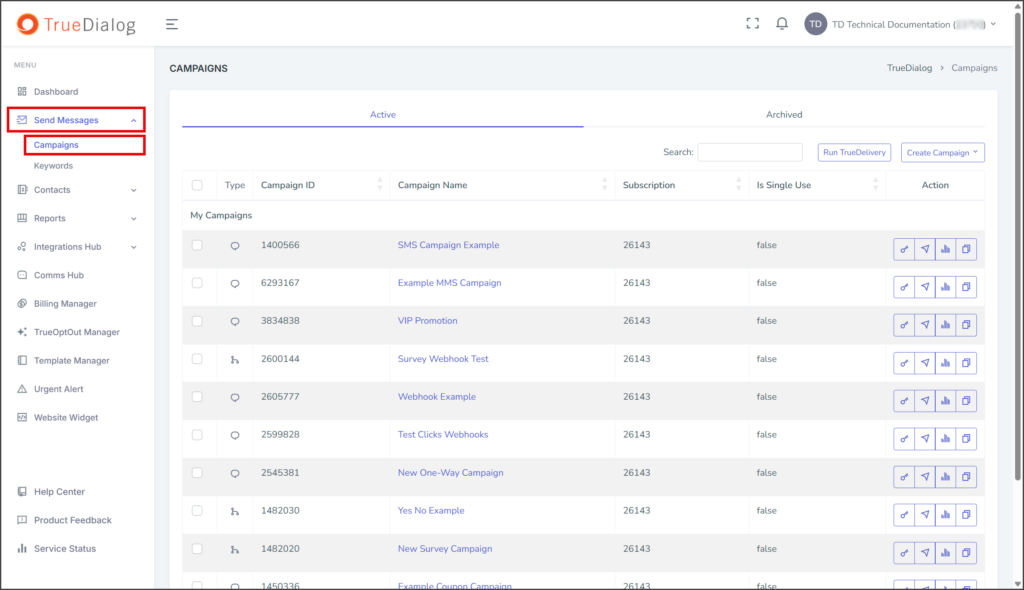
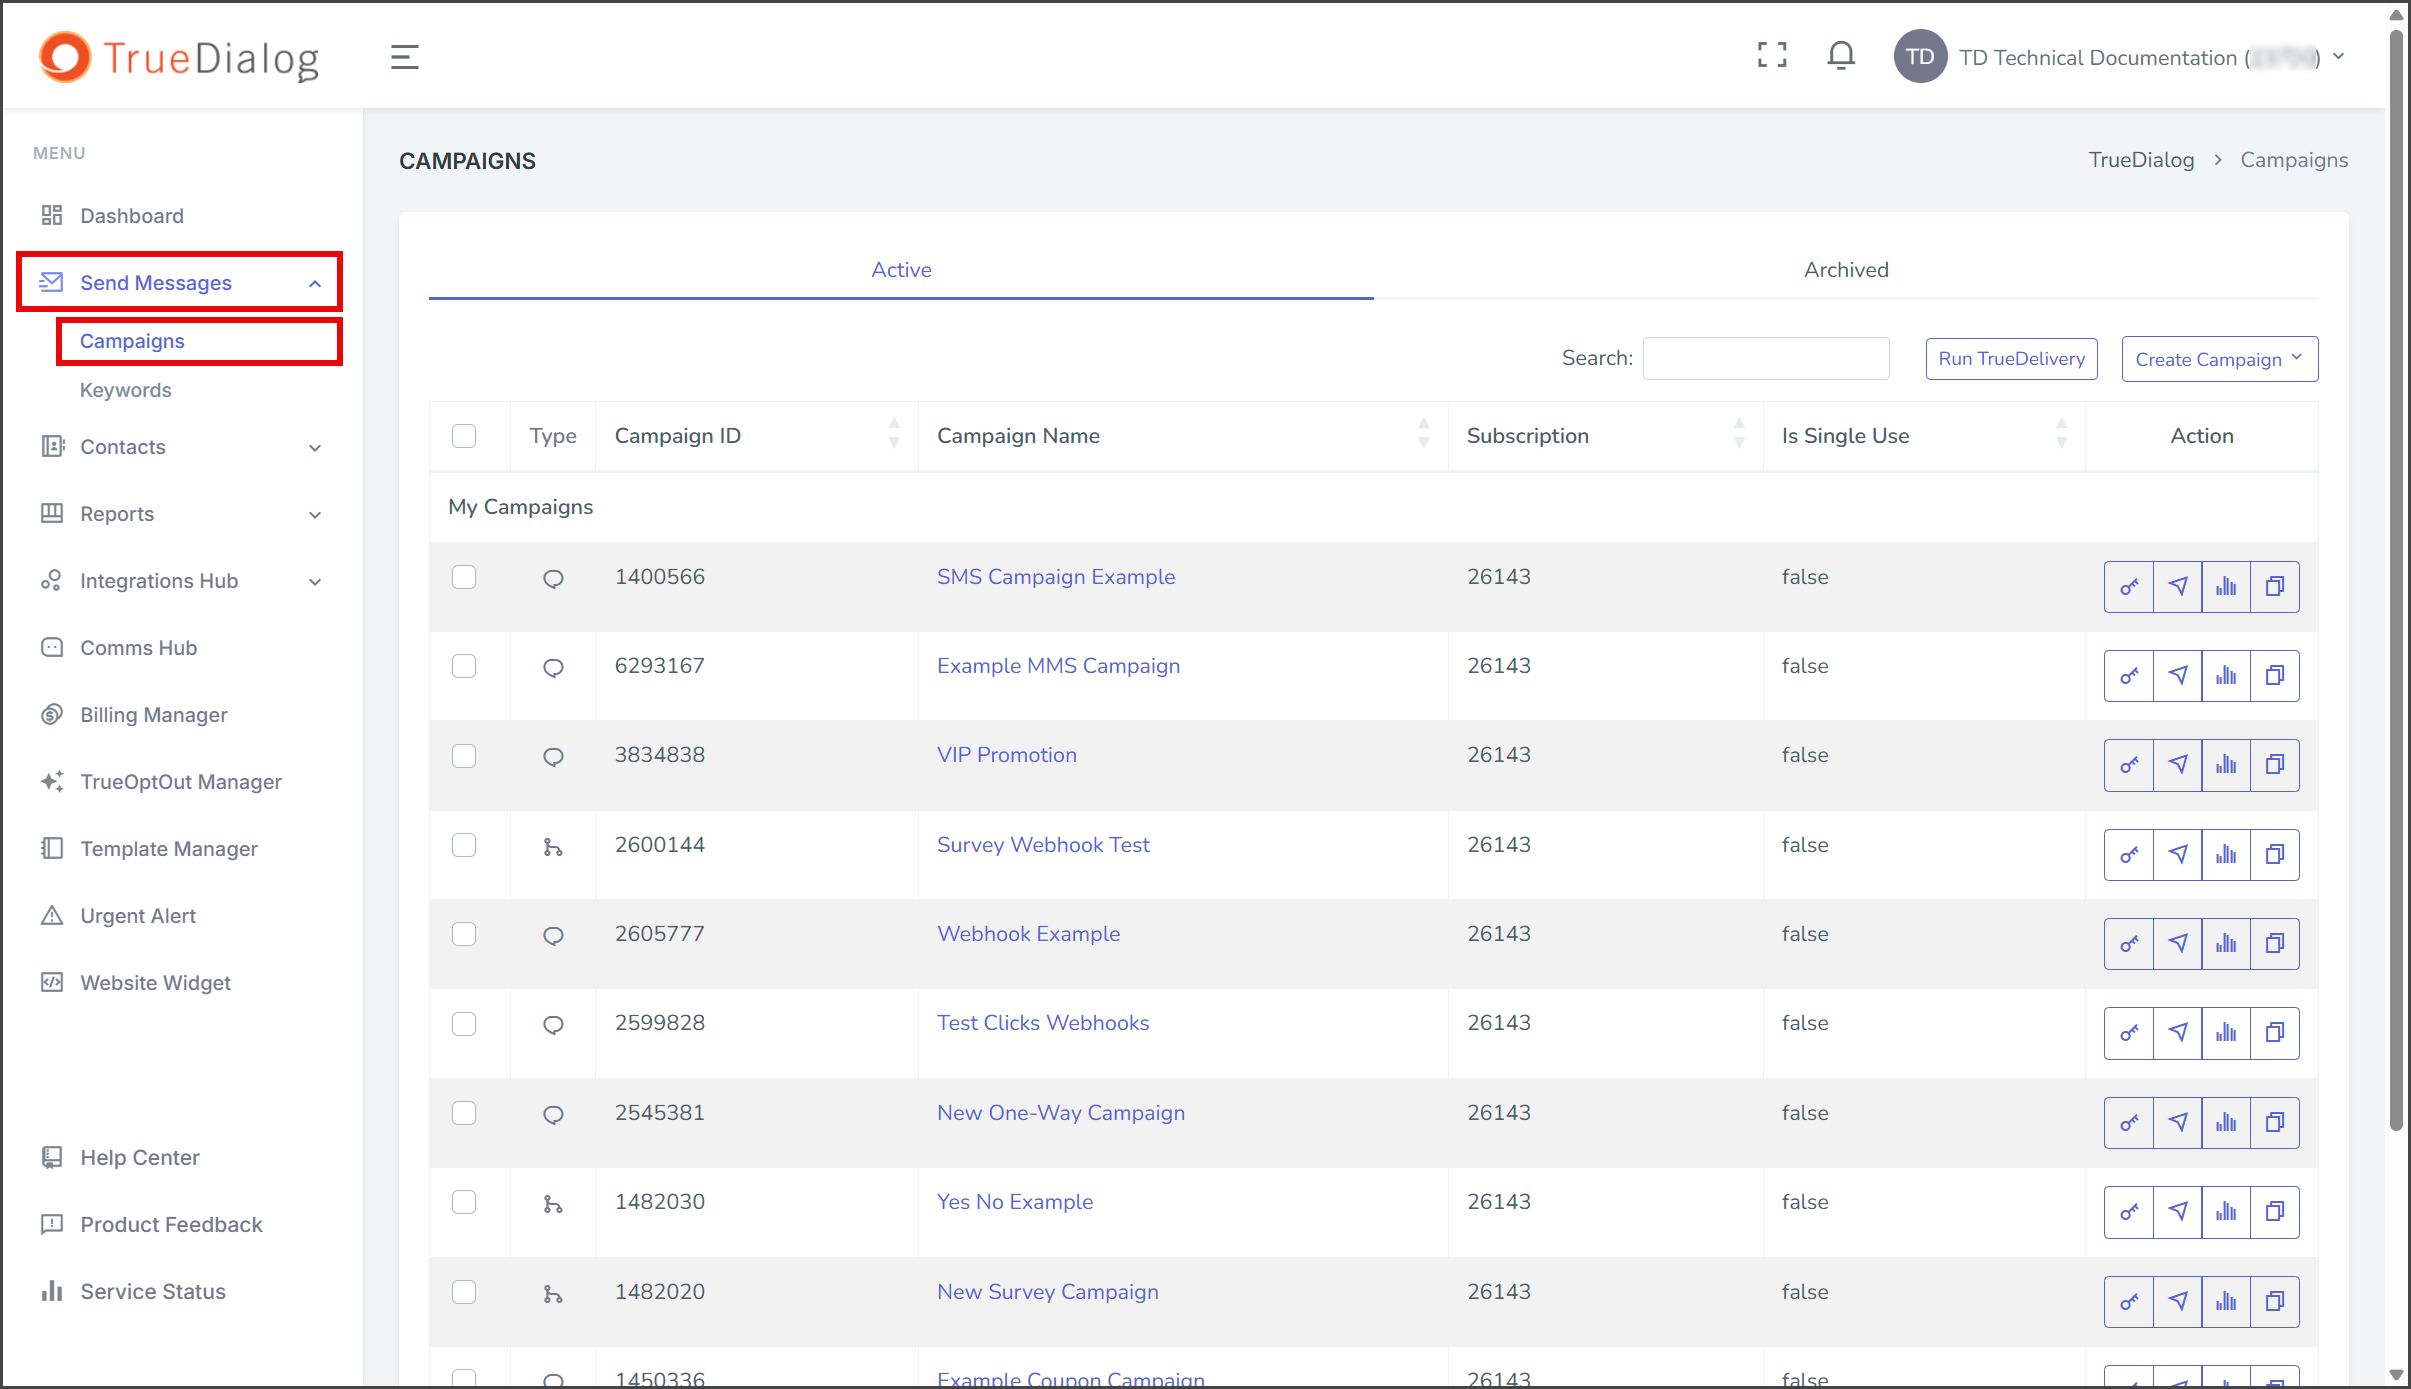
- Expand Send Messages in the left sidebar and select Campaigns.
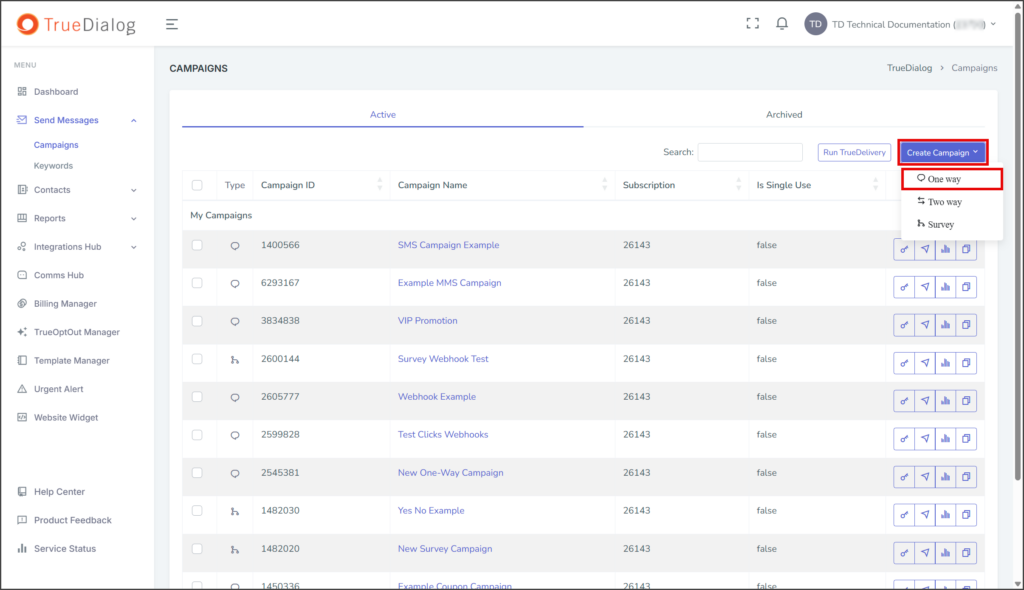
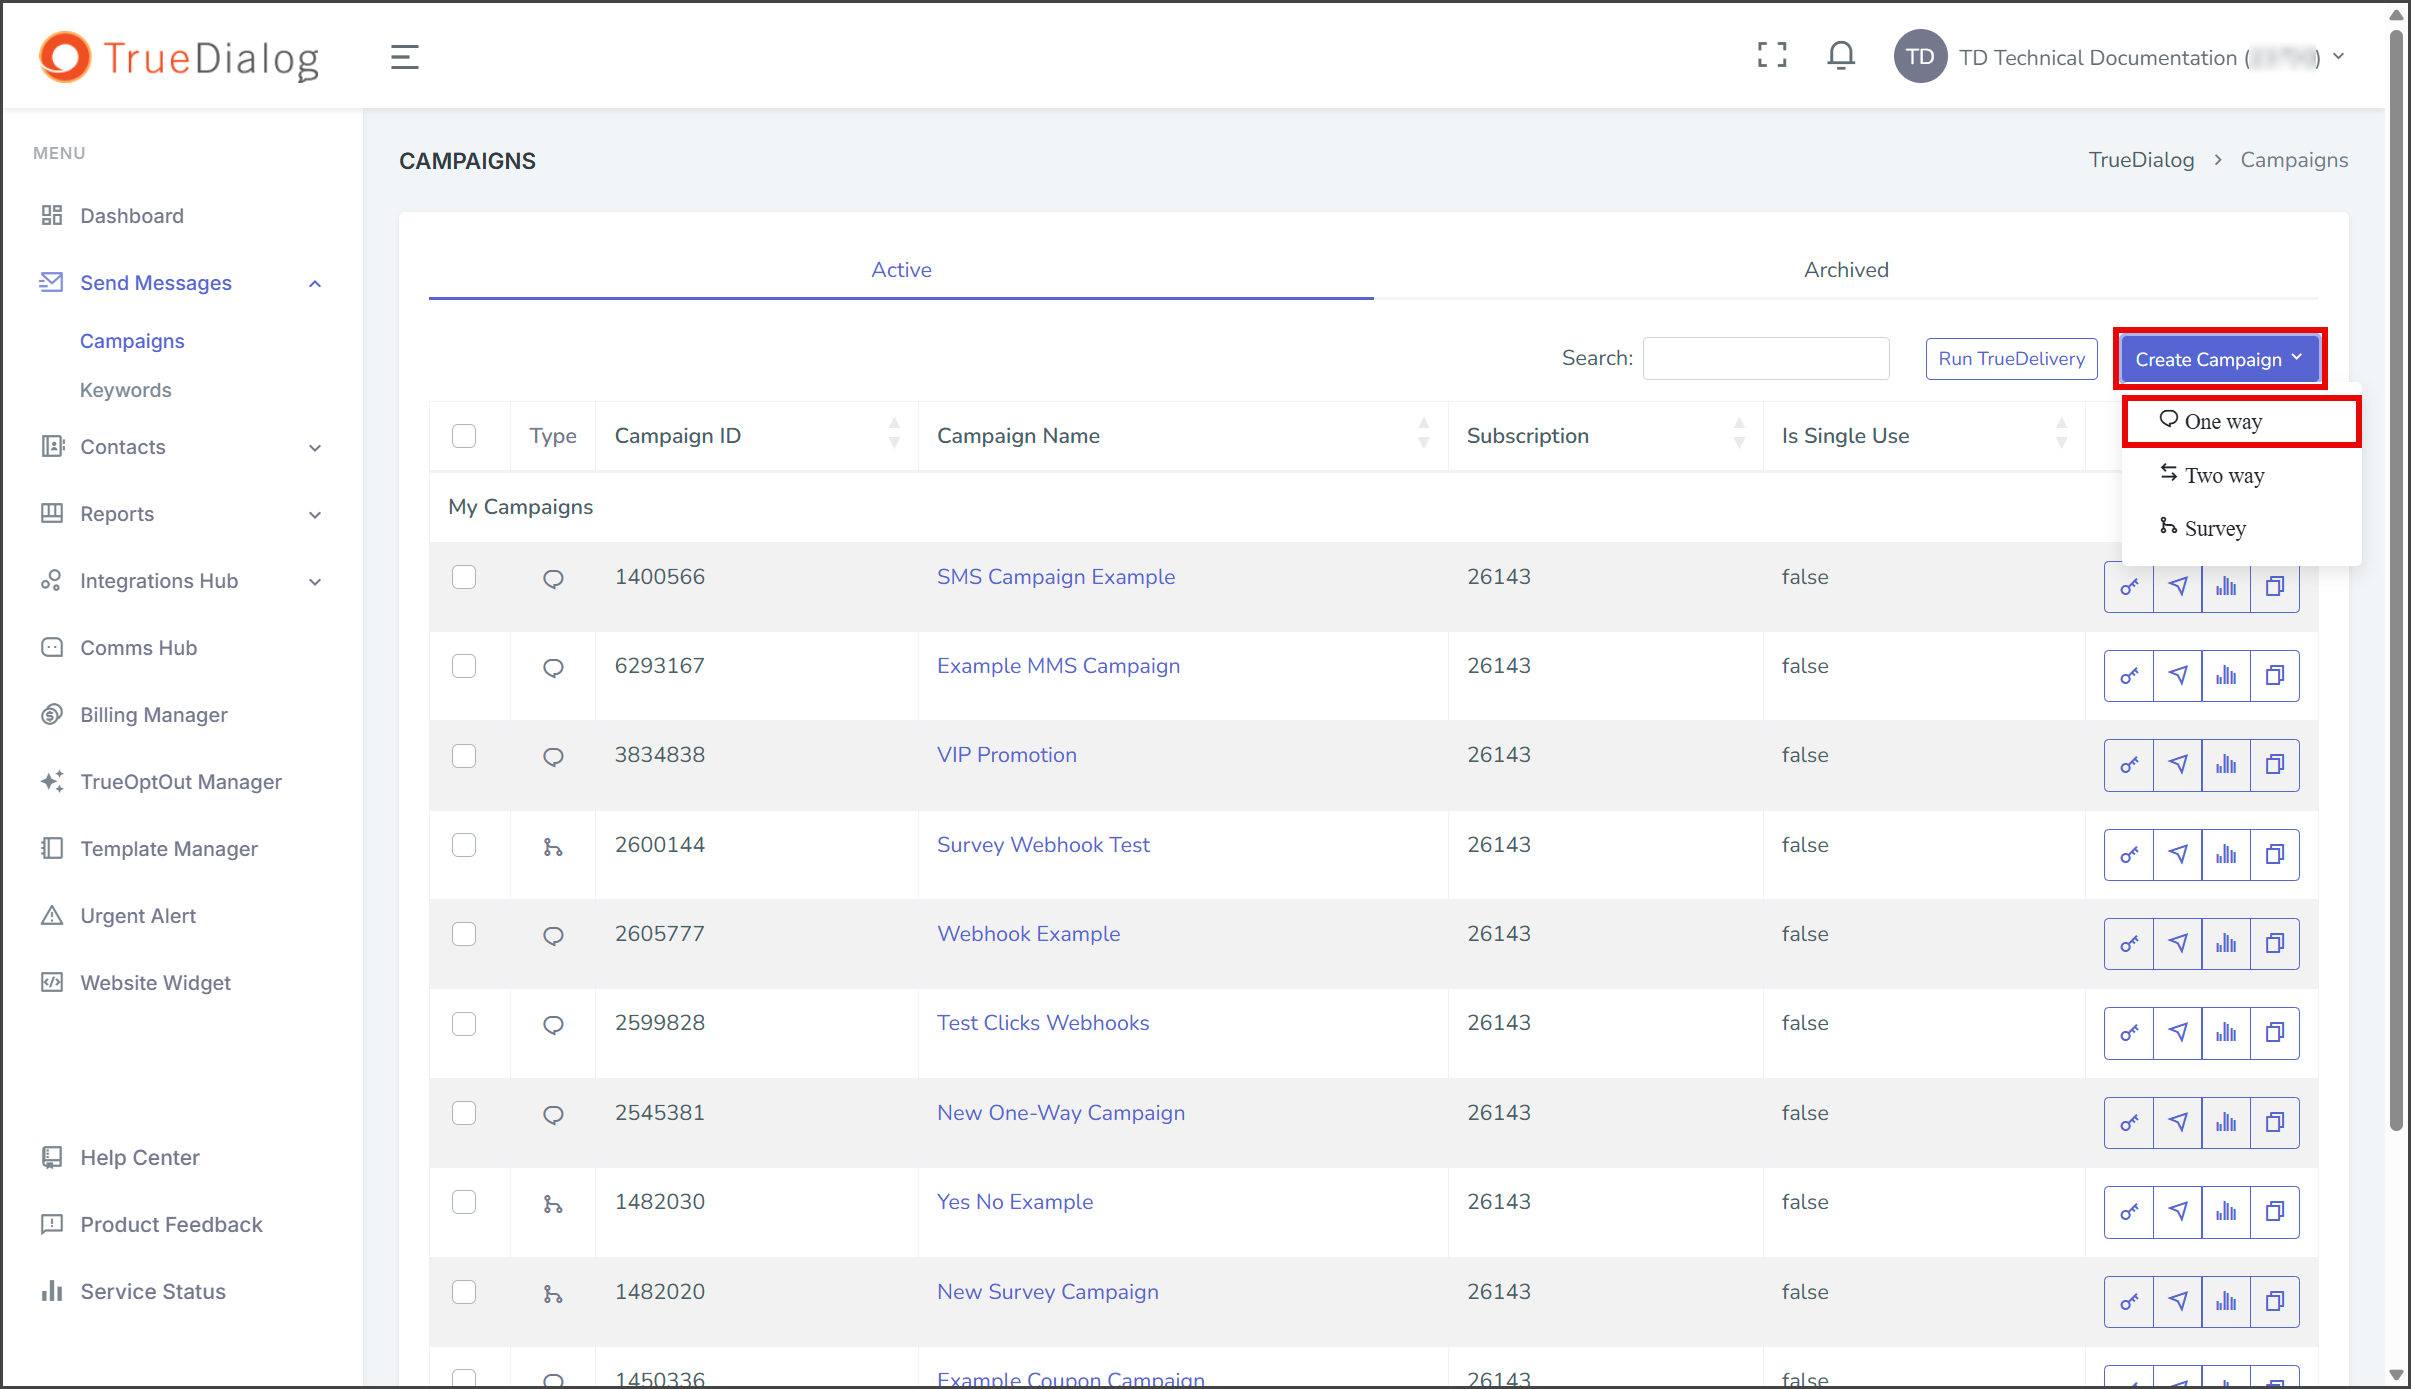
- Click the Create Campaign dropdown and select One way to open the New One-Way Campaign window.
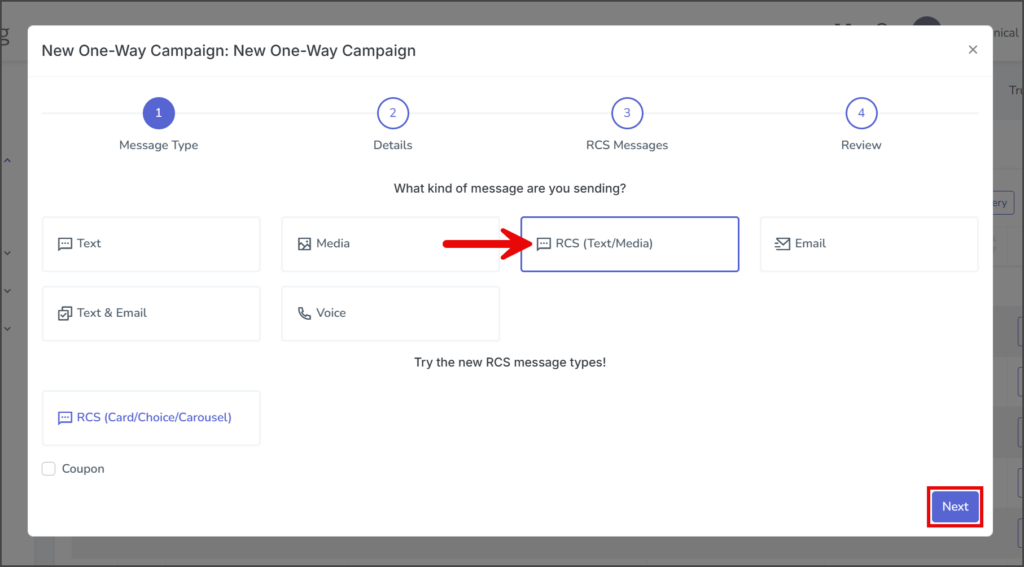
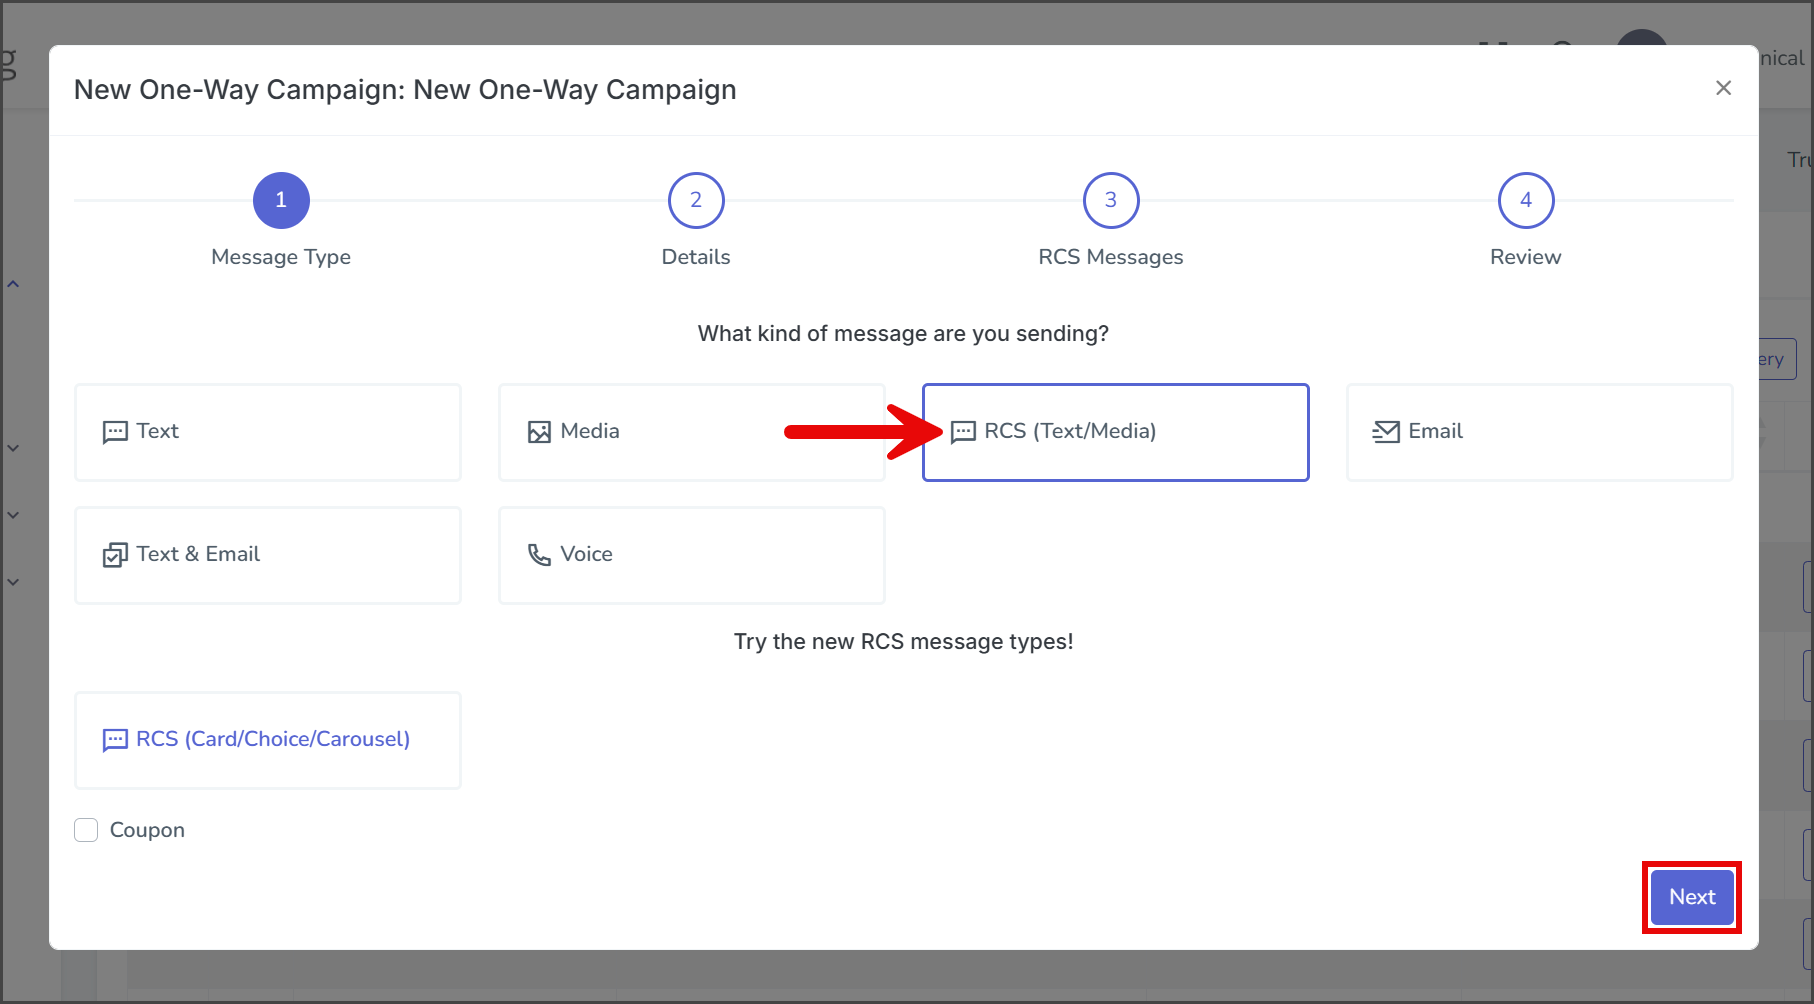
- Select RCS (Text/Media) for the message type.
- Click Next to go to the Details page.
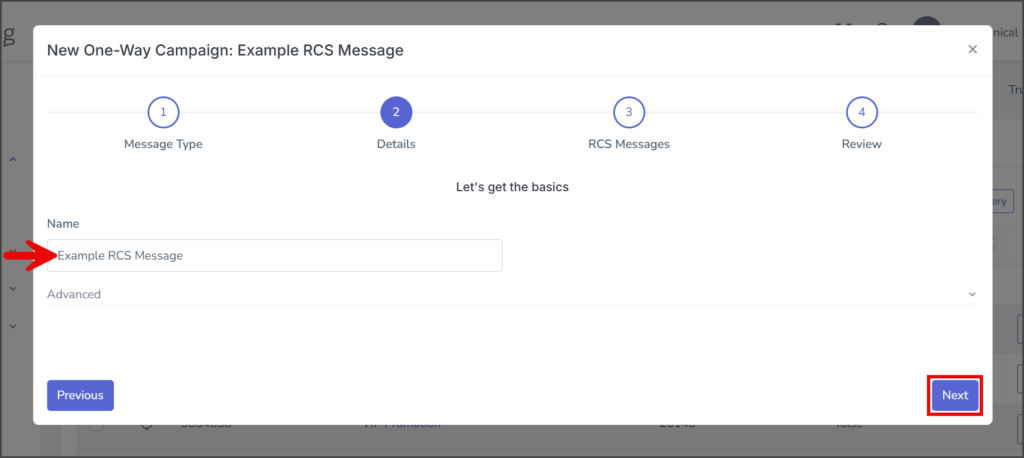
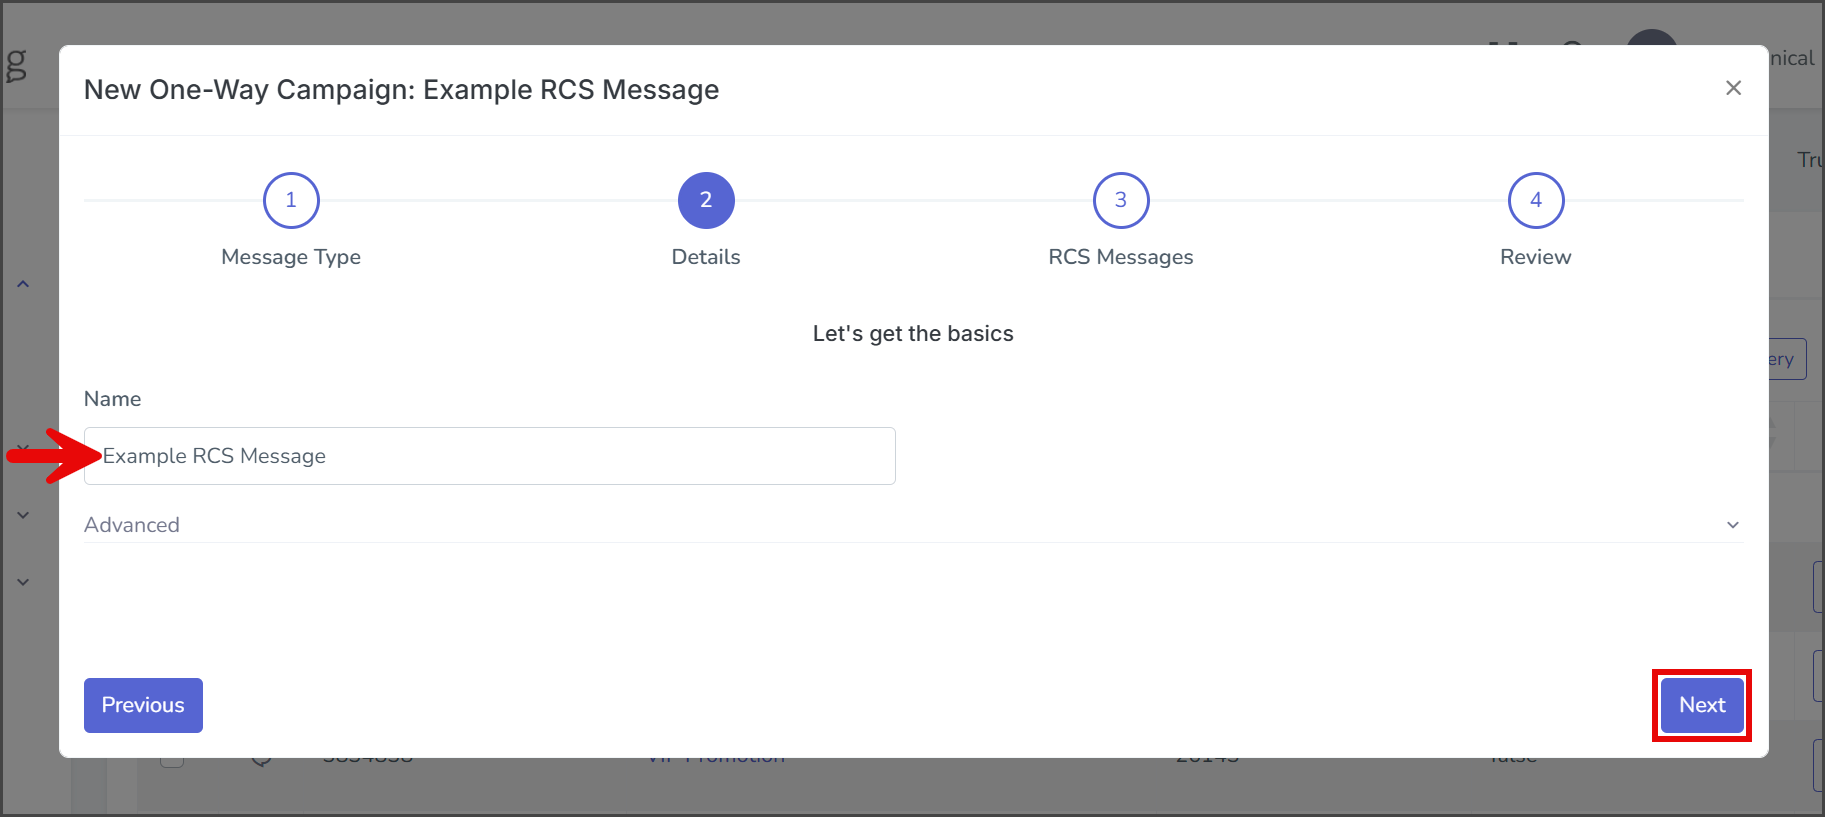
- Enter your campaign’s name in the Name textbox.
- (Optional) Expand the Advanced section to change the campaign’s settings.
- Click Next to go to the RCS Messages page.
RCS Messages Page
Text Message
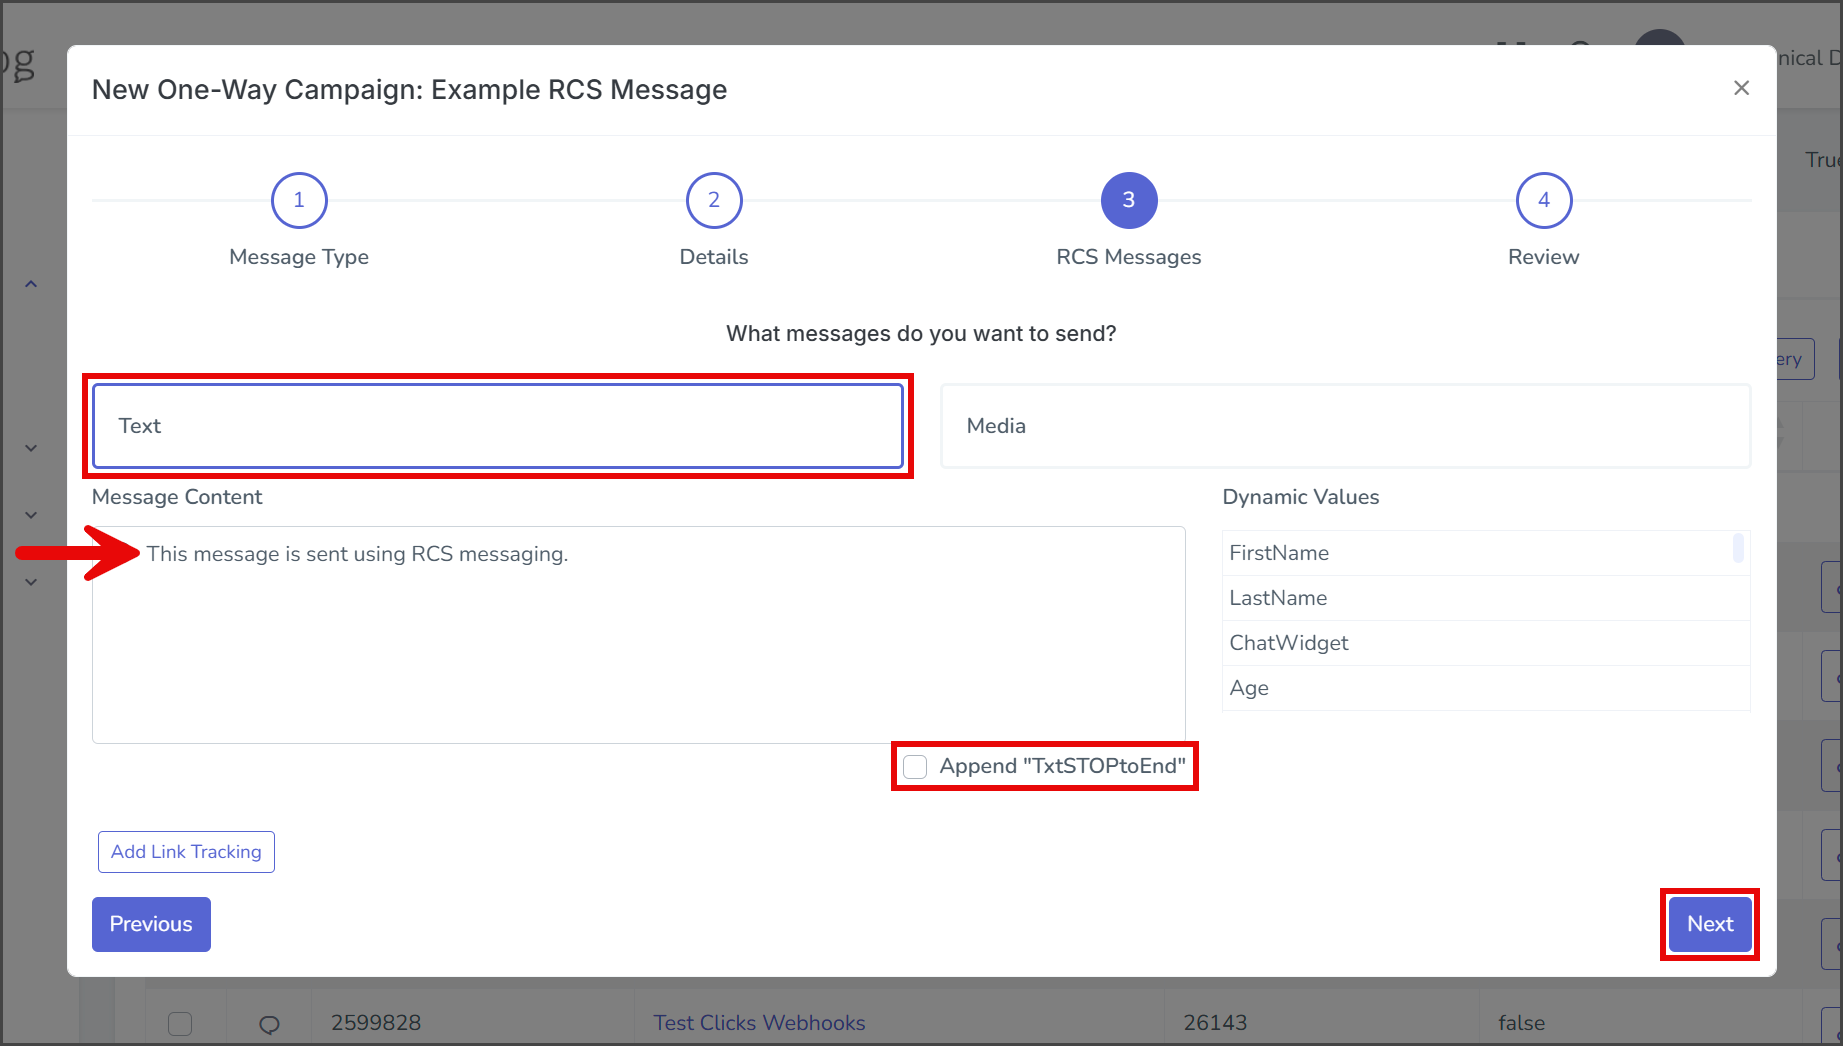
- Select Text to send a text-only message.
- Enter your message in the Message Content textbox.
- (Optional) The Dynamic Values feature lets you insert contact attributes into your message. When the campaign is sent, the attribute value for each contact will be inserted into the message sent to that contact.
- (Optional) Click Add Link Tracking to add a shortened and tracked link to your message. For instructions on configuring a tracked link, see the Creating a Campaign – Link Tracking article.
- If the Append “TxtSTOPtoEnd” checkbox is checked, TxtSTOPtoEnd will be appended to the end of your message once the campaign is created.
- Click Next to go to the Review page.
Media Message
RCS media messages support the following file types.
| File Type | Supported Extensions |
|---|---|
| Image | .jpg | .jpeg | .png |
| GIF | .gif |
| Video | .mp4 | .m4v | .m4p | .mpeg | .webm | .h263 |
| Audio | .mp3 | .aac | .mp4 | .3gp | .ogx |
For best results, use the following specifications for images in RCS messages.
| Specification | Recommendation |
|---|---|
| Canvas size | 1920 × 1080 pixels |
| Aspect ratio | 16:9 |
| Safe area | Keep all key content, such as text, logos, product images, and calls to action, inside a centered area of about 1728 × 972 pixels. |
| Outside the safe area | Use background or non-essential images only. Some devices may crop this outer margin. |
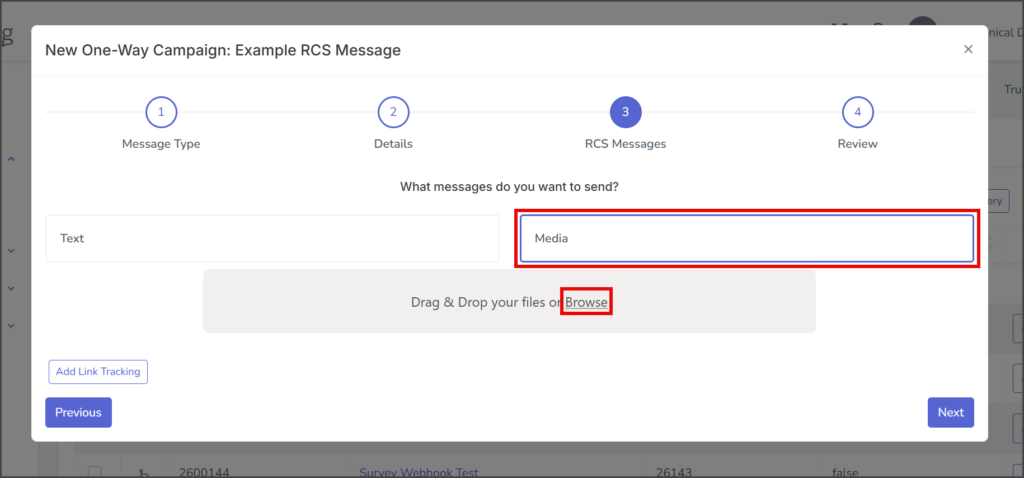
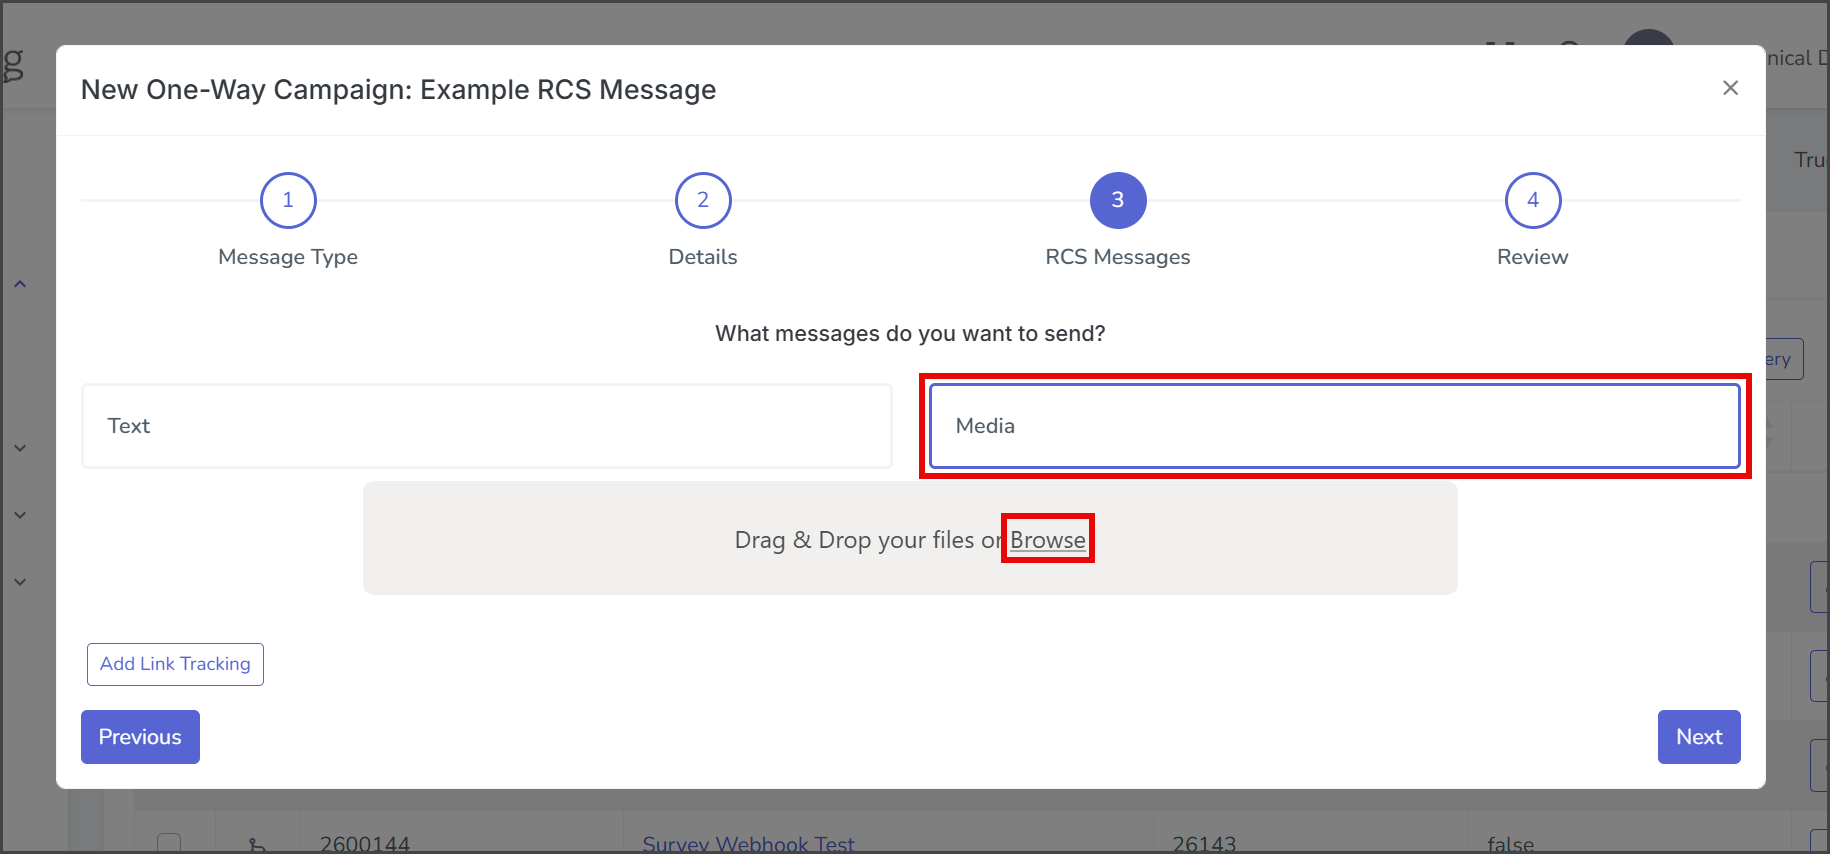
- Select Media to send a media-only message.
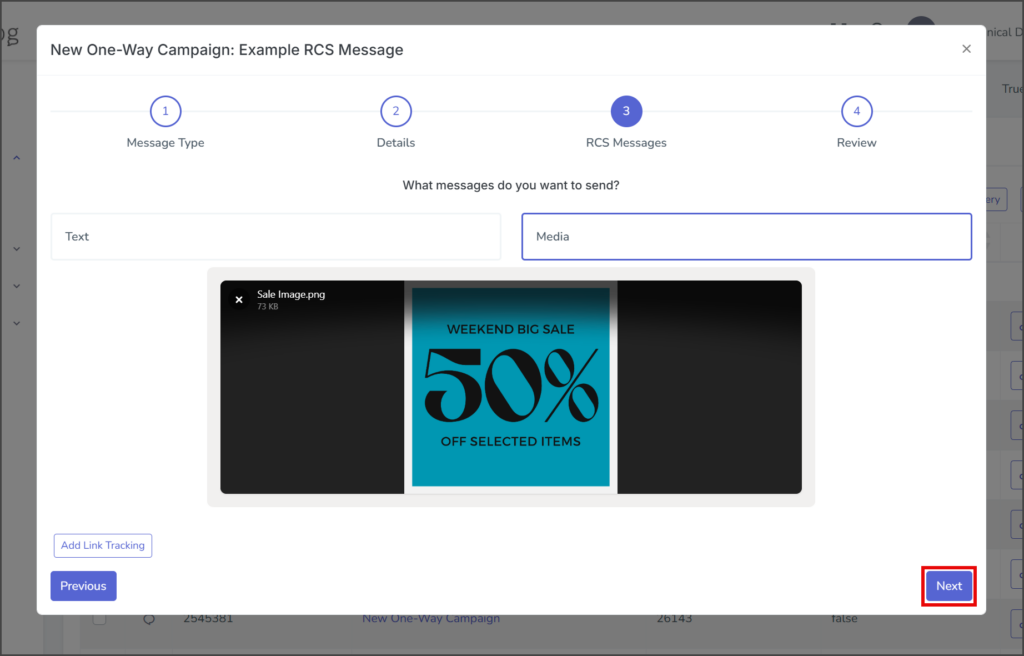
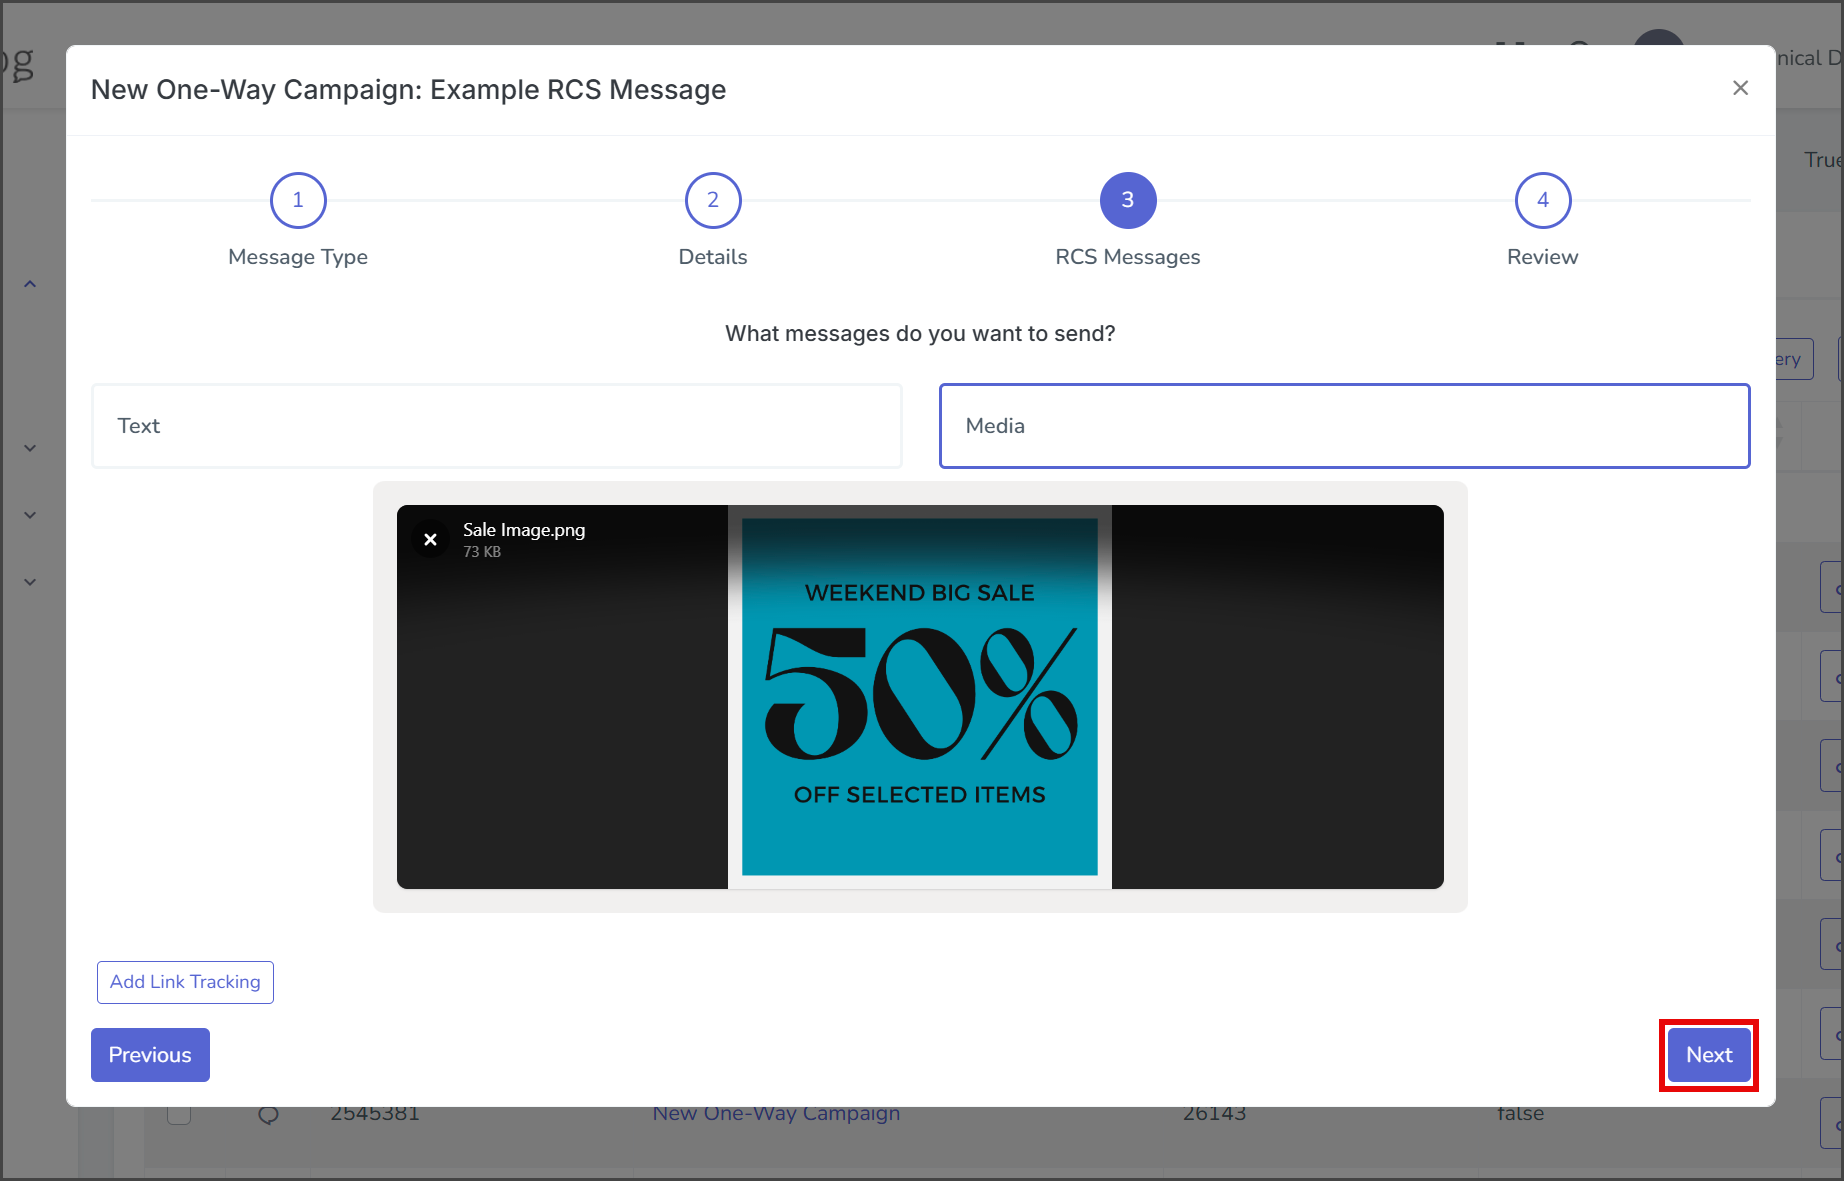
- Drag and drop a media file into the upload area, or click Browse and follow your browser’s instructions to select a file. To remove it, click the X.
- (Optional) Click Add Link Tracking to add a shortened and tracked link to your message. For instructions on configuring a tracked link, see the Creating a Campaign – Link Tracking article.
- Click Next to go to the Review page.
Review Page
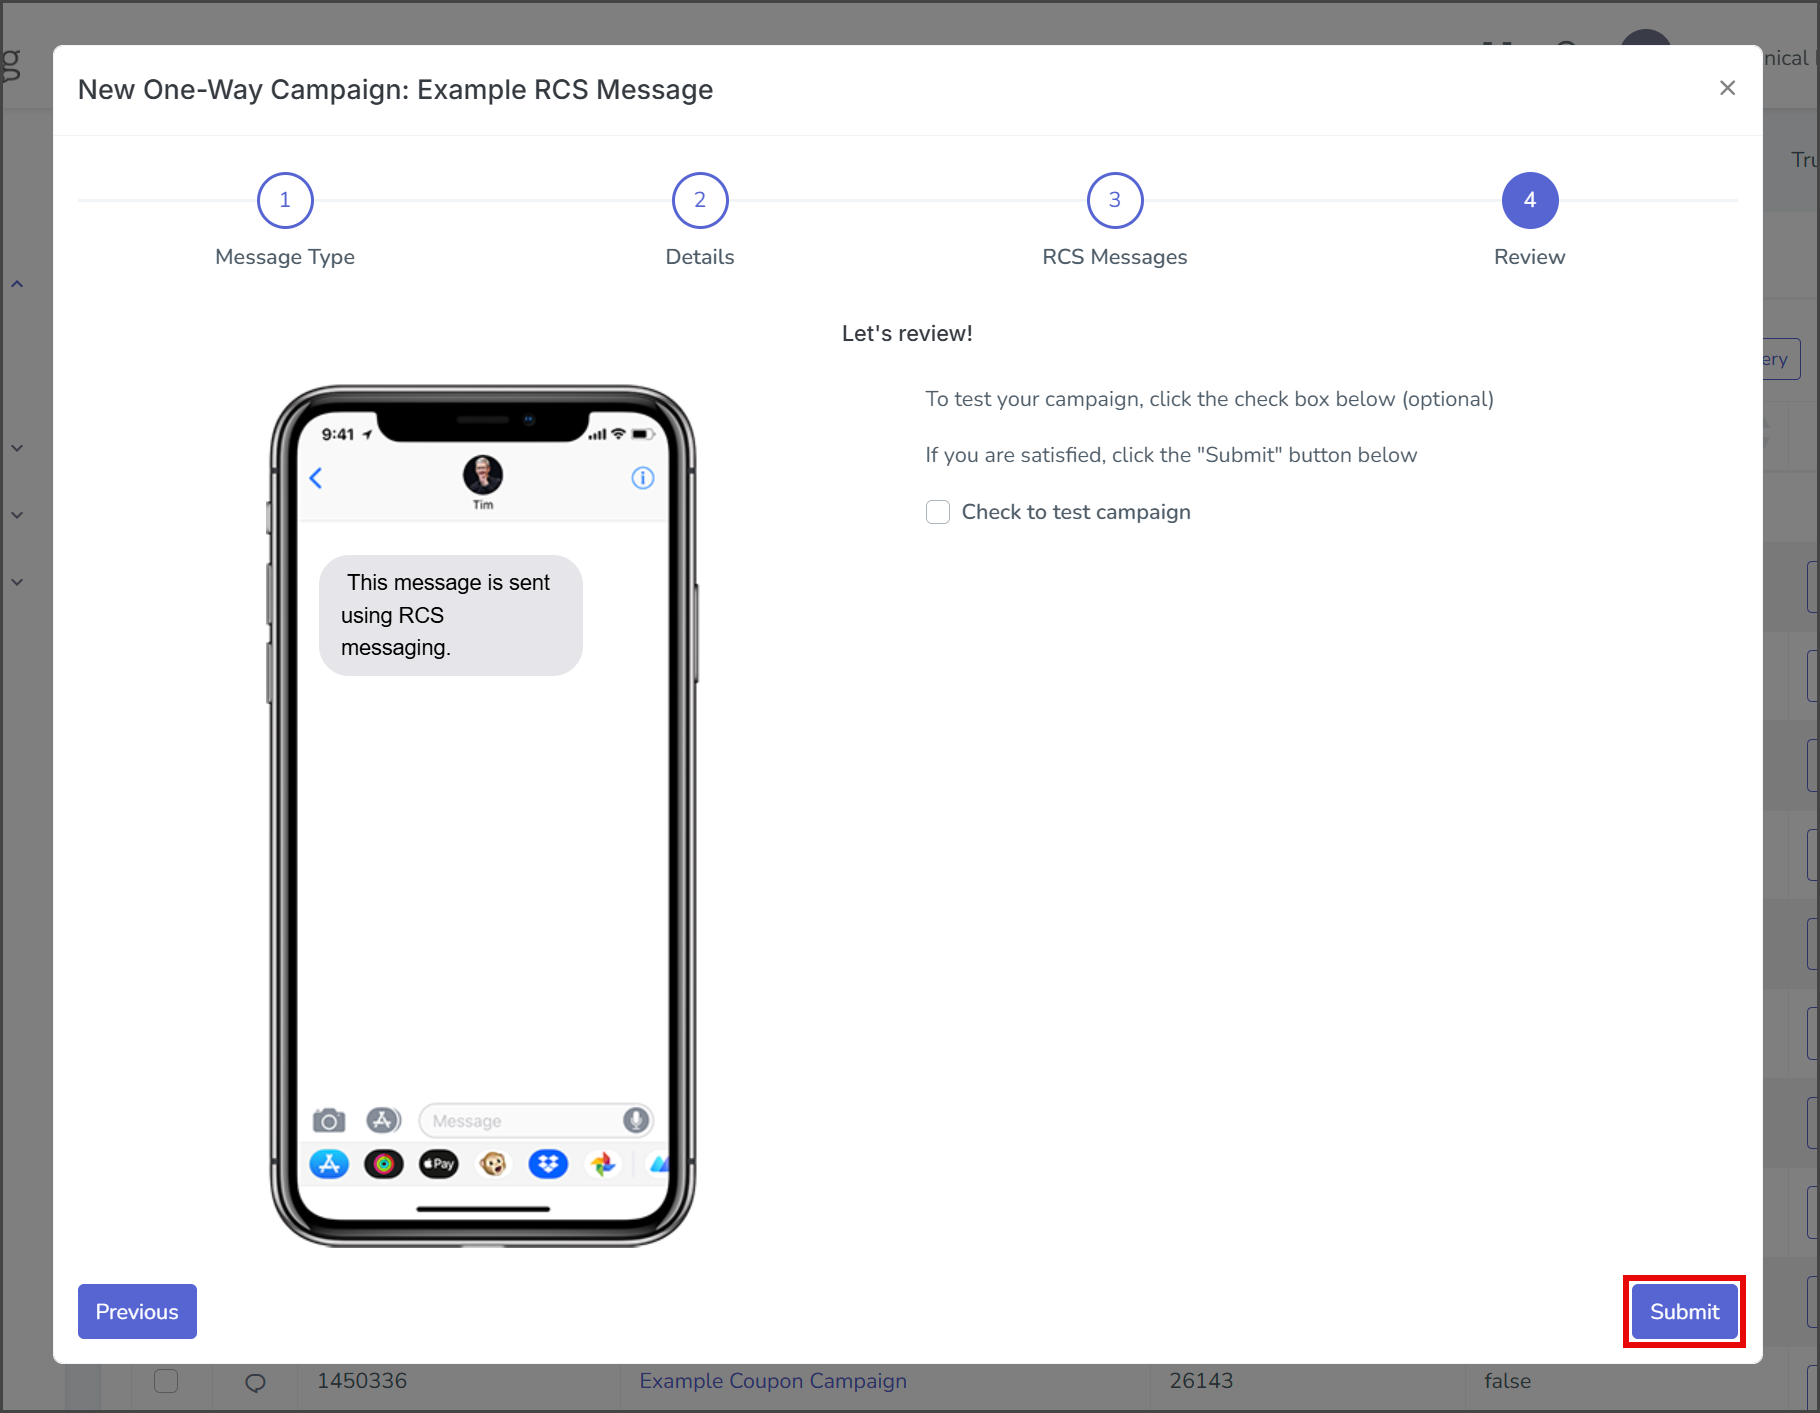
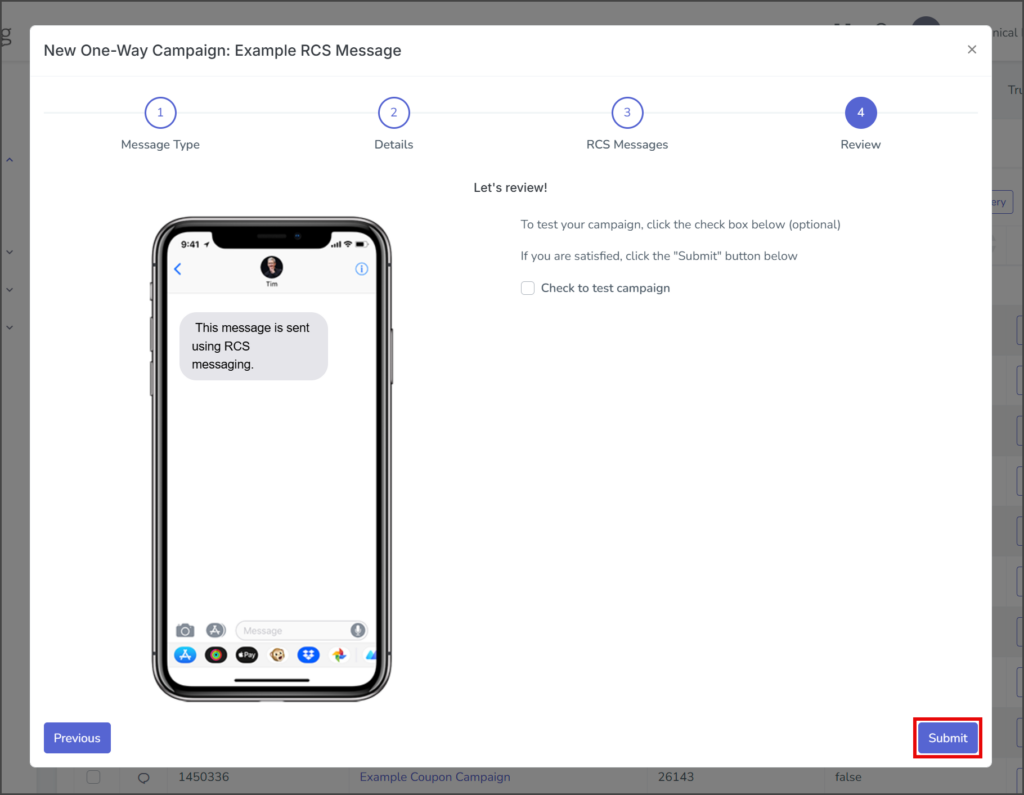
- Review the message in the mockup phone to ensure everything is as expected.
- (Optional) Check to test campaign – If checked, the campaign message will be sent to the specified contacts once the campaign is created.
- Click Submit to create the campaign. The campaign message will be sent to the listed contacts if the Check to test campaign checkbox is checked.
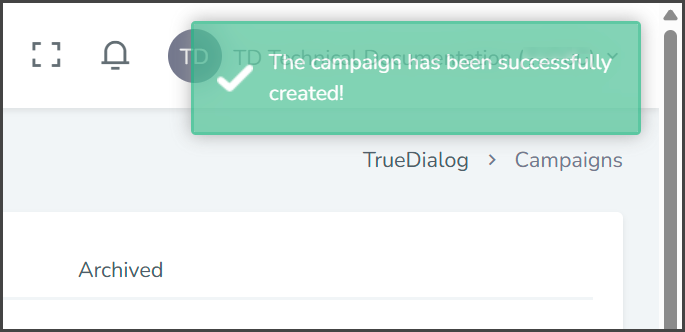
- After creating the campaign, a success message will appear.